I’d been obsessed with waterfall tables for a while. You know the ones—the river pour that doesn’t just stop at the edge but wraps around and flows all the way to the floor like it defies gravity. It’s sleek. It’s sculptural. It’s one of the hardest builds I’ve ever attempted… and totally worth it. Here’s everything that went into my first live edge walnut epoxy table—the wins, the screw-ups, and what I’d do differently next time.
Why I Wanted to Make a Waterfall Epoxy Table
The look. The challenge. The obsession.
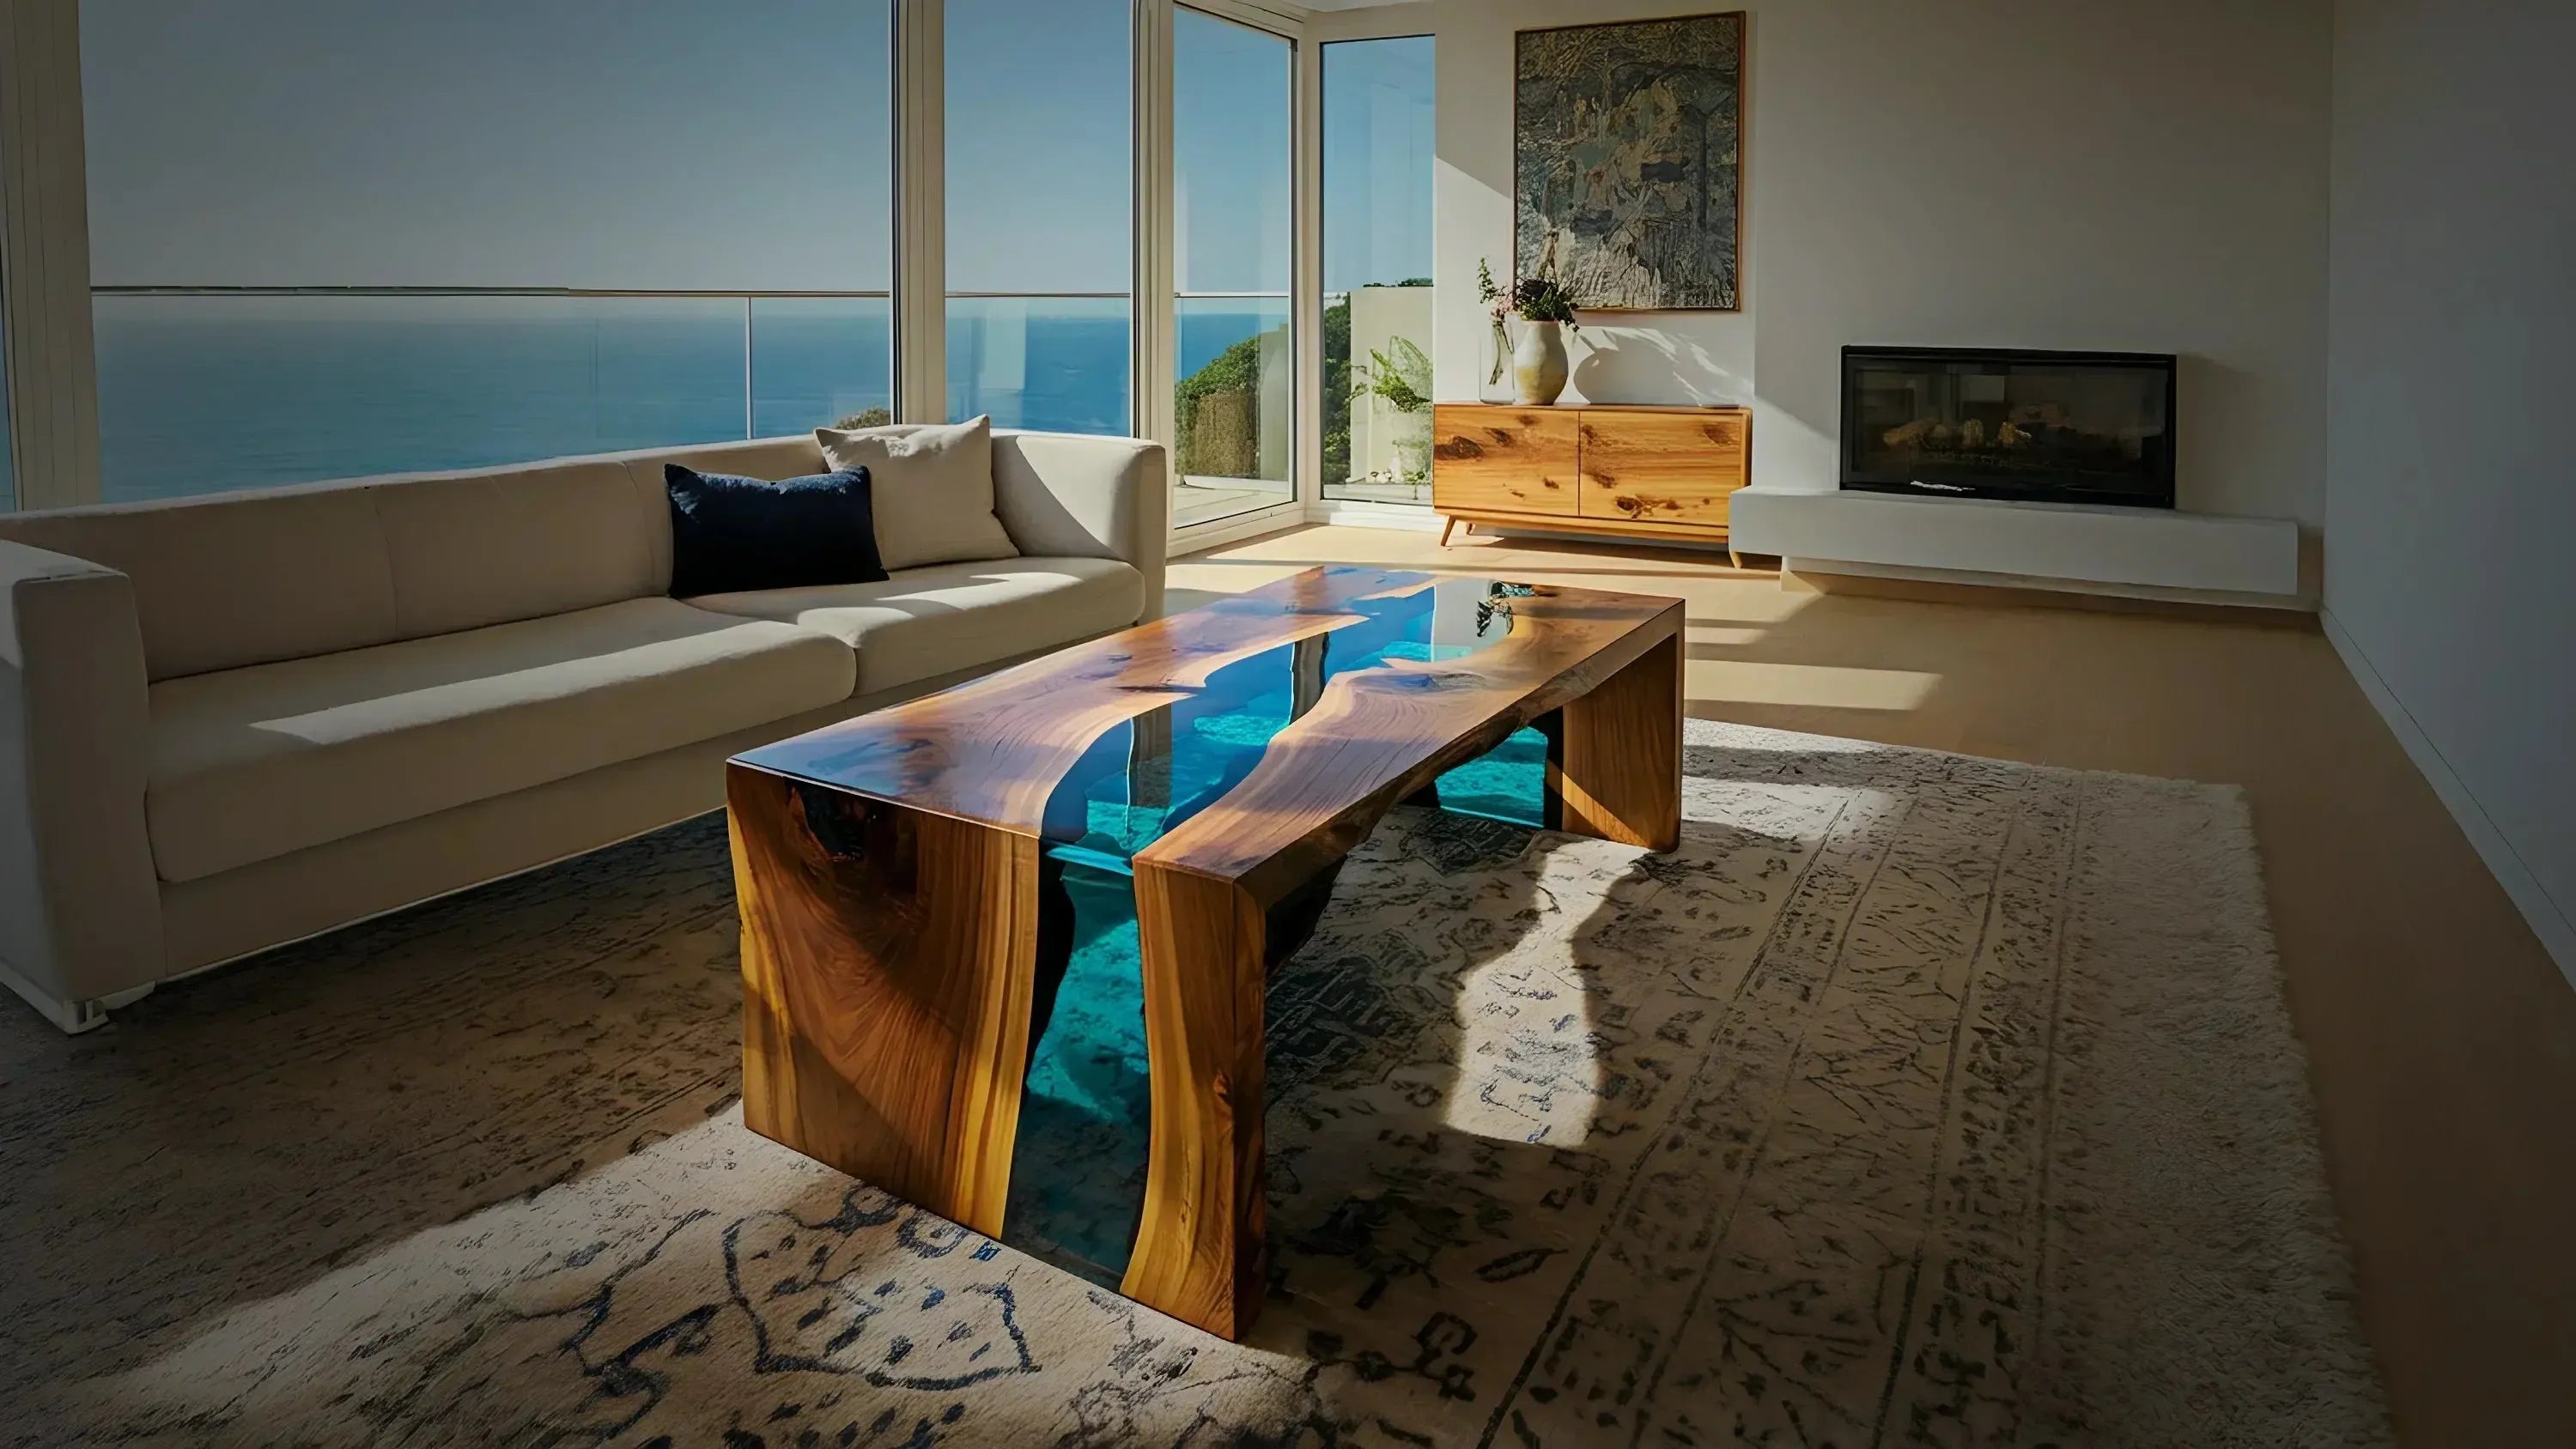
There’s something wild about seeing liquid resin wrap around solid walnut wood. It’s not just furniture—it’s movement frozen in time.
What makes a waterfall table different from a regular river table
With a standard river table, the resin lives between two slabs. With a waterfall epoxy table, you’re continuing that flow down the edge, keeping the grain and resin aligned like a single cascading piece.

Tools and Materials I Used for the Build
Live edge slabs, deep pour epoxy, and pigments
I used a matched pair of walnut slabs—the grain and color were too good to pass up. For the pour, I went with a deep pour epoxy like I used in my underwater reef table to get that rich clarity.
The jig I built just to cut the waterfall edge clean
Getting a flawless 45° miter cut is no joke. I built a custom jig for my track saw just for this.
Mold materials, clamps, and leveling tools
Melamine boards, sheathing tape, caulk, and an unreasonable number of clamps held this thing together. A good level saved me from disaster—twice. (If you're building a mold from scratch, I wrote more about my full process here.)
Designing the Waterfall Table: What I Had to Figure Out
Matching wood grain across the vertical drop
That seamless grain wrap? It doesn’t just happen. I spent hours positioning the slabs to get the flow right.
Planning the river pour to wrap naturally over the edge
I had to plan for how the epoxy would move at the corner—where it pools, where it stretches, and where it might pull away if I wasn’t careful. (I learned a lot about controlling flow from my volcano table too.)
Visual balance: thickness, width, and base design
The table needed to feel solid without looking bulky. I went with 1.75” thick walnut for structure and weight.

Step-by-Step: How I Built the Waterfall Epoxy Table
Step 1: Prepping and cutting the slabs
Jointing, sanding, and dry-fitting. I had one shot to make the waterfall edge land right.
Step 2: Building a mold that includes the “waterfall” face
This meant wrapping the mold around the 90° corner, which wasn’t easy—but it worked. If you’ve never tried it before, check out this guide: what kind of resin works for tables.
Step 3: Sealing and placing the slabs
I always seal the wood first to prevent bubbles—especially critical with vertical pours. A tip I learned the hard way in this blog.
Step 4: Mixing and pouring the river (in stages)
Metallic pigments in turquoise, silver, and black gave the river depth. I poured slowly and torched between layers.
Step 5: Curing, demolding, and sanding it flat
After three days, I pulled it from the mold and began sanding. I took it all the way up to 800 grit.
Step 6: Cutting the 45° waterfall joint
This was the moment of truth. I used my track saw jig, cut slow, and prayed.
Step 7: Joining and clamping the waterfall edge
Wood glue and epoxy adhesive plus clamps from every direction. Set for 24 hours before touching it.
Step 8: Final sanding, polishing, and finishing the piece
I polished with a DA buffer and sealed it with satin hardwax oil. The final finish looked like glass. (I shared my full polishing process here.)
What Went Wrong (and How I Fixed It)
The epoxy sagged at the corner — here’s why
I didn’t brace the outer wall well enough. It bowed out and needed a patch pour.
My clamp slipped while setting the waterfall joint
Lesson learned: use cauls. I ended up filling the seam with tinted resin to blend it back in.
Matching the river flow across the seam wasn’t easy
Next time, I’ll mock the whole thing up and pour both slabs together to get the flow just right.
What I’d Do Differently Next Time
Better jig setup for precise miter cuts
Even a few degrees off can ruin the seamless look. Precision matters here more than almost any other step.
Pour timing and layering techniques
Smaller batches = more control = cleaner corners.
Using color accents to highlight the corner seam
Next time I might embrace the seam and use metallic pigment as a highlight stripe—kind of like I did in my pink resin table.

FAQ: Waterfall Epoxy Table Tips I Wish I Had
How do you get epoxy to flow over the waterfall edge?
Either build the mold to include the vertical face or pour flat and cut/join after. I did the cut/join method.
Can you build a waterfall table without a jointer or CNC?
Yes. I used a circular saw and a straight-edge jig. It’s more work, but it gets the job done.
What’s the best epoxy for this kind of build?
Deep pour for the river, table top for the flood coat. I talk more about resin types in this blog.
Do you pour the river before or after the waterfall cut?
Always pour first. You want the grain and resin to line up like one continuous piece before making any cuts.
Final Reveal: The Finished Table and My Thoughts
What surprised me most seeing it complete
The flow of resin over the corner made the piece feel like it was in motion. It completely changed the energy of the room.
Would I build another one? Absolutely
This wonderful walnut epoxy table might be my most technical build—but also the most rewarding.
How this project changed the way I think about epoxy and design
Now I think in three dimensions. Resin doesn’t have to stop at the top—it can move, wrap, and flow like sculpture.
Thanks for taking the time to read—I really appreciate it. I hope something in my process (or my mistakes) helps you along the way. If you want a custom piece or hit a wall building your own, feel free to drop a comment or reach out—happy to help. Have a blessed day!


Share: