When I poured my first epoxy table, I thought “epoxy is epoxy.” Spoiler: it’s not. I grabbed what looked like a high-end resin kit, started pouring, and by the next morning... nothing had cured. It stayed soft for days. That’s when I learned the hard way: table top epoxy and deep pour epoxy are not the same thing. Here’s what I’ve figured out since—so you don’t waste a weekend like I did.

The First Time I Bought Epoxy… I Got the Wrong One
I needed a glossy finish — but bought deep pour by mistake
I was making a simple topcoat—clear, thin, smooth. But I bought deep pour epoxy, which is meant for thick, slow-set river tables.
It never cured right, and I wasted an entire weekend
I torched it, I waited, I cursed at it—still soft. It wasn’t made for shallow coats. That’s the problem.
Here’s what I figured out after way too much trial and error
Epoxy isn’t one product. It’s a whole category. And if you match the wrong one to the wrong job? You’ll feel it fast. If you're curious about how curing time works or why some pours stay sticky, I break that down on the Technical Resin & Epoxy Questions page.
Table Top Epoxy: Built for Surface Perfection
Hardens fast and cures ultra-clear
Table top epoxy is designed to cure quickly and level out into a glassy, hard surface. Think final coats on tabletops, not thick artistic layers.
Great for thin layers — about 1/8” per pour
Don’t go thick with it—it’ll overheat, crack, or pull away from the edges. Stick to small layers.
Perfect for coasters, countertops, and tables — especially when you want a glassy finish
I use table top epoxy as the final coat on almost every resin table. You can see it in action on pieces like the mirror-gloss table I polished.
Downsides: Can overheat in thick pours or crack if poured too deep
Don’t pour more than it’s designed for. It’ll cure too fast and generate heat internally—enough to ruin the whole project.

“Regular” Epoxy Isn’t One Thing — It’s a Whole Family
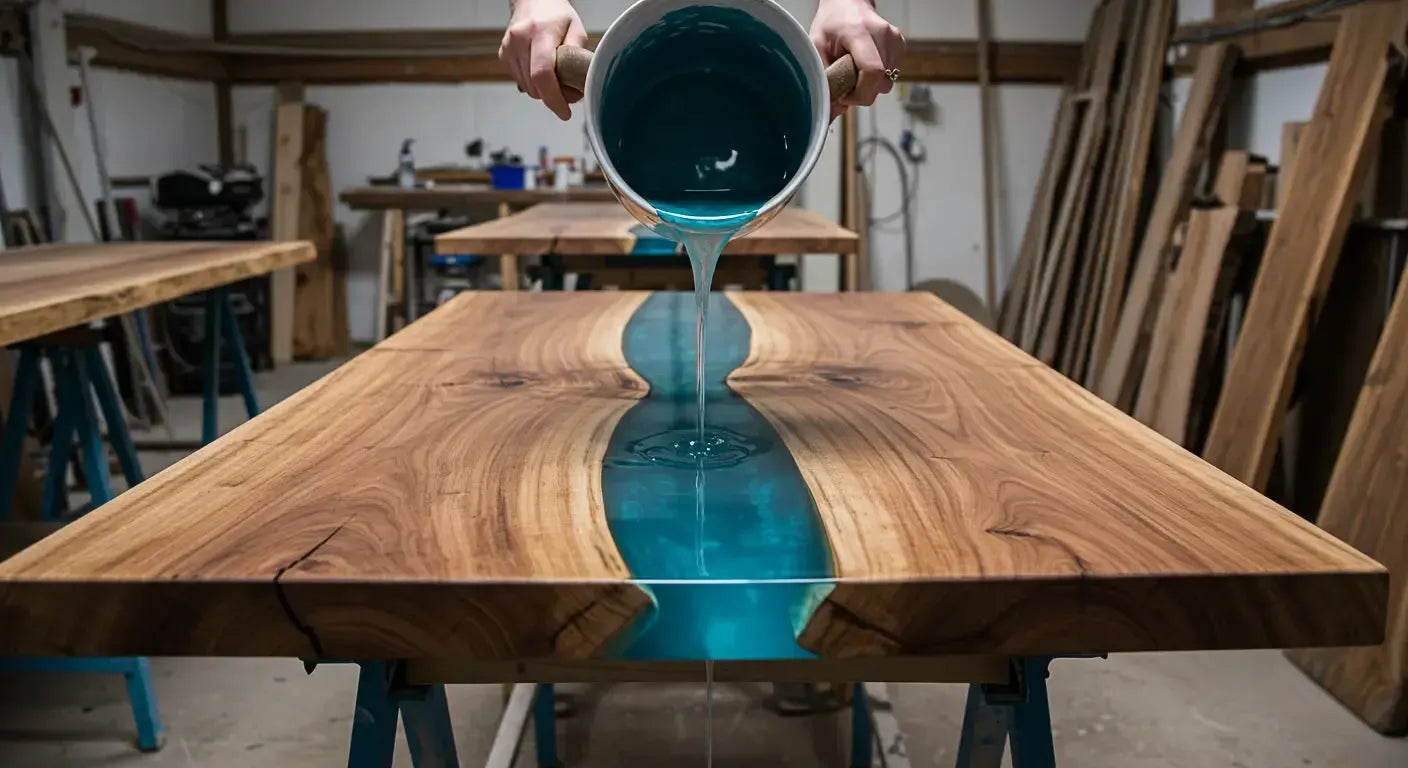
Deep pour epoxy: Slow cure, made for thick pours (like river tables)
This is what I use for big, deep projects. It cures slower, pours thinner, and helps avoid bubbles. I relied on this method for my red river table.
Casting resin: Similar to deep pour — great for molds, flowers, and art pieces
Ideal for preserving objects, embedding dried flowers, or making resin art blocks. You can see how I used it in this sunflower epoxy build.
Marine epoxy: Designed for boats — tough, but not made for aesthetics
Great for sealing wood but not for glossy furniture finishes.
Art resin: Shorter work time, great color blending, lower viscosity
If you’re working on resin art, alcohol inks, or vibrant pigment blends, this stuff flows well. I wrote more about it here: Art Resin vs. Table Top Epoxy.
Table Top vs. Deep Pour: Here’s When to Use Each
Table Top: Best for final coats or thin-layer finishes
- Countertops
- Coasters
- Bar tops
- Finishing a deep pour project
Deep Pour: Use when you need volume — river tables, embedded art, etc.
- River tables
- Thick molds
- Encasing objects
- Multi-layer pours with pigment swirls
I often use both — deep pour first, then a table top coat for that final glass-like surface
This combo gives you strength and depth below, with a glossy finish up top. I explained this process more in my step-by-step epoxy table build.

How They Feel to Use (Spoiler: They Pour Very Differently)
Table Top: Thick like syrup — you’ve got to work fast
It starts curing within minutes, especially in warmer temps. Pour, level, torch, and walk away.
Deep Pour: Much thinner — more forgiving but takes forever to cure
You’ll wait 48–72 hours between layers. But the clarity and depth? Totally worth it.
Tip: Always read the working time and cure time before starting your project
Don’t assume anything. Epoxies vary brand to brand. If you're not sure how to start, the Beginner FAQ page can help steer you in the right direction.
So… Which One Do You Need?
Want a glossy finish on a surface? Go with table top epoxy
Thin, shiny, and smooth. It’s what turns a finished slab into something that looks professionally done.
Want to pour something thick, like a 2” deep river table? Use deep pour epoxy
It cures slow to avoid heat buildup and bubbles—exactly what you want for those big, layered builds.
Doing art or embedding objects? Look into casting resin
Lower viscosity and slow curing help you control detail, especially when embedding delicate elements.
For functional, pretty surfaces? I almost always topcoat with table top epoxy
Whether it's a desk, a console, or a kitchen island—I finish most builds with a table top layer. For examples, check out the epoxy desk collection.

Final Thought: Epoxy Isn’t One-Size-Fits-All (But It’s Worth Figuring Out)
I made the mistakes so you don’t have to
If you’ve ever had a soft finish, yellowing, or cracking resin—chances are, you used the wrong epoxy for the job. You can learn more about these issues in the Problems, Repairs & Maintenance FAQ.
Once you know what each epoxy is actually good for, it’s easy to get pro-level results
Match the material to the project. Use the right pour depth. And take your time with prep—it always pays off.
Got a weird project? Message me — I’ve probably messed it up before and figured out what works
Seriously. If you’re not sure which epoxy to use, I’m happy to help you avoid the headaches I’ve already lived through.
If you want a custom piece or hit a wall building your own, feel free to drop a comment or reach out—happy to help. Have a blessed day!


Share: