*If you're looking to shop these designs, check out our collection or request your own custom table here. Now let’s get into designing an underwater epoxy table!
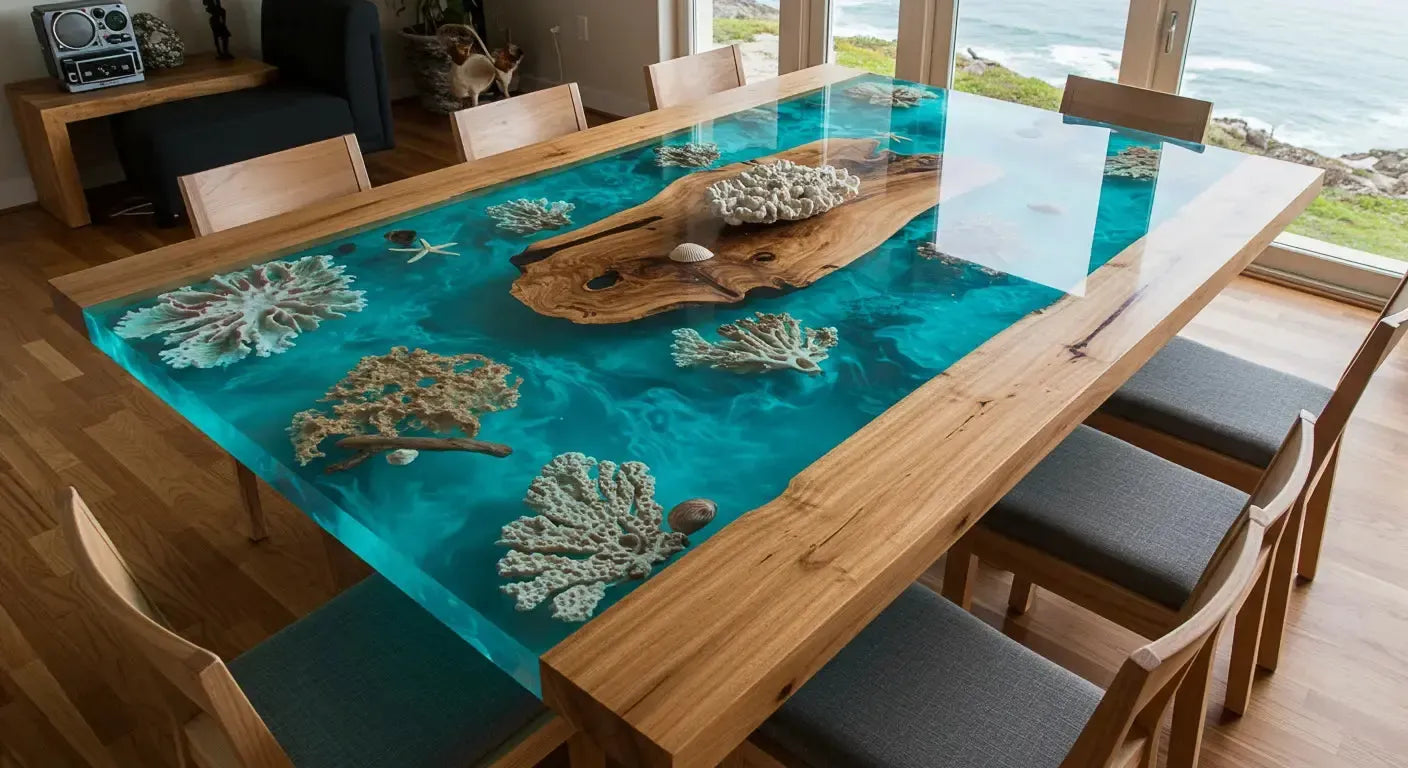
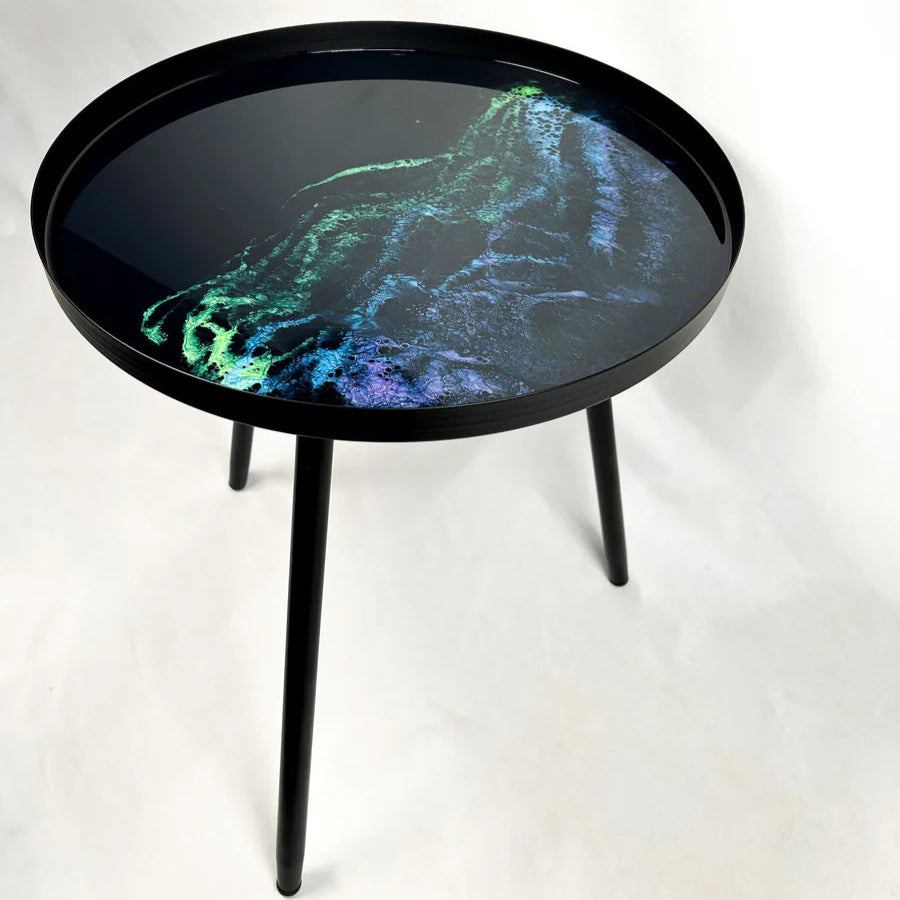
I’ve always been drawn to the ocean — not just the color, but the texture, the depth, the silence of it. One day, I decided I wanted to bring that feeling indoors. That’s how this build started. No grand plan. Just a sketch of a table that felt like a reef frozen in time. It turned out to be one of the most detailed and rewarding projects I’ve done.
The Concept: I Wanted to Make a Table That Felt Like the Ocean
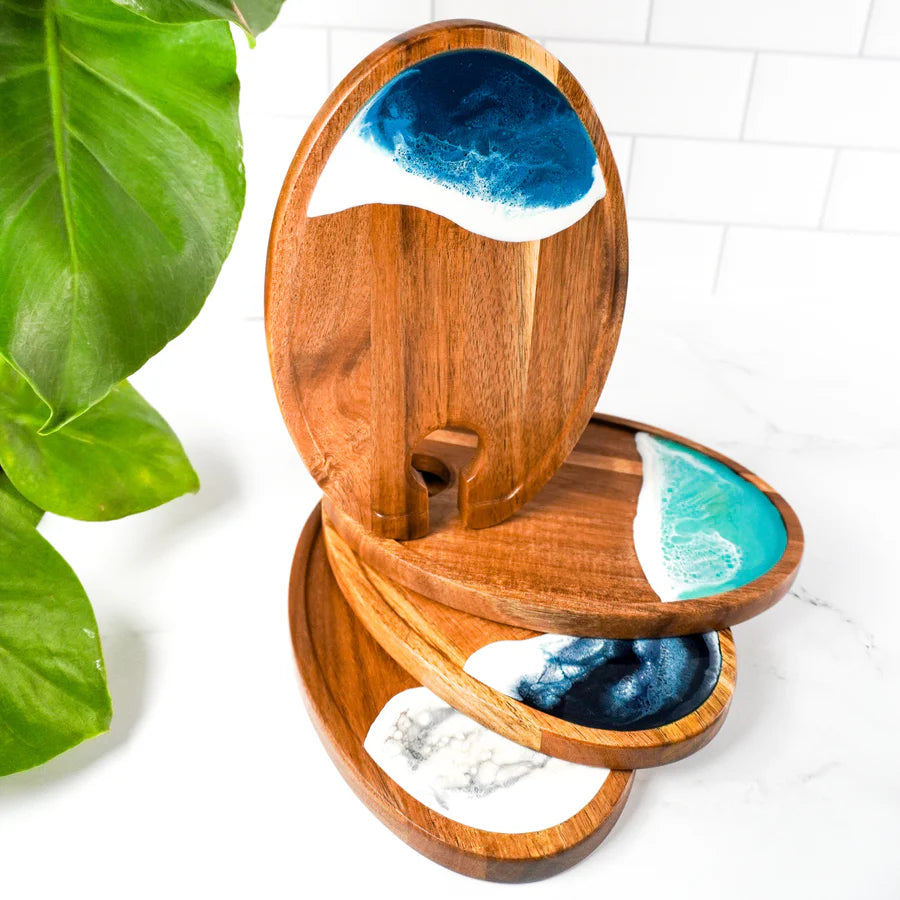
Inspired by tide pools, coral, and those deep blue resin pours
This wasn’t about building a beachy table. I wanted it to feel like you were looking down into water. Something still and glassy, but alive beneath the surface.
I wasn’t sure it would work, but the idea stuck
There was a good chance this table would either be a masterpiece or a complete mess. Either way, I was going to find out.

Materials I Used (And What I Ended Up Swapping Mid-Build)
The resin, pigments, and fillers I started with
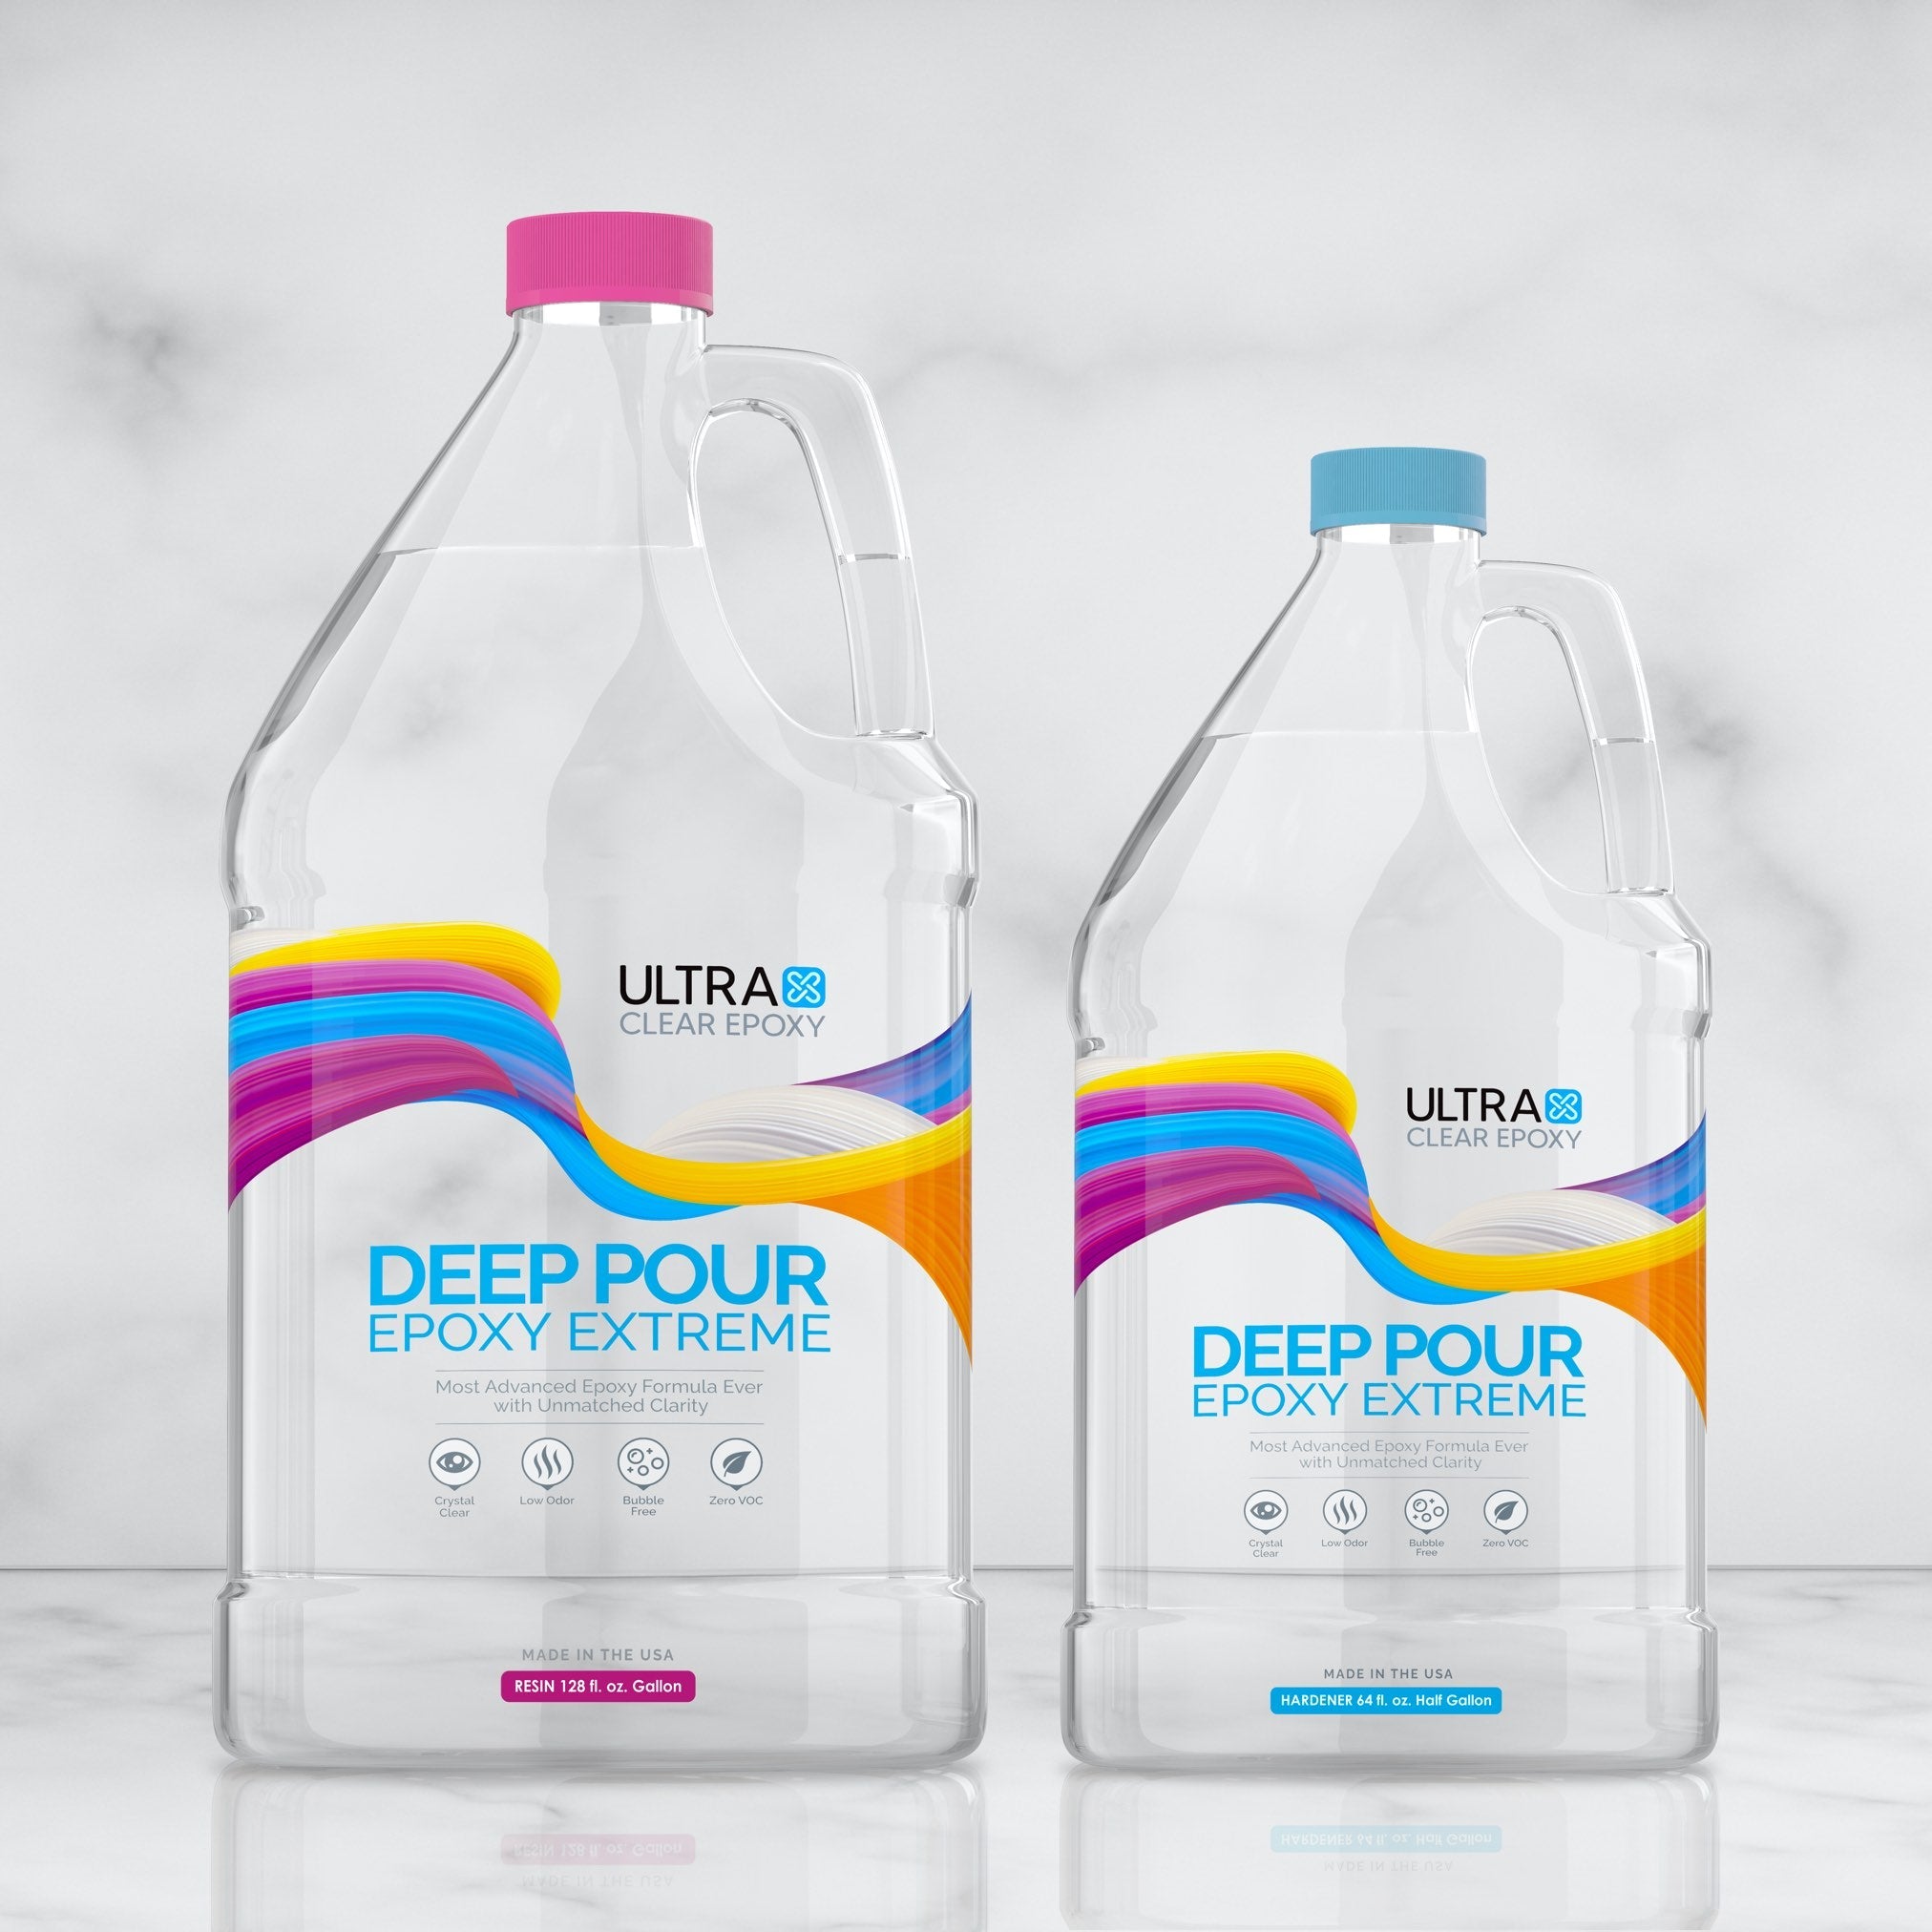
I used a clear deep-pour epoxy and layered in ocean blues, turquoise, and a touch of pearlescent white. For a true underwater epoxy table effect, clarity is everything.
How I sourced elements that actually felt oceanic (not tacky)
I used crushed shell fragments, faux coral pieces, small pebbles, and even a few bits of driftwood. Real coral? I skipped it — looks amazing, but not sustainable.
One material I’ll never use again for underwater effects
I tried using sand from a beach trip. It clouded the resin and floated into spots I didn’t want it. Lesson learned: use clean filtered sand or small-grain aquarium substrate instead.

Step 1: Prepping the Wood and Building the Base
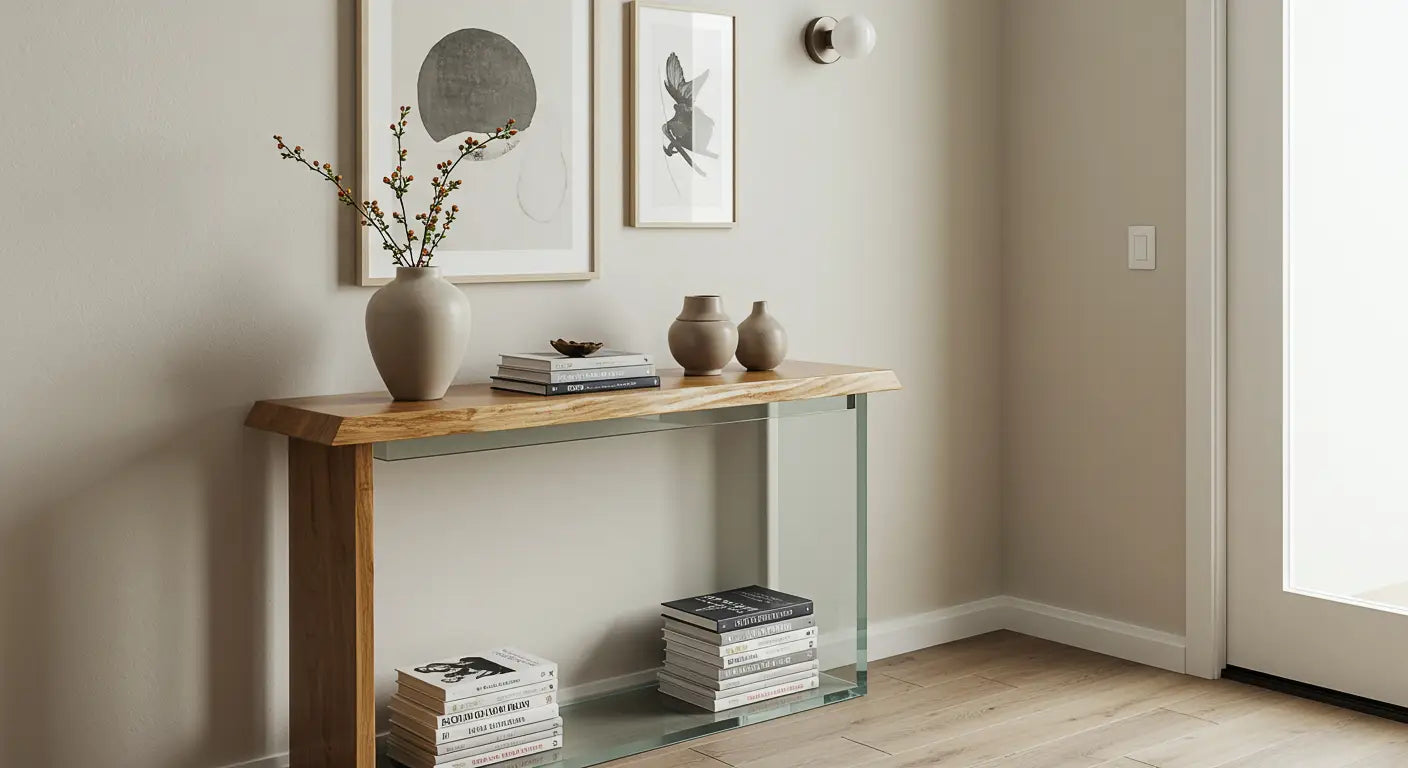
I wanted clean lines — so I chose a crisp rectangular mold
No live edge this time. I wanted the focus to be inside the table, not around it.
Sealing and sanding before the ocean layers started
Proper sealing kept bubbles from creeping in and gave me a clean surface to pour onto.
Step 2: Creating Depth With the First Resin Layer
Pouring the base blue and building a “floor” for the ocean scene
This first layer acted like the ocean bed. I added small stones and a mix of blues to mimic the depth gradient you see near coral reefs.
What worked to keep the resin clear and layered
Patience. I let each layer partially cure before adding the next. It helped hold everything in place and avoided bleed-through.
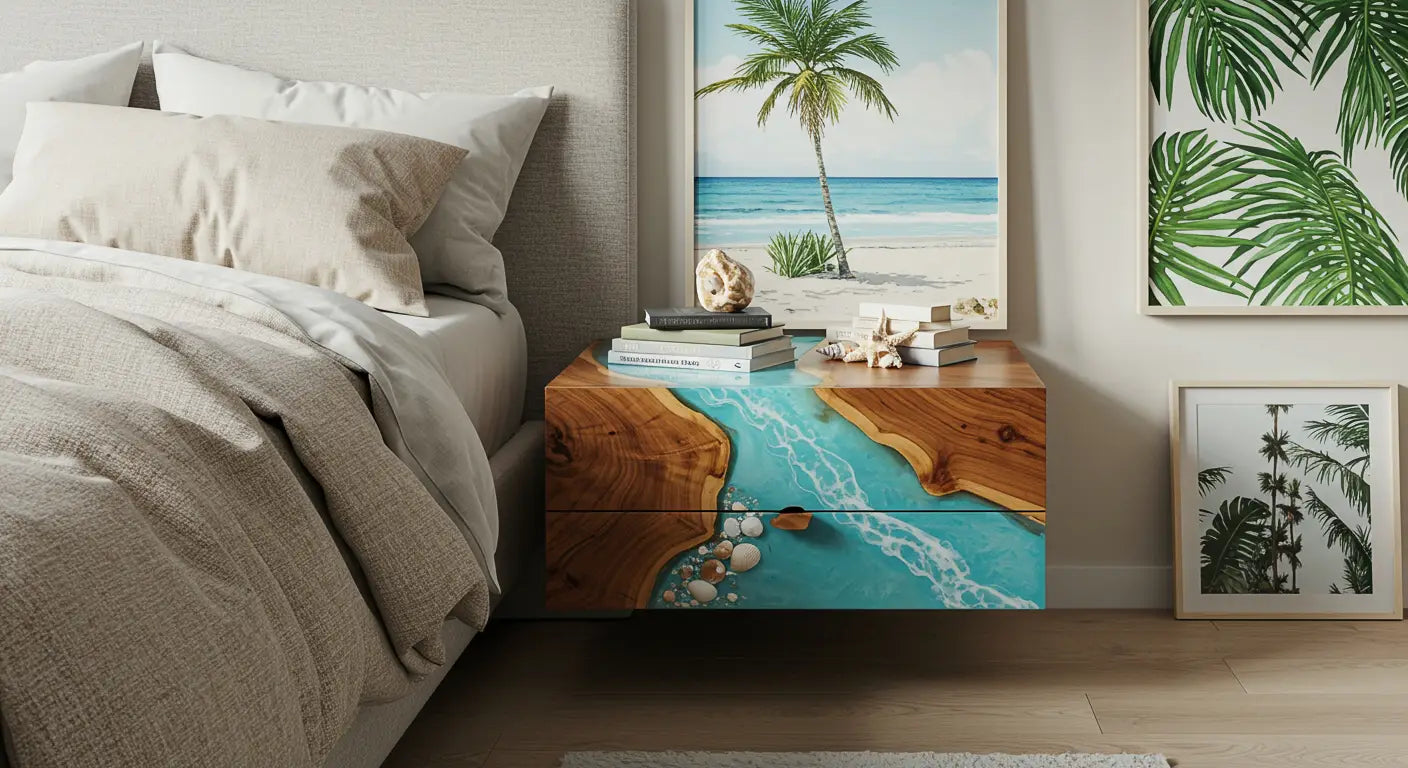
Step 3: Setting the Scene — Coral, Sand, and “Sunken” Texture
How I embedded crushed shells, small rocks, and plant elements
This part felt more like setting up an aquarium than building furniture. I used tweezers to position everything exactly where I wanted.
Positioning depth pieces without them floating
I weighed down larger elements with clear epoxy drops and staged multiple pours to lock each layer in place.
Step 4: The Pour That Brought It to Life
Layering clear resin over the scene like water above a reef
Watching the elements disappear under the clear epoxy was wild. It started to actually feel underwater.
Dealing with microbubbles and edge pooling
I used a heat gun in short bursts and let the resin sit a few minutes before pouring to reduce bubbles. Edge pooling happened anyway — sanding saved it later.
Step 5: Curing, Sanding, and That First Look at the Final Table
What surprised me when I demolded
The clarity. It was like looking into a frozen aquarium. I didn’t expect it to look so... peaceful.
Where the color shifted in ways I didn’t expect
Some of the blue tones turned more teal depending on the light. Not what I planned, but I ended up liking it more.

Optional Add-On: Backlighting and LED Play
I tried it with soft LEDs underneath — and it changed everything
Subtle glow underneath the rocks and coral? Total game changer. Turned a cool table into a statement piece.
Why subtle lighting worked better than bold
Bright LEDs made it feel artificial. A soft underglow gave it that quiet, ambient **aquarium resin table** vibe.
FAQs I Had Before I Started (And What I Learned Along the Way)
Can you use real shells or coral in epoxy?
You can — but clean them well and seal porous items with a light coat of resin first. Faux shells are safer and often more stable.
Will the resin stay clear or go cloudy over time?
Depends on the resin. Use a UV-stable formula and keep it out of direct sun when possible.
How deep can you pour before you risk overheating?
Check your resin’s specs — most deep pour resins max out at 2" per pour. Go too deep too fast, and you’ll get bubbles or cracks. Less is better if you are uncertain.

Final Thoughts: Would I Make Another One?
What I’d do differently next time
Build the mold wider. I didn’t realize how much the reef elements would demand breathing room.
Who this table style is perfect for
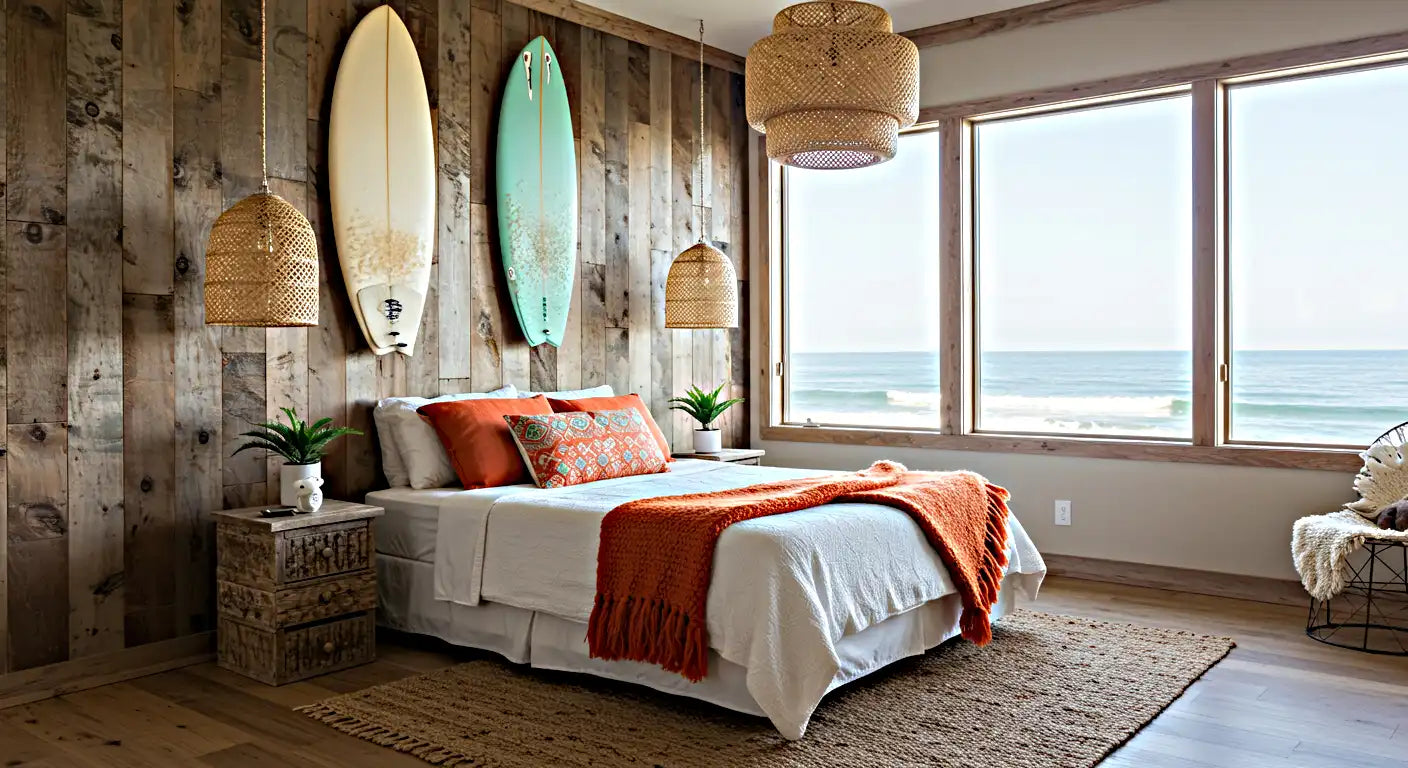
Ocean lovers. Beach house owners. Anyone looking for a **fish epoxy table design** that’s more than a conversation piece — it’s an experience.
Why underwater designs hit different in resin
Because they’re timeless. Still. Quiet. Full of texture and movement — without moving an inch.
Looking to build one of your own? Want a custom underwater epoxy table made with real craftsmanship? Let’s make it happen. Just leave a comment or send me a message!
Share: