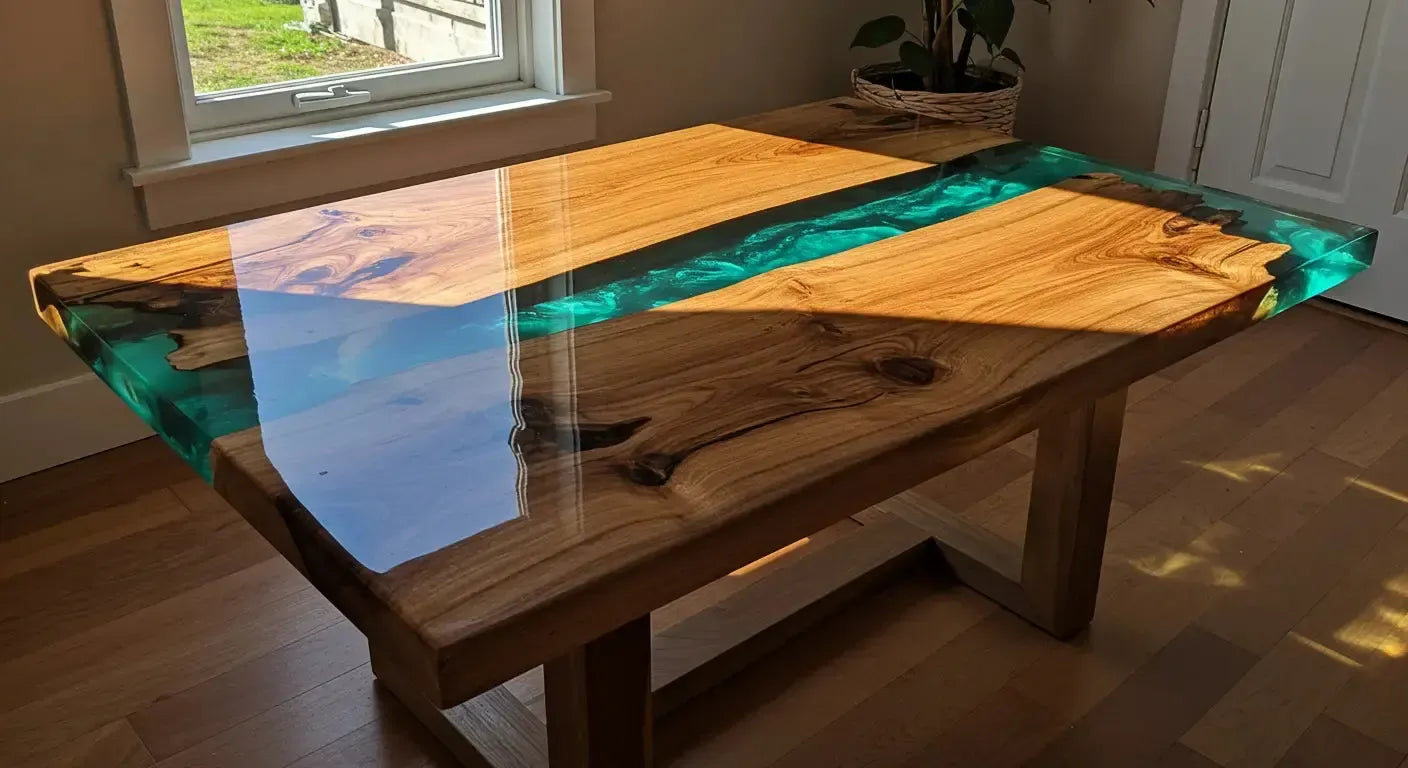
The first epoxy table I ever made looked great—until I got it under good lighting. That “glass-like” finish I was aiming for? It came out dull, hazy, and kind of uneven. That’s when I realized: pouring the resin is only half the battle. If you want that clean, high-gloss shine, you need to polish your epoxy table the right way. Here’s how I learned to go from cloudy to crystal clear—and what actually worked. (If you’re dealing with cracks or finish issues, check out what happened when I had to repair a resin table.)
Why I Needed to Learn to Polish Epoxy the Right Way
The first table I made looked cloudy — and it bugged me
It had potential, but it just didn’t shine. The surface looked like it was wrapped in plastic wrap. That’s not the look I was going for.
What I didn’t know about sanding and finishing epoxy
Turns out, epoxy table finish needs more than just “a quick sand and wax.” It’s all about the progression—how you prep, sand, and polish in stages. I learned that the hard way on my first builds that didn’t come out right.

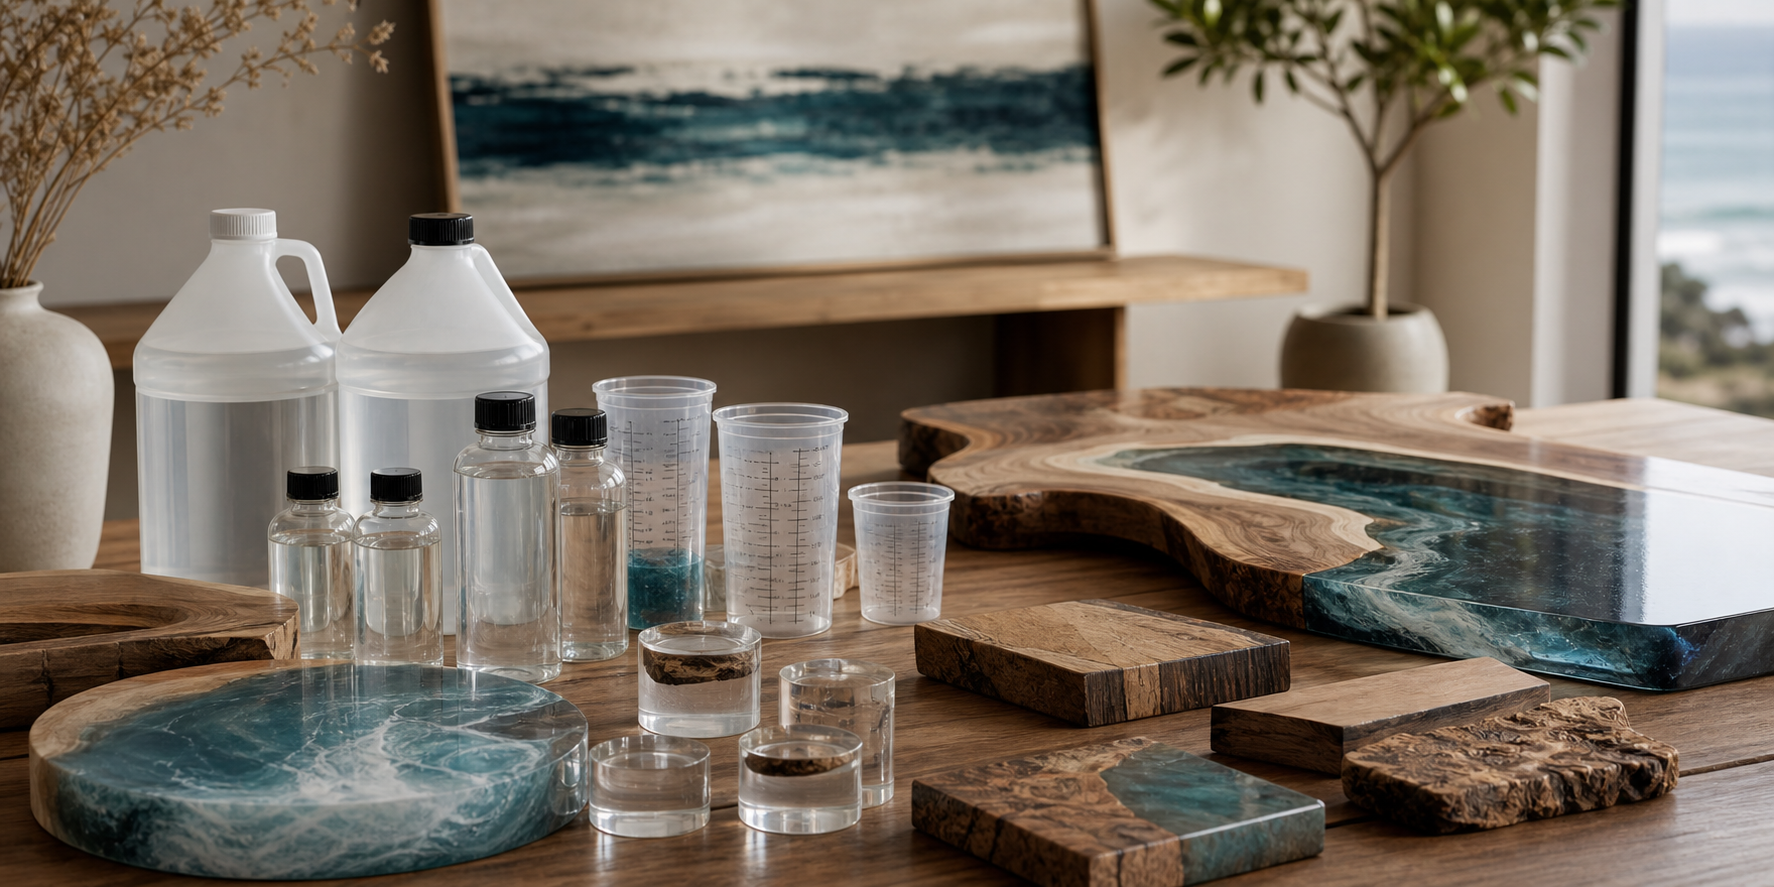
What You’ll Need to Polish an Epoxy Table
Tools I used (and which ones I skipped)
- Sandpaper: 120 → 220 → 400 → 800 → 1000 → 1500 → 2000 grit - Polishing compound (I use a fine-cut compound for resin) - Microfiber cloths - Dual-action polisher (optional, but worth it) What I skipped: cheap buffing pads, paper towels, and any “miracle polish” with no grit specs.
Grit progression: Why it matters more than I thought
You can’t skip grits. If you jump from 220 to 1000, you’re not removing the scratches—you’re just polishing over them. Start coarse, finish fine.
My go-to polishing compounds and finishing wax
- Meguiar’s Mirror Glaze (Ultra-Cut + Polish) - 3M Perfect-It Compound for heavier scratches - Carnauba-based finishing wax for that final layer
Step-by-Step: How I Polished My Epoxy Table
Step 1: Sanding — Starting rough and working up
I started with 220 grit dry sanding, then moved into wet sanding from 400 up to 2000 grit. It’s slow, but it makes all the difference.
Step 2: Cleaning between grits to avoid scratches
After each grit, I wiped the surface clean with a damp cloth to avoid dragging old grit into the next round. Skipping this? Big mistake.
Step 3: Buffing and polishing until that shine pops
Once I hit 2000 grit, I applied a light layer of polish and worked it in with a microfiber cloth (or DA polisher). The surface turned from dull to glassy in a few minutes. (Note: when repolishing tables you may need to go up to or even past 3000 grit. See what I do in my durability post for more.)
Optional: Using a dual-action polisher vs. hand polishing
Hand polishing works—but takes way longer. I now use a DA polisher for larger tabletops. Way more even pressure, way better results.

Tips That Made a Big Difference
Keeping the surface cool while polishing
Too much heat = soft spots or cloudiness. I polished in short bursts and never let the surface heat up too much.
When to stop sanding and start polishing
You’ll know. Once the scratches are microscopic and the surface feels like butter when wet, it’s time.
The trick I use to test if it's “mirror-finish ready”
I shine a flashlight at an angle. If I can see clear reflections and no haze, I’m good. If not, I go back one grit and hit it again.
Common Mistakes I Made So You Don’t Have To
Using the wrong sandpaper early on
Cheap paper clogs fast. I only use wet/dry sandpaper from trusted brands now—3M, Mirka, or Norton.
Polishing too soon (before the resin fully cured)
I once polished a table 48 hours after pouring. It looked great—for a week. Then it dulled out. Now I wait at least 5–7 days before finishing. This is one of the many timing mistakes I talk about in my technical resin FAQ.
Skipping the final wax coat — and regretting it
The wax not only deepens the shine, it protects the surface. Without it, fingerprints and micro-scratches show up way faster.

FAQs About Epoxy Table Polishing
Can I polish a table that’s already scratched?
Yes—start with a low grit (maybe 220 or 320) and work up. You’ll need to remove the scratches before hitting it with polish. (If it's beyond surface scratches, see the full repair guide here.)
What if I poured too thick and have surface waves?
Level it first with a router sled or careful sanding before polishing. Polishing won’t fix height inconsistencies—it just makes them shinier.
Will polishing fix cloudiness or bubbles?
Cloudiness, yes—if it’s from sanding marks. Bubbles? No. You’ll need to fill or flood coat or leave them intentionally.
My Favorite Polishing Products (And What Didn’t Work)
What I now keep stocked in my resin workshop
- Microfiber pads (reusable, soft, don’t scratch) - DA polisher with adjustable speed - Mirror-finish polish and ultra-fine wax
Products I’d avoid next time
- All-in-one cleaners or automotive waxes with silicone
- Cheap polishing pads that shed mid-use
- “One step” buffing solutions (they never deliver)

Final Thoughts: Was It Worth It?
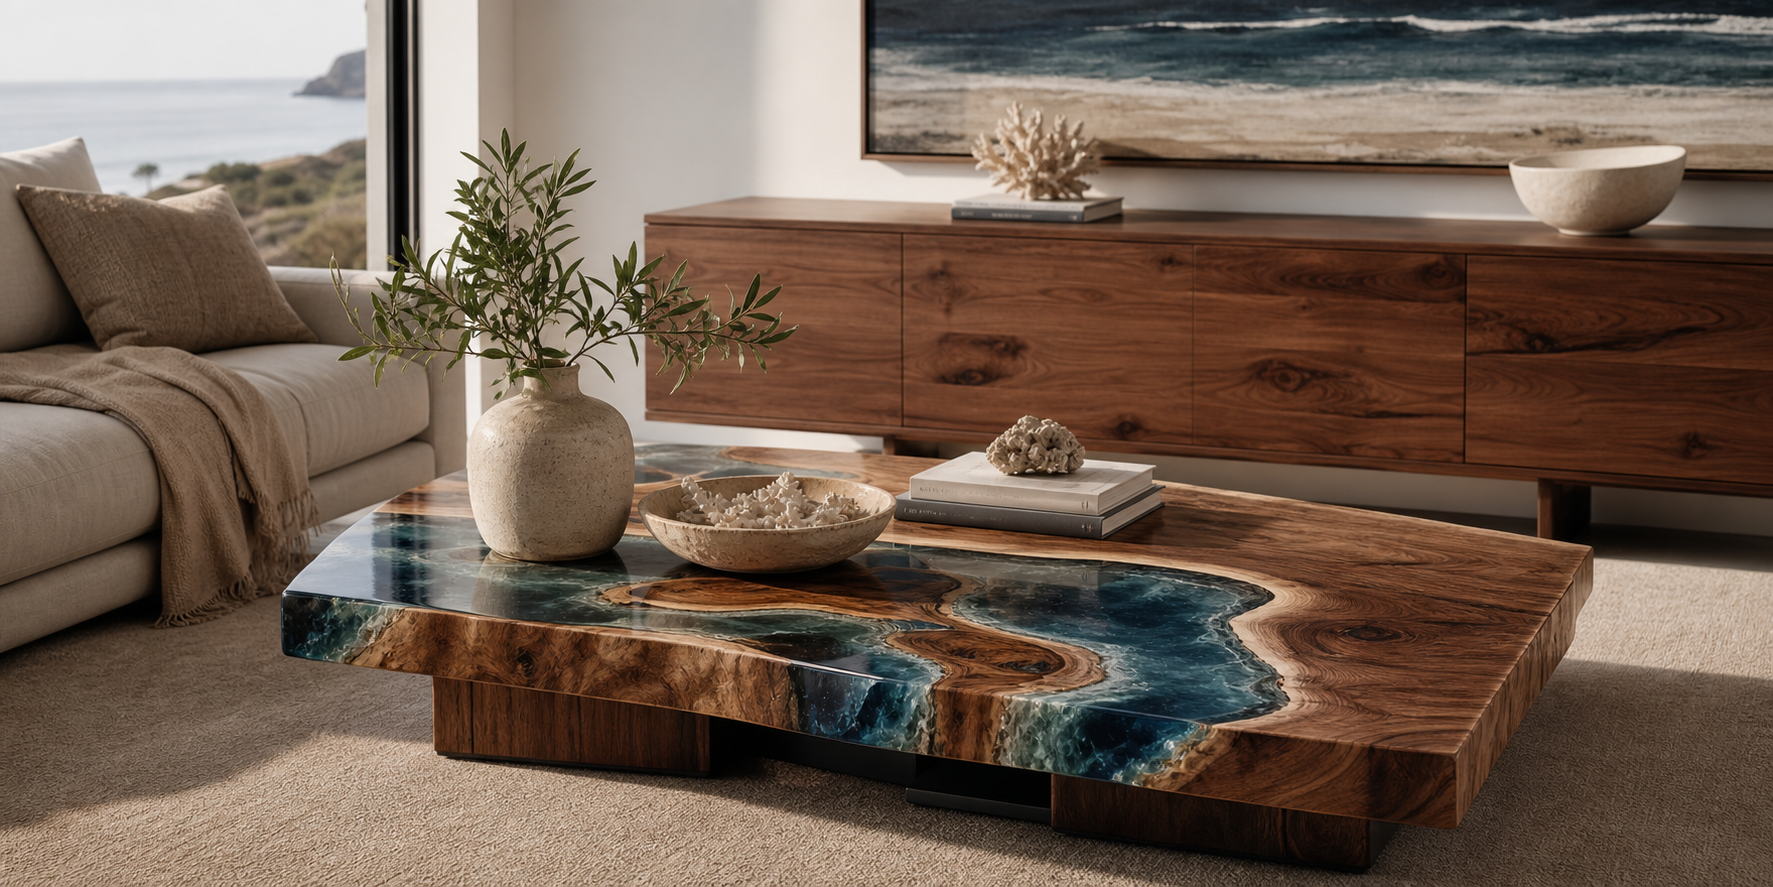
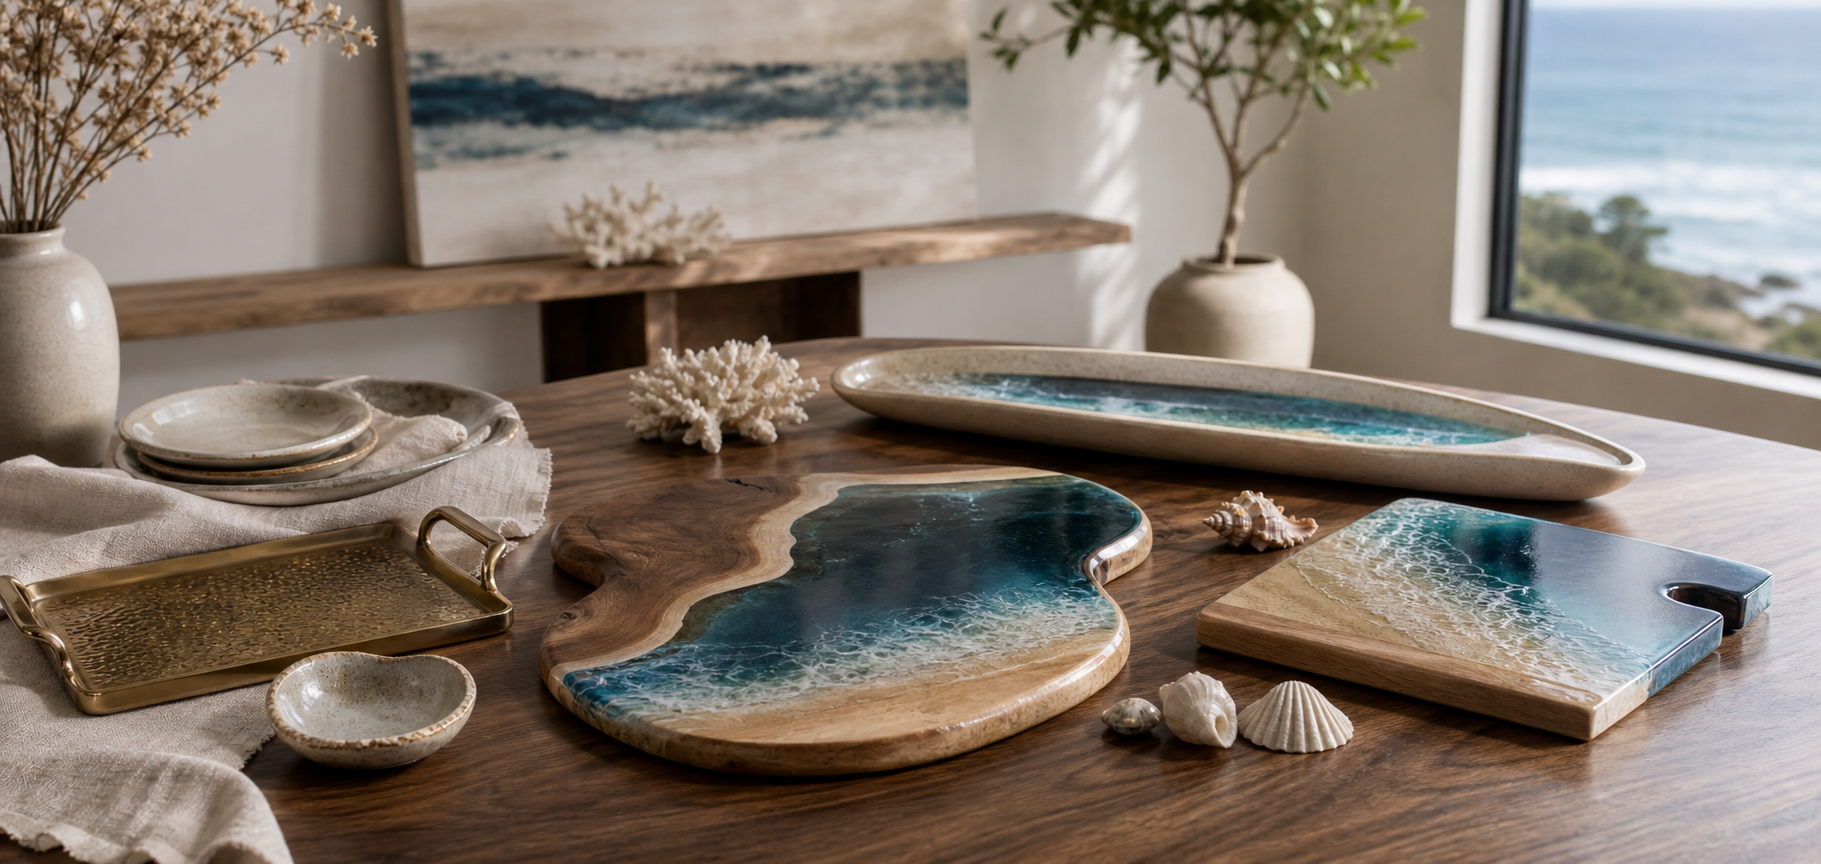
How polishing leveled up the entire table
Before polishing, it looked okay. After? It looked like it belonged in a high-end gallery. You could see every swirl of pigment, every grain in the wood—sharper, deeper, better.
Why I’d never skip this step again
If you’re building something by hand, don’t let the finish fall flat. Learning how to polish epoxy table surfaces is the secret to making it shine—literally and metaphorically.
What I Use to Repolish My Epoxy Tables
If I’m going for that glassy, mirror finish—this is the combo that’s worked best for me:
- Meguiar’s Ultimate Compound – The only polish I’ve stuck with: Get it on Amazon
- Microfiber Cloths – No fancy tools needed, just elbow grease: Here’s the kind I use
- Zona Sanding Papers (Up to 8000 grit) – If you’re serious about clarity: Try this pack
- Top Coat Resin – When I skip sanding and go the easy route: Check it out Note: I always sand up to at least 3000 grit before polishing—otherwise, those micro scratches will still show under the shine.
Thanks for taking the time to read—I really appreciate it. I hope something in my process (or my mistakes) helps you along the way. If you want a custom piece or hit a wall building your own, feel free to drop a comment or reach out—happy to help. Have a blessed day!


Share:
2 comments
Hi,
I had a problem with scratches and coumpound doing nothing. So i went your way, i had lowered a little bubbly under 1mm with 600 grit. So i went 1000, 1500, 2000, 2500 then compound. i do it manually i dont have a polisher. The center of the haze acrually polished a bit but i have like perimeter that i fail to make it work. Anyway thanks, its a lot better than a very big haze!
Congratulations…thanks for your advices.