I’ve poured rivers, embedded flowers, and even layered ocean scenes into tables—but making a penny epoxy table? That was something totally different. It wasn’t flashy. It wasn’t trendy. But it turned into one of the most fun, nostalgic, and unexpectedly satisfying projects I’ve tackled yet.
Discovering the Charm of Penny Tables
What Drew Me to the Idea
It started as a side thought. I had a stack of old pennies in the shop and figured, “Why not try something weird?” I wasn’t sure if it would look cool or just gimmicky—but once I started researching penny table ideas, I was all in.
Finding Inspiration in Everyday Objects
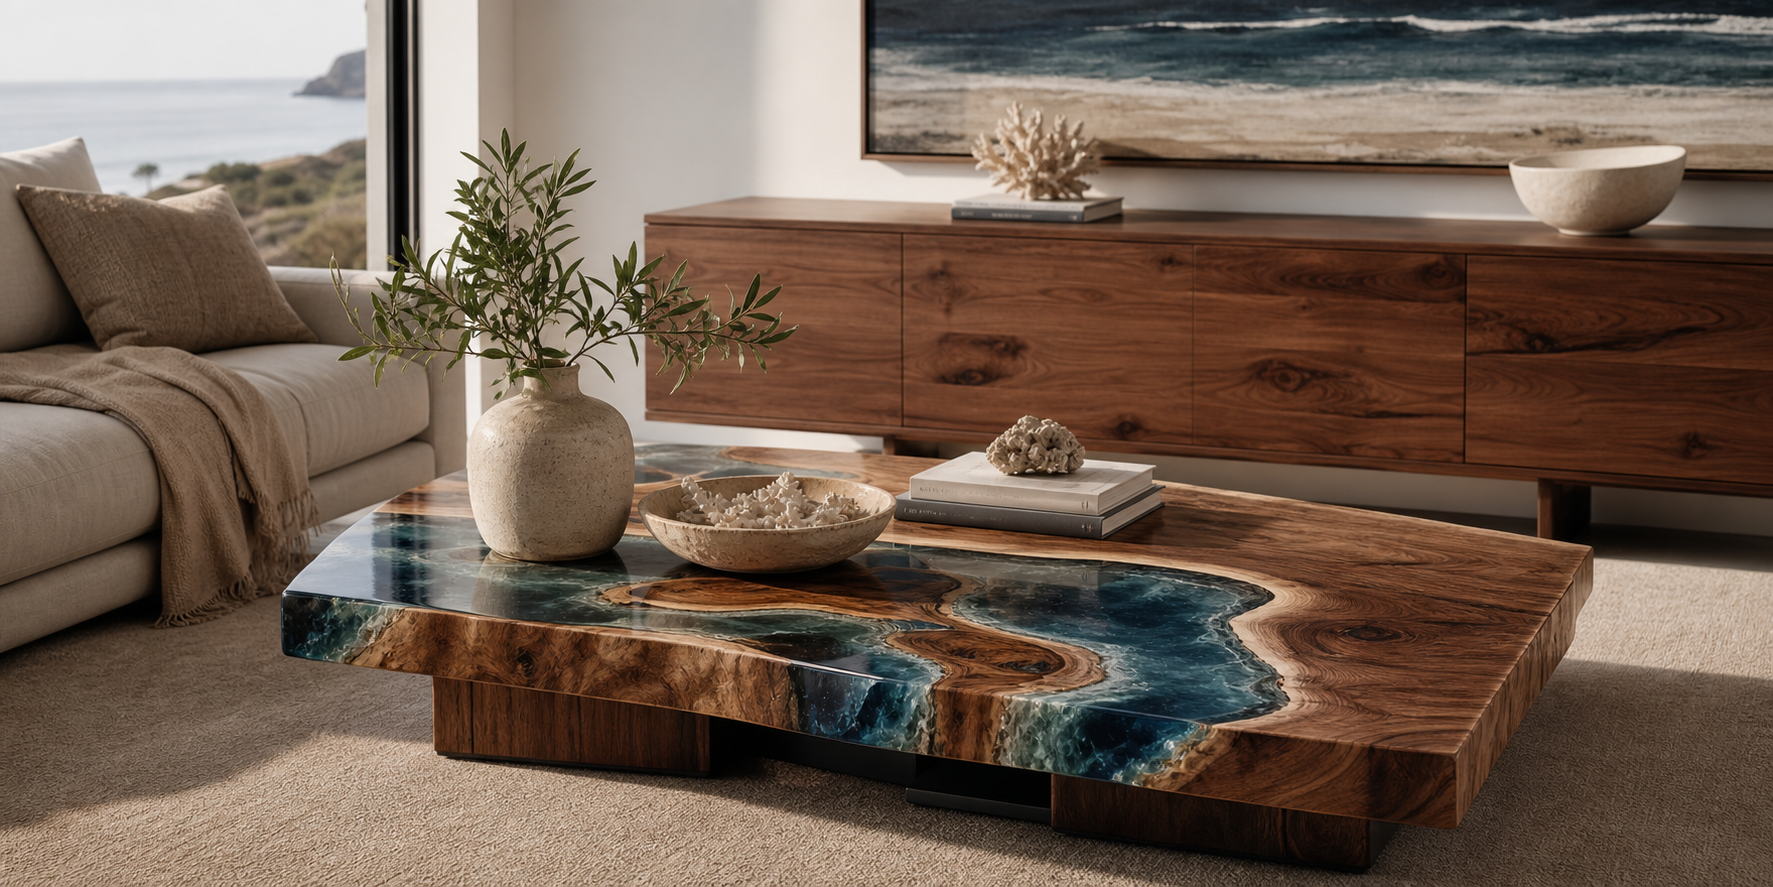
There’s something honest about using everyday items in design. Coins carry stories—dates, wear, patina. Embedding them into resin felt like freezing tiny time capsules into the surface of a table. I’ve always loved when the material tells its own story—like I did with my river rock epoxy table, or the seashell table I made from a bucket of beach finds.

Planning the Design
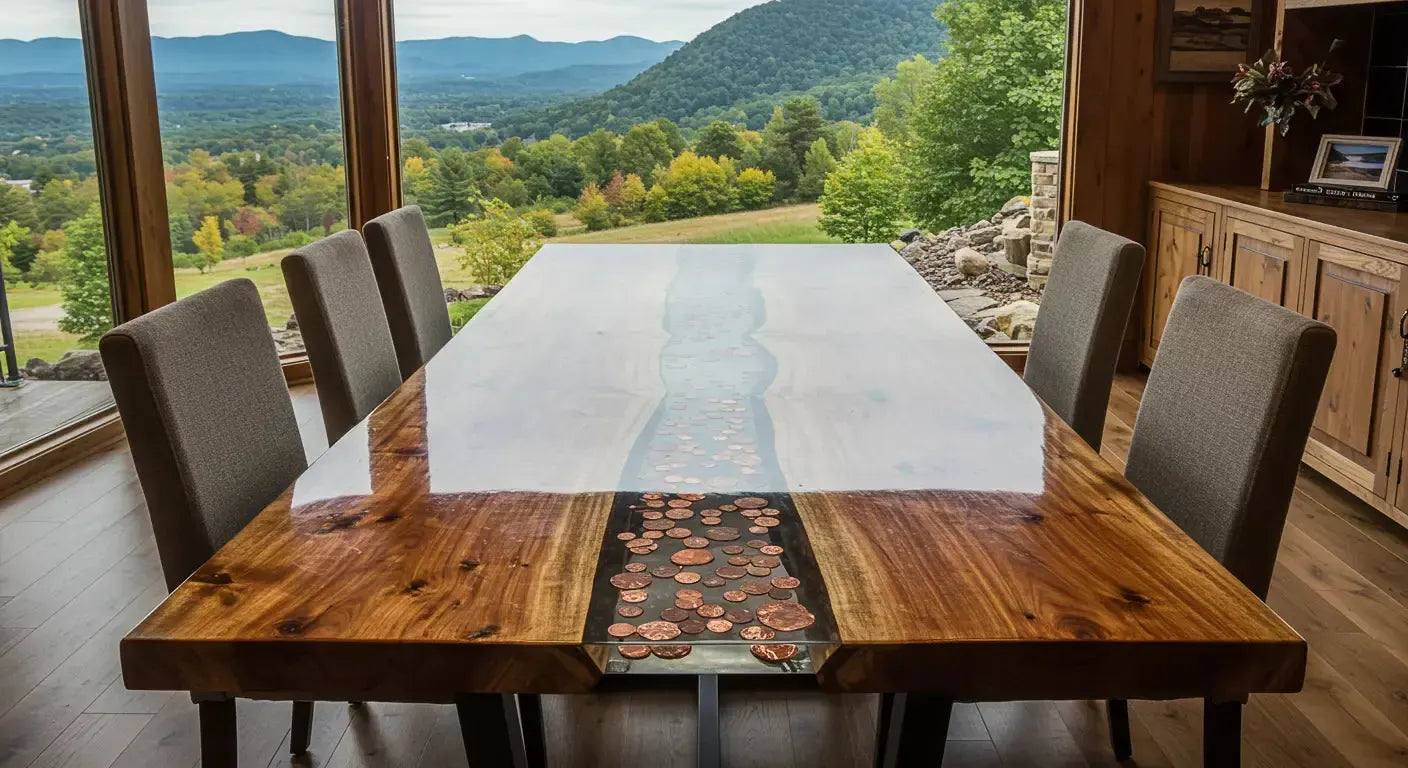
Choosing the Right Table Base
I wanted the resin and coins to shine, so I kept the base minimal. Clean lines, black steel legs, and a simple rectangular shape. (For softer spaces, I’ve also leaned on wood base styles like these.)
Deciding on Penny Patterns and Layouts
This was the fun part. I considered spirals, gradients, even a U.S. flag layout. I ended up going with a tight grid—simple, bold, and timeless.
Gathering Materials
Collecting and Cleaning Pennies
I needed around 800 pennies. I cleaned them using vinegar and salt—quick soak, light scrub, rinse, done. Some I left oxidized for texture.
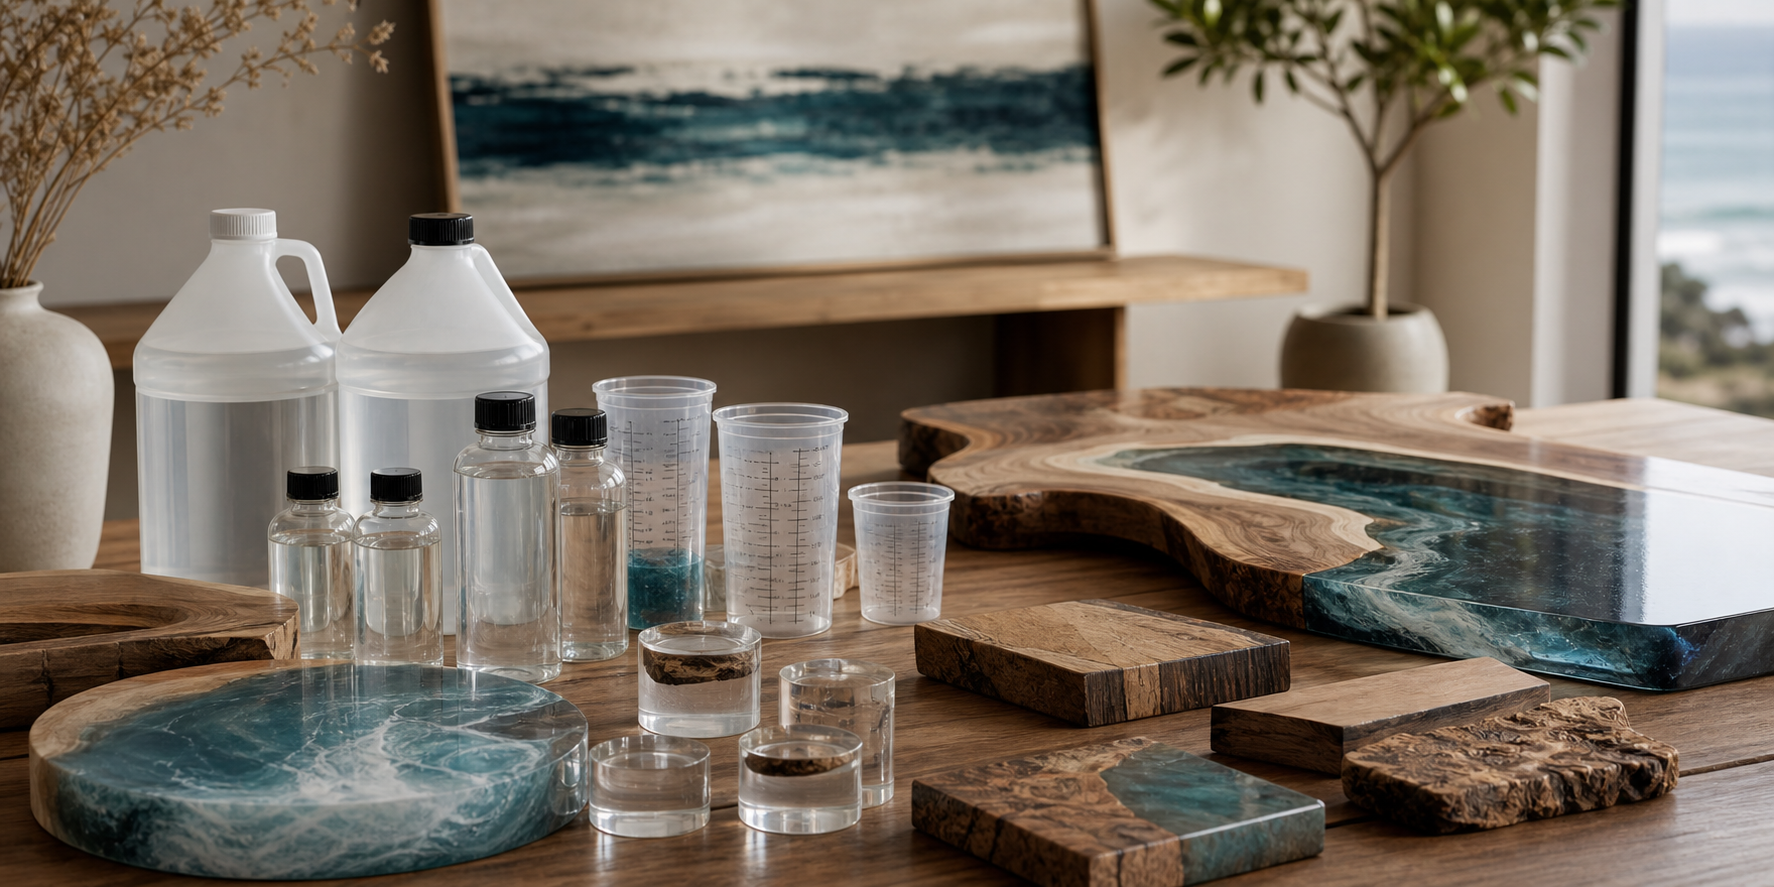
Selecting the Appropriate Epoxy Resin
I used a deep-pour epoxy for this coin epoxy table—thick enough to fully cover the pennies in one go, and UV-resistant to prevent yellowing over time. I’ve also compared a few other formulas in this breakdown on art resin vs. table top epoxy.

The Creative Process
Arranging Pennies: A Test of Patience
This step took way longer than expected. I lined them up edge to edge, using a small straightedge and tape to keep things even. Every shift or gap showed once the resin hit.
Mixing and Pouring the Epoxy
Once the pennies were set, I poured in stages. A thin seal coat first (to prevent bubbles sneaking up from underneath), then the final flood coat the next day.
Watching the Transformation Unfold
The moment the resin hit the coins? Magic. The copper tones lit up. The surface looked like a museum case—flat, glossy, and layered with history.
Challenges and Solutions
Dealing with Air Bubbles
Even with a seal coat, a few bubbles popped up between coins. I used a torch and heat gun between layers to smooth them out. It’s the same method I used when polishing my mirror-like finish builds.
Ensuring a Level Surface
Leveling the table before pouring was critical. One corner off by a hair, and the epoxy would pool. I checked three times—and shimmed one leg before pouring.
Learning from Mistakes
Next time, I’d use a grid template to lay coins even faster. And I’d double-seal oxidized coins—some released tiny air pockets as the resin cured. It reminded me of the kind of trial-and-error I went through in my biggest resin fails.

The Final Reveal
Seeing the Finished Product
The final piece came out better than I pictured. Warm copper tones under a glass-smooth surface. The mix of old and new felt right—just like when I built my nature-inspired charity collection.
Sharing the Table with Friends and Family
It instantly became a conversation starter. Everyone had a favorite coin, a year that meant something. That kind of personal reaction? That’s what I build for.
Reflections and Advice
What I Learned from the Experience
You don’t need exotic wood or wild pigments to make something memorable. Sometimes, the best resin table designs come from what’s already in your hands—or your pocket.
Tips for Those Considering a Similar Project
- Use a seal coat to prevent bubbles.
- Clean coins thoroughly (or embrace the tarnish).
- Pour in a dust-free space—resin shows everything.
- Don’t rush the curing time—wait 5–7 days before final sanding or top coating. (More tips like these in this beginner guide.)

Conclusion
Embracing Creativity in Everyday Life
This table reminded me that inspiration doesn’t always come from Pinterest boards. Sometimes it comes from a jar of change on your desk.
Encouragement to Try New Projects
If you’re curious about making your own coin epoxy table, go for it. It’s simple enough to tackle in a couple of weekends, and the result? A one-of-a-kind piece that tells a story only you could tell.
If you want a custom piece or hit a wall building your own, feel free to drop a comment or reach out—happy to help. Have a blessed day!


Share:
1 comment
Excelente job espectacular table!
How did you seal the penies?
Thanks