I used to think the resin was the star of the show — until I finished my first epoxy tabletop and had no idea what to put under it. That’s when I realized something most makers don’t talk about enough: the table legs matter just as much as the pour. They’re not just there to hold the thing up. The right legs can elevate your design, change the entire vibe of the piece, and — let’s be honest — make or break the final impression.
Introduction: The Importance of the Right Table Legs
Why the base matters as much as the tabletop in epoxy table design
You spend all this time choosing the wood, mixing pigment, sealing bubbles, and sanding until your arms fall off. But without the right epoxy table legs, the whole thing can fall flat — visually and literally. A table’s base is its foundation, and in epoxy work, that foundation needs to be strong, stable, and styled to match the story you’re telling on the surface. (You can see what I chose for my own living room centerpiece here.)

Exploring Different Types of Table Legs
Hairpin Legs: A minimalist’s dream
I’ve used these on smaller resin tables — especially round coffee tables. Hairpins are lightweight, affordable, and let the epoxy do the talking. But they’re not always the best for larger pieces. If you’re building a 7-foot river table? You’ll want more muscle. (For examples, check out some of the coffee tables in our lineup.)
Industrial Metal Legs: For a sturdy, modern look
These are my go-to for bigger builds. Powder-coated black steel, geometric shapes, or even simple rectangular legs all fall into this category. They balance out the glossy, organic nature of resin with structure and contrast. One of my favorite table bases for epoxy tables was a trapezoid design — bold, solid, and impossible to ignore. This kind of combo shows up a lot in our river table collection.
Wooden Legs: Bringing warmth and tradition
For a more rustic or farmhouse feel, I’ve paired resin tables with chunky wooden bases. Especially with muted or earthy pours, wood-on-wood keeps things grounded. Just make sure the stain and finish complement — not clash — with your epoxy color. (If you’re unsure what type of wood works best, here’s what I recommend based on trial and error.)
Custom Designs: When off-the-shelf doesn’t cut it
Some builds call for something truly custom. I’ve worked with fabricators to weld legs that match a client’s logo or mimic natural forms like branches. These aren’t necessary for every table, but when you want a statement piece? Custom legs are how you complete the vision.
Factors I Considered When Choosing Table Legs
Weight and Stability: Ensuring the table can handle daily use
Epoxy resin is heavy. Add a thick slab of walnut and you’re pushing serious weight. That means flimsy legs won’t cut it. Always check the weight rating — especially if you’re buying legs online. (More on durability here: Are Epoxy Tables Durable?)
Height and Proportions: Matching the legs to the table’s dimensions
A coffee table, console, and dining table all need different leg heights. But also think about visual weight. Skinny legs on a chunky tabletop? Can look unbalanced. I use painter’s tape and mockups to “preview” proportions before committing. This came in handy when I was figuring out the scale for my first waterfall-style build.
Style and Aesthetics: Complementing the epoxy design
This one’s personal. If your epoxy table has glowing blue resin and space-age vibes, maybe don’t throw rustic barn legs under it. Your resin table base should echo or contrast your design — not fight it.

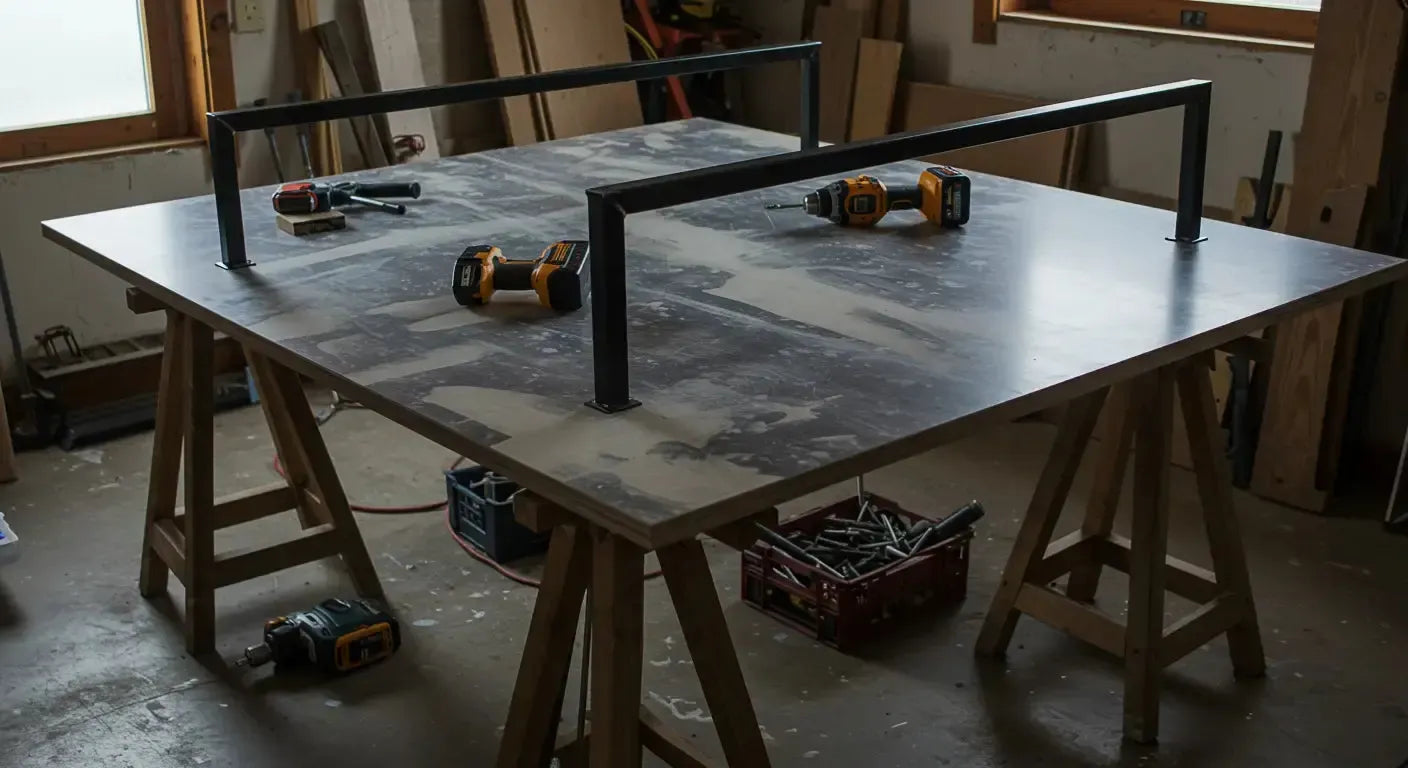
Installation Insights: Attaching Legs to an Epoxy Table
Tools and Materials Needed
Drill/driver Wood screws or machine bolts (depending on leg type) T-nuts or threaded inserts (for removable legs) Measuring tape, level, square
Step-by-Step Guide to Secure Attachment
Mark your placement using painter’s tape or pencil. Pre-drill holes (especially near epoxy edges — it prevents cracking). Attach hardware (I like threaded inserts for durability). Double-check level before tightening everything down.
Common Pitfalls and How to Avoid Them
Don’t skip pre-drilling. Watch out for uneven leg heights. Make sure your screws are long enough to grip the wood but not punch through the surface. I go deeper into common install mistakes in the repairs and maintenance FAQ.
My Final Choice and Why It Worked for Me
The decision-making process
For my personal living room epoxy table, I went with matte black U-shaped steel legs. The top had swirling ocean resin with a live-edge slab, so the contrast was perfect. The legs felt grounded, modern, and let the color pop. (This combo was part of my collection that gives back.)
Reflections on the outcome
Honestly, the right legs made the table feel like it belonged in a magazine. It changed how the piece sat in the room — from “cool art project” to “finished furniture.”

Conclusion: The Impact of the Right Table Legs
How the right legs transformed my epoxy table
If you’re obsessing over your resin pour and ignoring your base — trust me, you’re missing half the design. Choosing the best legs for your resin table isn’t about copying a Pinterest build. It’s about finding something that fits your space, your style, and the weight of the story you’ve poured into that slab. Start simple. Experiment. Upgrade later. But don’t underestimate what’s holding your masterpiece up.
Here's My Favorite Places to Grab Table Bases:
Thanks for taking the time to read—I really appreciate it. I hope something in my process (or my mistakes) helps you along the way. If you want a custom piece or hit a wall building your own, feel free to drop a comment or reach out—happy to help. Have a blessed day!


Share: