Resin Is Pure Chaos — and That’s What Makes It Magic
It's glossy, unpredictable, and absolutely addictive. Whether you're making jewelry, pouring wall art, or going full send on a resin and wood DIY river table, there's one thing you learn fast: resin doesn’t forgive sloppy prep.
Resin Art Tips and Tricks for Beginners
Start small, and don’t overthink it. Cover your workspace, measure precisely, mix thoroughly, and protect your cure. I learned quickly that skipping steps (or rushing them) is the fastest way to waste time and materials. And seriously—don’t pour without gloves.
Why I Fell in Love With Resin (Even After the Fails)
I’ve had pieces go cloudy, molds tear in half, and drips ruin my floors. So if you're just starting out, here are 10 hard-earned tips that would’ve saved me a ton of time (and resin).

My Top 10 Resin Tips (Learned the Hard Way)
1. Cover More Than You Think You Need
- Resin will find the one spot you didn’t protect. Lay down a huge drop cloth—plastic shower curtains or trash bags work great—and layer on silicone mats or wax paper.
- Pro Tip: Resin doesn’t stick to silicone. Cured drips? Peel them off like stickers.
2. Prep Your Molds Before You Mix
- The clock starts the second you mix resin. Don't waste a minute looking for your mold or fumbling with mold release.
- Use mold release spray — it makes demolding easier and extends your silicone mold's life.
Resin Mold Tips and Tricks
Use a proper mold release spray—it keeps your molds from tearing and extends their life. Always clean your molds after each use to prevent dust, lint, or leftover resin from ruining your next pour.
3. Measure Like You’re in a Lab
- Guesswork = disaster. Some resins use a 1:1 ratio by volume, others need a scale. Always check the label.
- Volume? Use measuring cups. Weight? Use a digital scale.

4. Mix Like It Matters (Because It Does)
Follow your brand’s instructions exactly or risk soft spots and uncured surfaces.
5. Slow Stir = Fewer Bubbles
- Stir slow and steady, scraping the sides and bottom.
- Hit it with a heat gun or torch if bubbles sneak in—but don’t overdo it.
- Too much heat = yellowing, burns, or warped molds.
Easy Resin Art Tips and Tricks
Keep it simple at first:
- Choose clear molds
- Use 1:1 mix ratio epoxy resin
- Start with small batches and don’t pour too deep on your first try.
- Protect your work surface — cured resin on your desk is forever.
6. Keep Your Room Between 70–75°F (21–24°C)
Cold resin cures slow and sticky. Hot rooms cause flash cures and warping. Use a $10 digital thermometer to keep temps stable.
7. Gear Up: Gloves, Goggles, Sleeves
- Wear nitrile gloves, safety goggles, and long sleeves. Resin safety gear isn’t optional.
What Resin Artists Are Saying on Reddit
Reddit’s full of gold (and fails). I’ve seen tips like:
- Using pressure pots to reduce bubbles
- Creating marbled effects with pigments
- Choosing the best resins for resin wood tables, jewelry, and art
Tip: Lurk in r/ResinCasting or r/DIYResin — you’ll learn fast.
8. Ventilation Isn’t Optional
- Low-odor ≠ no fumes. Set up fans or work near open windows. Even better: use an air purifier.
9. Cover Your Cures
- Cover your piece with a clear bin or box to protect from dust, bugs, and dog hair.
10. Walk Away. Let It Cure.
- Don’t poke it. Let it sit.
- Leave leftover resin in the mixing cup as your test batch — when that’s cured, your piece is too.

Resin Casting Tips and Tricks
- Warm your resin bottles before mixing to reduce bubbles.
- Pour in layers if you’re going deep.
- If embedding items (like flowers), seal them first to prevent bubbles.
Resin Molding for Beginners
- Start with silicone molds — forgiving and reusable.
- Use simple shapes to start.
- Don’t forget mold release spray.
Resin Pouring for Beginners
- Level your workspace before pouring.
- Mix slow, pour steady, let it fully cure before handling.
- If something goes wrong — bubbles, stickiness — don’t panic. You’re learning.
Common Questions People Ask
What is needed to start resin art?
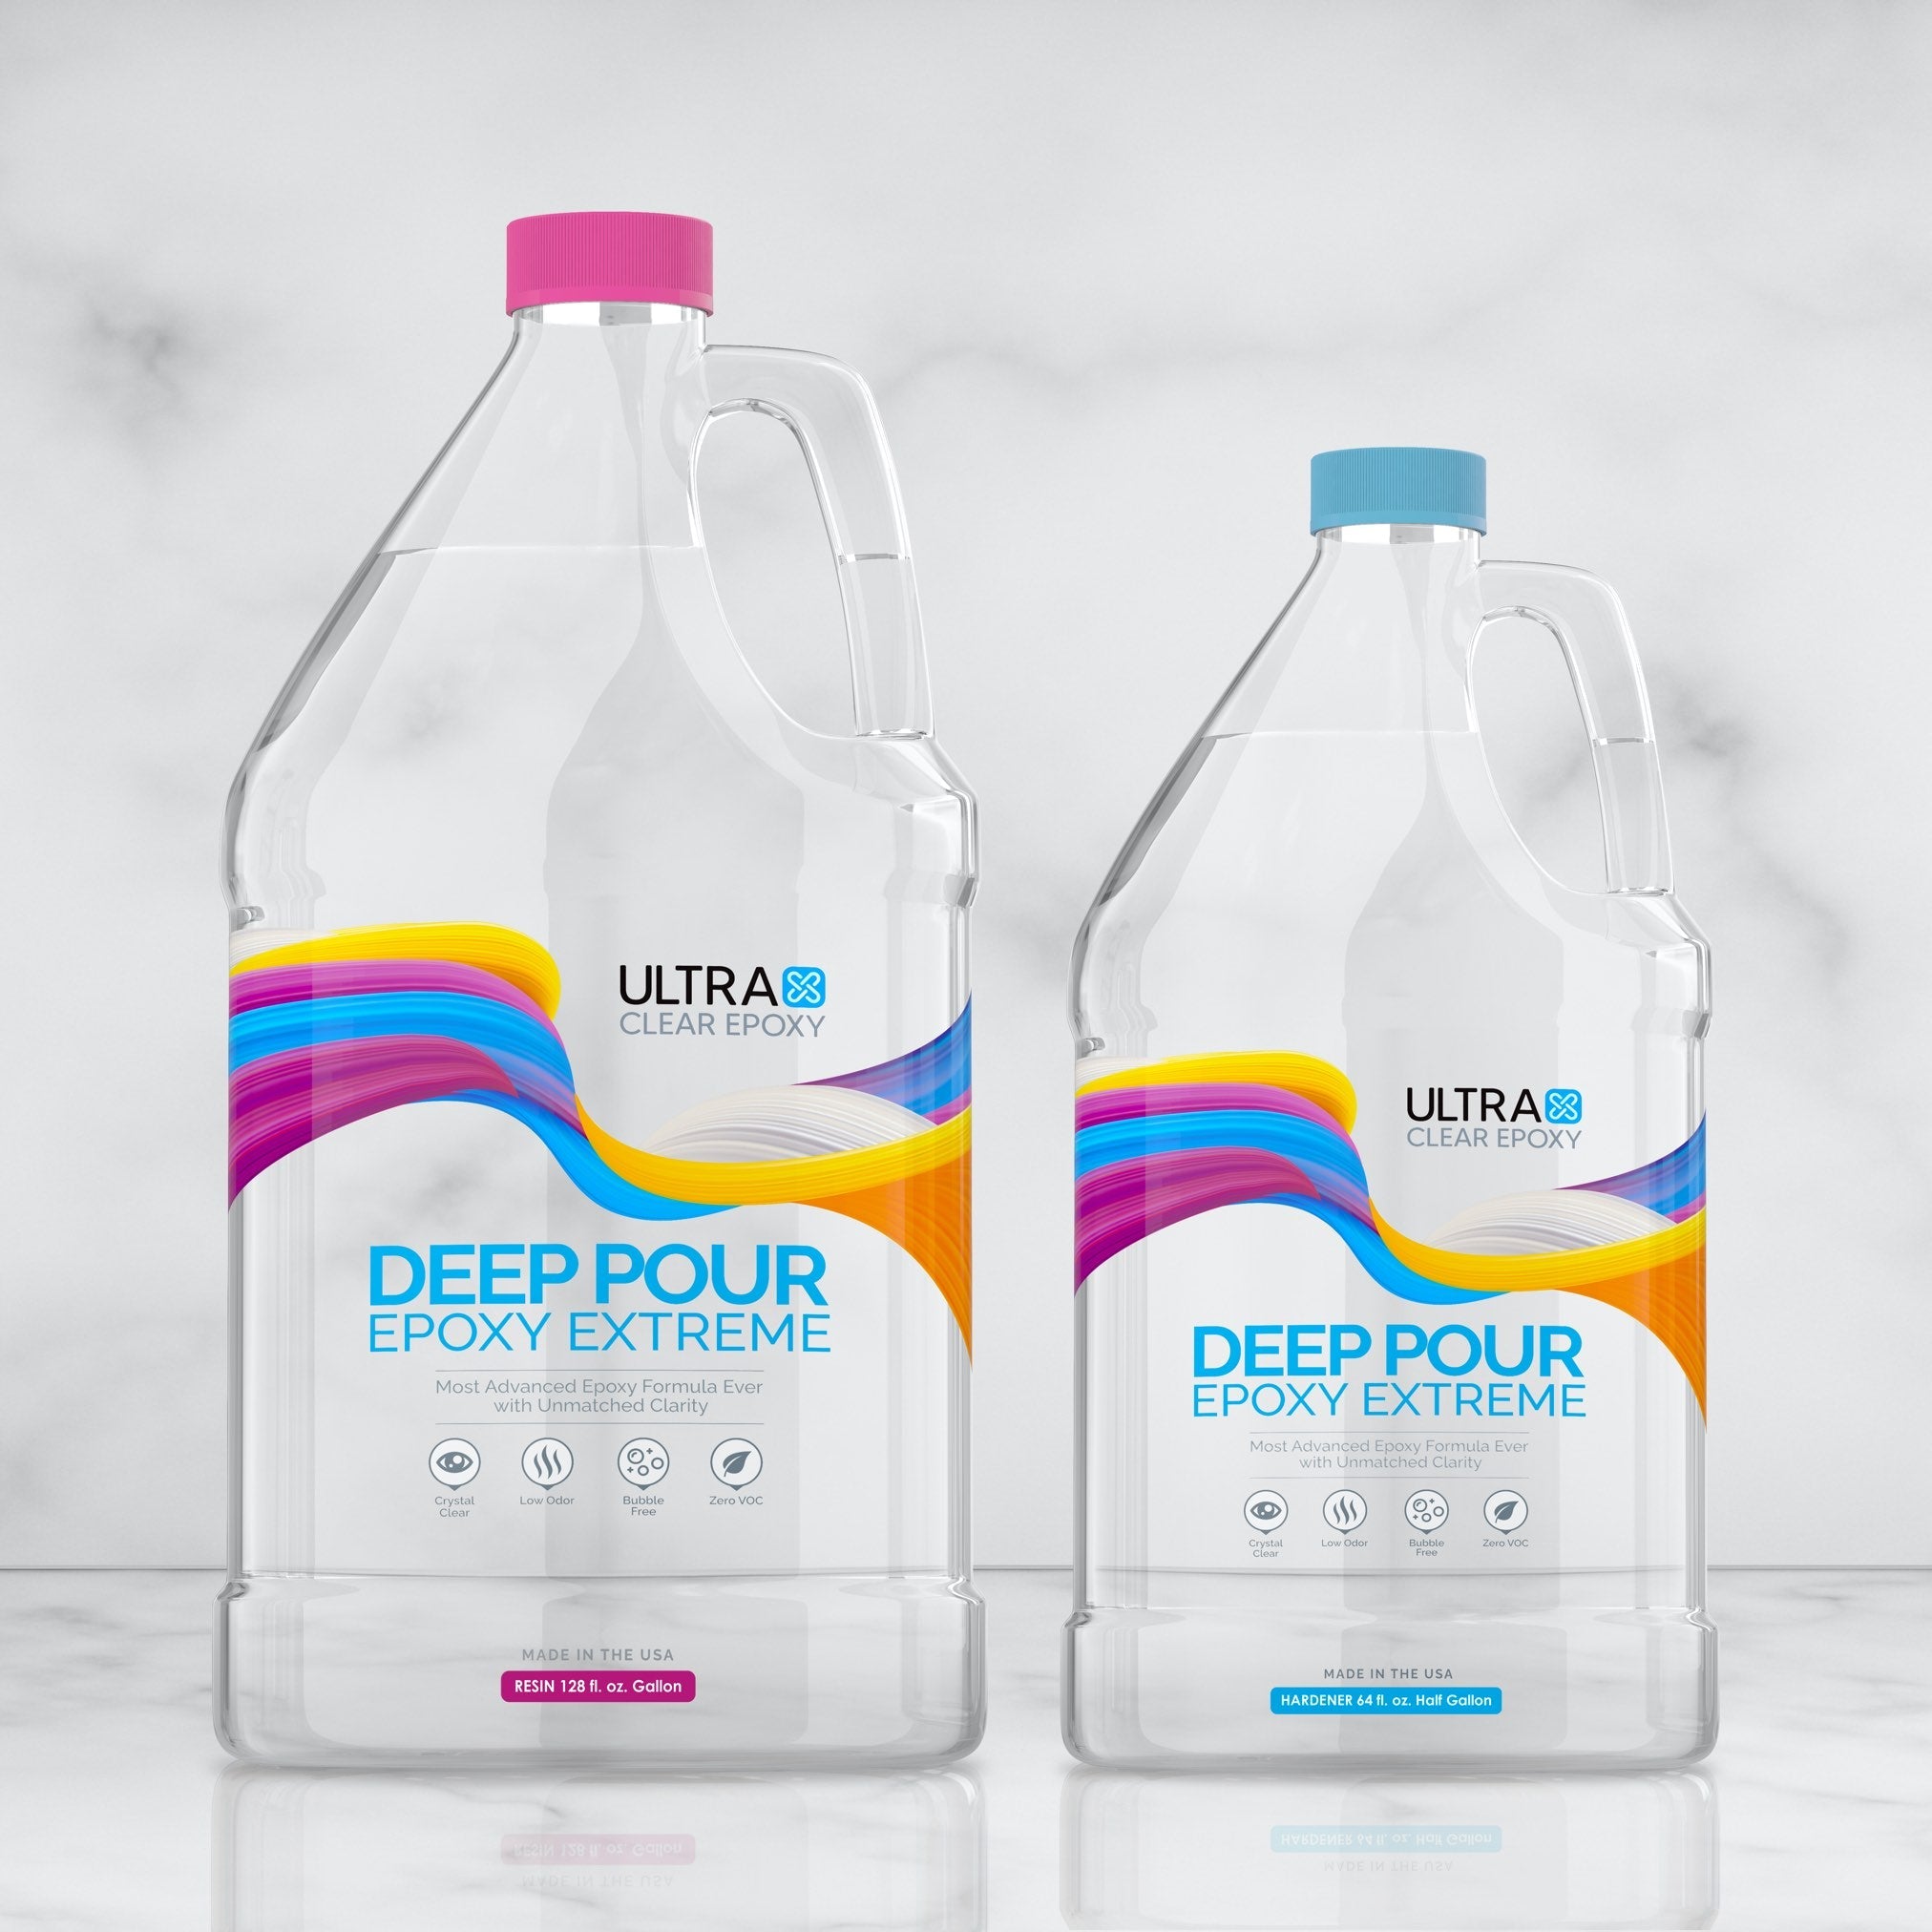
At minimum: epoxy resin, hardener, molds, mixing cups, stir sticks, pigments, gloves, and a clean work surface. Add PPE (respirator, goggles) for safety, especially when scaling up to DIY resin table builds.
What are the ingredients to make resin art?
Epoxy resin (Part A), hardener (Part B), pigments or dyes, plus any embeds like dried flowers, shells, or wood pieces.
What supplies are needed for resin art?
- Epoxy resin & hardener
- Mixing tools
- Silicone molds
- Pigments or dyes
- Heat gun or torch for bubbles
- Nitrile gloves, goggles, respirator
How to make resin step by step?
- Prep your workspace
- Measure & mix resin carefully
- Color & pour into mold
- Remove bubbles
- Let cure fully
- Demold, sand, and finish
Bonus: Join the Resin Brain Trust
Community Taught Me More Than YouTube Ever Did
Everything I learned came from trial, error, and other makers sharing what worked. That’s what makes the Resin Society artist community so powerful.
Follow Artists, Ask Questions, Share the Wins
Join the community. Ask questions. That’s how you grow.
Final Thoughts: Resin Is a Wild Ride
Failures Are Just Glossy Wins in Progress
Resin isn’t just a craft—it’s a wild ride. But if you stick with it, every sticky fail turns into your next glossy win. I’ve been there. Still am.
I’m Still Learning—And That’s the Best Part
Who Am I?
From Apartment Pours to This
I’m Solomon, founder of The Resin Society. I started out making small resin and wood tables on my apartment floor with a cheap mold and a bag of faux moss. Now I’m obsessed—building bigger pieces and connecting with makers worldwide.
Want a Custom Piece? Let’s Talk
The goal? Build a global crew of resin artists. Share ideas. Offer custom work. And keep resin weird, beautiful, and alive. If you feel like checking out the project you can see it at resinsociety.net
📩 Got questions? Want feedback on your piece? Drop me a message—I’m here for it.


Share: