There’s nothing more gut-wrenching than pouring your heart (and about $500 worth of resin) into a table—only to watch it warp like a Pringle a few weeks later. Trust me, I’ve been there. If your epoxy table bowed, cupped, or twisted, here’s what likely caused it—and how I learned to stop it from happening again.
First — You’re Not the Only One
Warping, cupping, bowing — it happens
Even the best builds can shift if the conditions aren’t right. It’s not always about how careful you were with the epoxy—it’s often about the wood underneath. I dive deeper into that in my wood prep guide.
Epoxy can’t always “lock” the wood in place
A lot of people assume epoxy stabilizes everything. But wood is unpredictable. If it wants to move, it’ll find a way—even with resin poured around it.
The wood is still alive (sort of), and that’s part of the challenge
Even kiln-dried wood breathes. It responds to moisture, heat, humidity, and pressure. Understanding that is key to stopping warped epoxy resin disasters before they start. It’s also why I wrote this page on epoxy maintenance.

Here’s What Usually Causes Warping
Moisture in the wood (not dry enough before pouring)
This is the most common issue.
- Moisture over 10–12% = high risk of movement
- Even slabs that feel dry can trap water inside
- I use a moisture meter every time now. No exceptions.
Uneven curing or temperature changes during the pour
- Resin cures faster in warm spots
- Uneven curing can cause tension inside the slab
- This is especially risky in deep pours or if your shop temps swing overnight
One side sealed, the other exposed (classic cupping scenario)
When you seal only the top, the bottom breathes—and that’s when the slab curls. I've made that mistake. Once. I talk more about sealing in my polishing and topcoat blog.
Thin slabs or soft woods moving more dramatically
Thinner boards are more reactive. Same with soft woods like cedar or pine. They twist, cup, and flex much easier than dense hardwoods.
Poor support or tension from a flimsy base
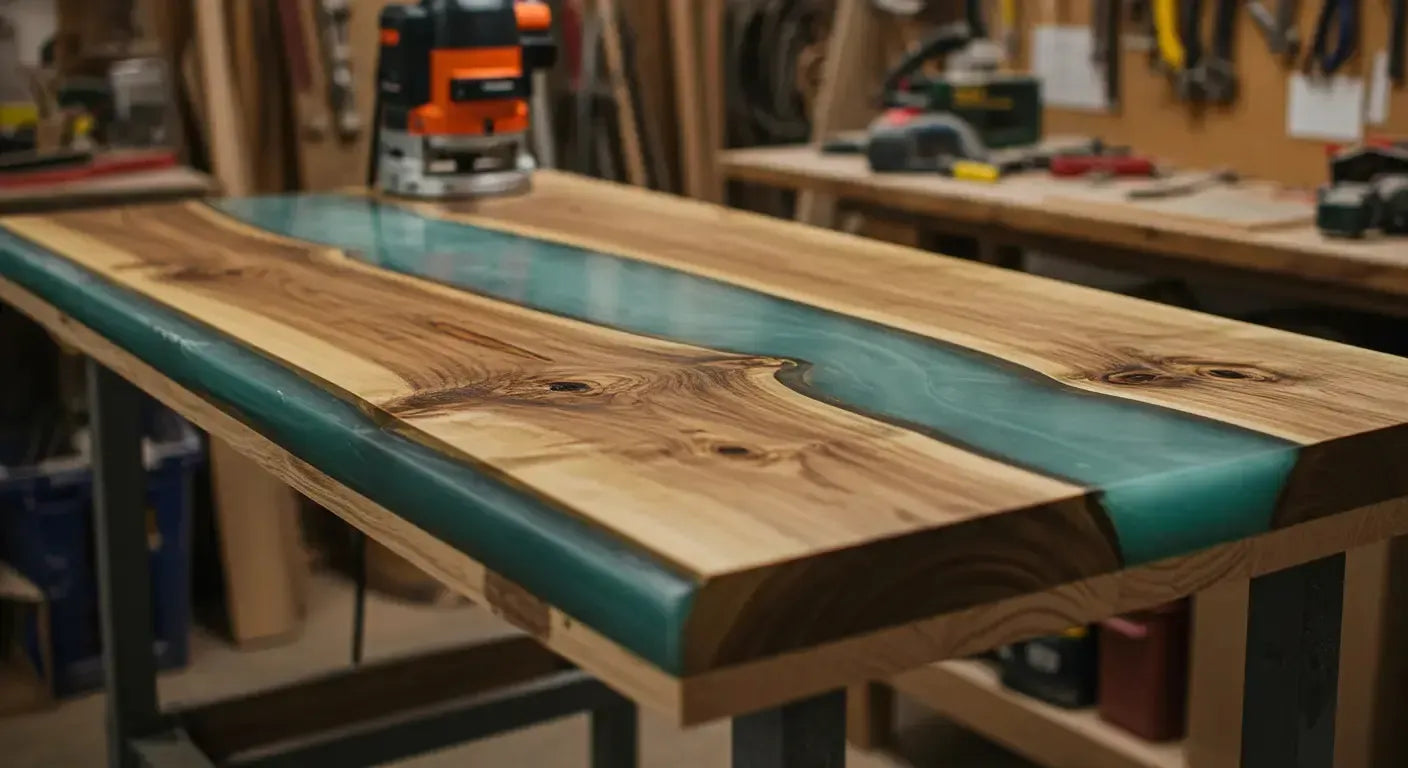
A weak table base can let a slab flex over time. I always reinforce mine now with full-length steel supports or thick hardwood bases. If you’re building or buying one, this guide might help.

My Own Experience With Warping
The first time I tried a single slab table… it curled like a Pringle
It looked incredible for about a week. Then the edges lifted and the center dipped. I’d skipped sealing the bottom and rushed the drying time.
I didn’t stabilize the slab — lesson learned
I thought the resin would “hold it together.” It didn’t. The slab needed support. Now I always add bowties, stabilizers, or full perimeter molds when needed.
Now I always let slabs acclimate and seal both sides
Wood needs to rest in your workspace for a few days—even a week—before the pour. I also seal both sides with a thin resin coat to equalize the tension. If I’m unsure, I revisit my notes from this blog about my epoxy build process.

What I Do Differently Now to Prevent It
Always moisture test — below 10% is the goal
Don’t trust your gut. Trust the meter. If it's above 10%, I let it dry longer or pick a different slab.
Seal both sides of the slab before the final pour
A thin seal coat on both faces locks in moisture balance. It’s saved more than one build from going sideways.
Use cauls or a strong form to hold things flat
During the pour, I clamp the slab or use cauls to keep the wood flat until the resin fully cures.
Choose thicker slabs or stabilized wood for better results
I avoid anything under 1.5" unless it’s going into a small piece or reinforced with resin from both sides.
Use a base that keeps the tension evenly distributed
Custom steel legs, hardwood rails, or even C-channel inlays help the slab resist movement once finished. Here’s how I choose bases now.

What to Do If It Already Warped
Light warping? Try gentle clamping and flattening
- Light cupping can sometimes be corrected with damp towels + weight
- Clamp it to a flat surface and let it sit for a week
- Sometimes that’s enough to rebalance the tension
More extreme? You might need to sand, reseal, and flatten with epoxy
- Sand down the high spots
- Use a router sled to re-level
- Pour a fresh topcoat of resin to bring the table back to flat
Worst case: turn it into wall art or a bench — I’ve done that too
If a top is beyond repair? Cut it down, repurpose it, or lean into the curve. One warped slab became one of my most commented-on wall pieces. And hey—it’s still featured in our Lineup v1.0 collection.
Wrapping Up: Resin Can’t Save Bad Wood — But Good Prep Can
Epoxy’s strong, but it’s not magic
It won’t force wet or unstable wood to behave. It highlights the flaws—or locks them in forever. If this hit home, you might want to check my post on long-term epoxy durability.
Wood will always try to move — your job is to outsmart it
Every slab has memory. Every pour has tension. The trick is managing both so they don’t fight each other.
Take your time prepping and sealing — it’ll save you weeks of regret
Warping is almost always preventable. The cure? Slow down. Let the wood rest. Seal smart. Pour right.
Thanks for taking the time to read—I really appreciate it. I hope something in my process (or my mistakes) helps you along the way. If you want a custom piece or hit a wall building your own, feel free to drop a comment or reach out—happy to help. Have a blessed day!


Share:
1 comment
hi,very good info help me out a lot you got me back on the right track . Thank you