Every time I make an epoxy table, it still feels like I’m building something more than just furniture. It’s a mix of vision, patience, chemistry, and about a hundred opportunities to screw something up if you’re not careful. If you’re wondering how epoxy tables are made—from the first slab to the final polish—this is the process I follow.
Where It All Starts: Choosing the Wood and the Vision
Why I Start With Live Edge Slabs
For me, it’s always about the wood first. Live edge slabs bring the character. The knots, curves, cracks—they shape everything that comes next. I don’t try to fight the wood’s imperfections—I design around them.
More about why I keep coming back to live edge in this blog on why live edge works.
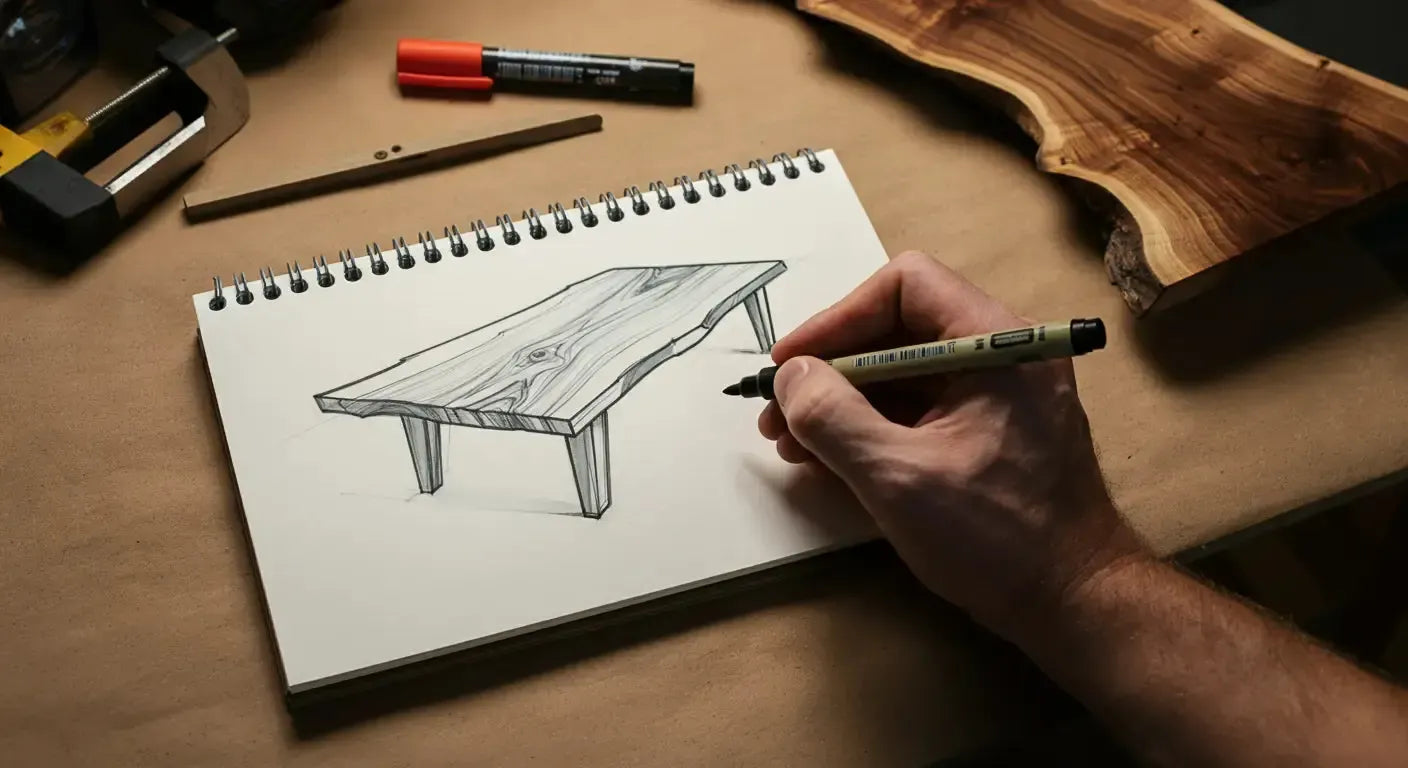
Sketching the Design (River? Inlay? Ocean Scene?)
I usually sketch out a few concepts:
- River tables with colored epoxy in between
- Botanical inlays or faux plant scenes
- Ocean pours that mimic depth and wave breaks
Every slab tells you what it wants to be—it’s just about listening to it. You can see some of my builds like this turquoise ocean epoxy table or this pine cone embedded epoxy table.
What I Look For in Grain, Shape, and Color
- Strong, bold grain that’ll still show through the epoxy
- Unique curves for river-style layouts
- Contrasts in tone (light sapwood vs. dark heartwood) that pop once finished

Prepping the Wood: Where Most of the Work Happens
Removing Bark and Stabilizing the Edges
Bark holds moisture—and resin hates moisture. I strip it clean, stabilize cracks, and fill voids with thin CA glue or tinted resin.
Sanding, Leveling, and Sealing Before the Pour
- Sand to 80–120 grit to give the resin something to grab
- Seal the surface with a thin coat of epoxy or shellac to prevent bubbles
- Double check for warps—once the pour starts, it’s too late
The Mold: Why Mine Leaked Once (And What I Learned)
My first mold? Total disaster. Leaked a full gallon of resin. Now I always:
- Use HDPE panels or melamine
- Seal every seam with silicone caulk
- Clamp everything tight and spray with mold release for easy demolding

Mixing and Pouring the Epoxy Resin
Choosing Pigments, Tints, or Keeping It Clear
Sometimes I go vibrant—turquoise, black, metallic swirls. Other times, I keep it minimal and just let the wood speak. Pigments I love:
- Alcohol inks for depth
- Mica powders for shimmer
- Liquid tints for that ocean glass look
Deep Pour vs Layered Pours — What’s Safer
- Deep pour epoxy can handle up to 2" pours but needs slower cures
- Layered pours (½" at a time) are safer in humid environments or with complex designs
- If I’m unsure—I pour in layers
That Moment the Resin Starts to Set (aka Don’t Panic)
There’s always a moment mid-pour where it feels like everything’s going wrong. Resin heats up. Dust floats down. Pigment starts drifting. I’ve learned to: pour slow, cover the resin, and walk away once it starts curing. Trust the process.
Dealing With Bubbles, Heat, and Dust
- Hit the surface with a torch or heat gun to pop bubbles
- Keep the room at 70–75°F using a digital thermometer
- Cover the mold with a dust tent

What Happens After It Cures
Demolding (The Most Satisfying Part)
Peeling off the mold is still my favorite moment. That first glimpse of resin and wood together never gets old.
Flattening and Surfacing (Router Sled or Planer)
- Router sled for bigger builds — slow but dead flat
- Planer for smaller pieces — faster but requires care
Sanding and Polishing to That Glassy Finish
- Work through grits 80 → 220 → 400 → 600 → up to 3000
- Wet sanding keeps everything clean
- Finish with polish and foam buffing pads

Attaching Legs and Finishing Touches
My Go-To Leg Styles
- Modern steel bases for large tables
- Hairpins for coffee tables
- Custom wood legs for high-end one-offs
Oil Finish vs Epoxy Topcoat
- Oil: easy upkeep, natural matte look
- Epoxy topcoat: glassy, heavy-duty, good for commercial use
My Delivery Checklist
- Clean and polish before delivery
- Apply felt pads to all legs
- Include a full care guide for the customer

Common Mistakes I’ve Made (So You Don’t Have To)
Mixing Too Fast = Bubbles
Stir slow. Scrape constantly. Don’t whip like pancake batter.
Not Leveling the Mold = Nightmare
Even a slight tilt ruins the pour. I use a level before every pour.
Rushing Cure Time = Soft Spots
Wait at least 72 hours before sanding or surfacing the piece.

People Also Ask
What is needed to make an epoxy table?
At the core, you need a good live edge slab, epoxy resin, pigments if you want color, a mold to pour into, and basic tools like a sander, polisher, and router sled (or planer). I use a lot of little extras—sealers, caulk, mold release—but those are the essentials. I broke down everything I actually use in this full tool list.
How long will epoxy last in a table?
If you build it right and maintain it, an epoxy table can easily last decades. UV, heat, or cheap resin can shorten its life, but with good materials? You’re looking at 20+ years easy. I go way deeper on lifespan right in this blog.
Is it expensive to make an epoxy table?
It adds up fast. Wood slabs aren’t cheap, resin’s pricey, and the gear can get expensive if you’re starting from scratch. But the result is one-of-a-kind. I ran the full numbers right here if you want to see what I actually spent.
Is making an epoxy table hard?
It’s not hard — but it’s picky. Every step matters: moisture, mixing, pouring, curing, sanding. The margin for error is small, but totally doable if you take your time. I share all my mistakes (and how I fixed them) in this troubleshooting guide.
Final Thoughts: Why I Still Get Hyped Making These Tables
The wood. The resin. The pigments. The finish. It never gets old seeing it all click together. No two tables feel the same, and that’s the magic of resin. Thanks for reading! If you want a custom epoxy table or need help with your own build, feel free to reach out!


Share: