This wasn’t supposed to be a project. It started as a leftover pour. I had just finished a small ocean resin tray and had some deep blue pigment, white wave paste, and a bit of clear resin left in the mixing cup. No plan, no pressure—just curiosity.
I grabbed a round wood panel, taped off the edges, and decided to try something I'd never done before: make a resin clock that felt like the ocean. What came out of that session surprised me—and now it’s hanging in my entryway, stealing the spotlight from every other piece on that wall.
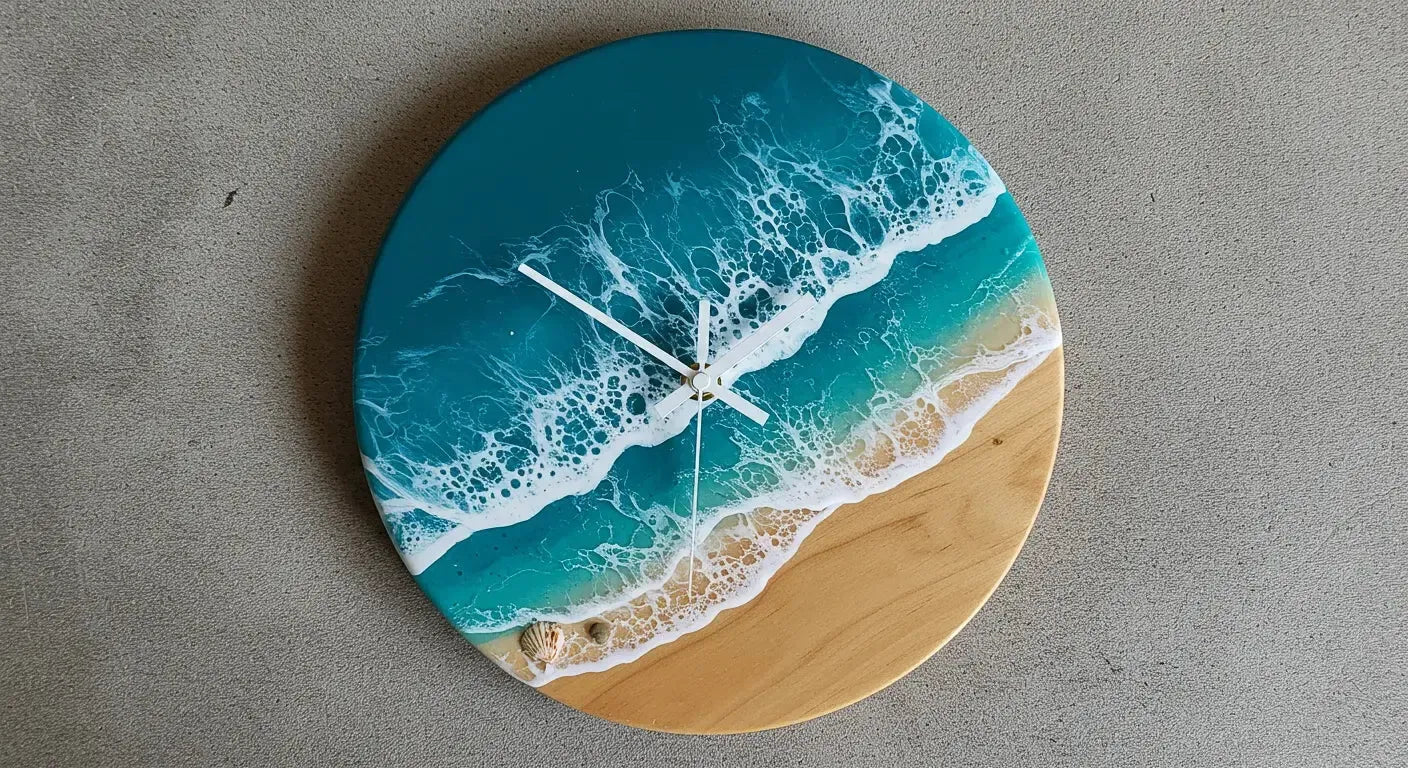
You can shop the ocean resin clock here if it calls to you like it did to me.
The Inspiration: Ocean Vibes + Minimal Design
I wanted something that felt like a wave rolling onto the shore. Not too busy, not too bold—just that clean **ocean-meets-wood** aesthetic. I’ve done larger ocean builds before, but this was my first time attempting it in a small, circular format with clock hardware.

Base and Prep: Wood Disc, Sanded Smooth
I used a pre-cut 12” birch wood circle I had in the shop. Sanded it smooth, sealed it with a light coat of clear resin to avoid bubbles later, and taped the bottom edge with painter’s tape to catch any drips. I drilled the center hole early to save myself the post-pour stress.
Color Pour: Building the Ocean Layers
I used three tones: deep navy blue, sea green, and clear. I poured them in rough bands across the wood, then used a heat gun and stir stick to blend them slightly—leaving negative space and “shoreline” curves.
The White Wave Trick That Worked
To create the frothy effect, I used a tiny bit of white alcohol ink and dragged it lightly over the edge of the colored resin with a toothpick. Then I blasted it with a heat gun from above. The lacing and wave effect that emerged was magic.

Letting It Cure (Without Overthinking It)
I didn’t layer this one. Just a single pour, left undisturbed for 48 hours. The wood grain underneath the clear edge gave it depth. The waves stayed crisp. I didn’t touch it for two full days because I didn’t want to jinx the finish.
Sanding + Hardware: Turning Art Into a Clock
I lightly sanded the edges and the back, then installed a simple black clock mechanism kit I ordered online. The hands were gold—minimal and modern, which worked perfectly with the deep blues of the ocean pour.
The Final Result
It hangs just above my console table now. It’s the first thing guests comment on when they walk in. And the wild part? It started as an afterthought. A way to use up leftovers. Now it’s a centerpiece.

Thinking of Trying Your Own Ocean Resin Clock?
Start with a scrap wood circle. Use leftover pigment. Keep it simple. The beauty of resin is that it moves on its own—and sometimes your best pieces happen when you’re not trying so hard.
For more ocean-inspired projects and experiments that went better than expected, check out:
- What happened when I tried an ocean resin table
- My underwater reef-inspired epoxy table
- How I embedded real shells into a functional piece
— Solomon
Founder, The Resin Society
Started with small resin tables in my apartment — now building a global community of artists, collectors, and custom design lovers. resinsociety.net


Share: