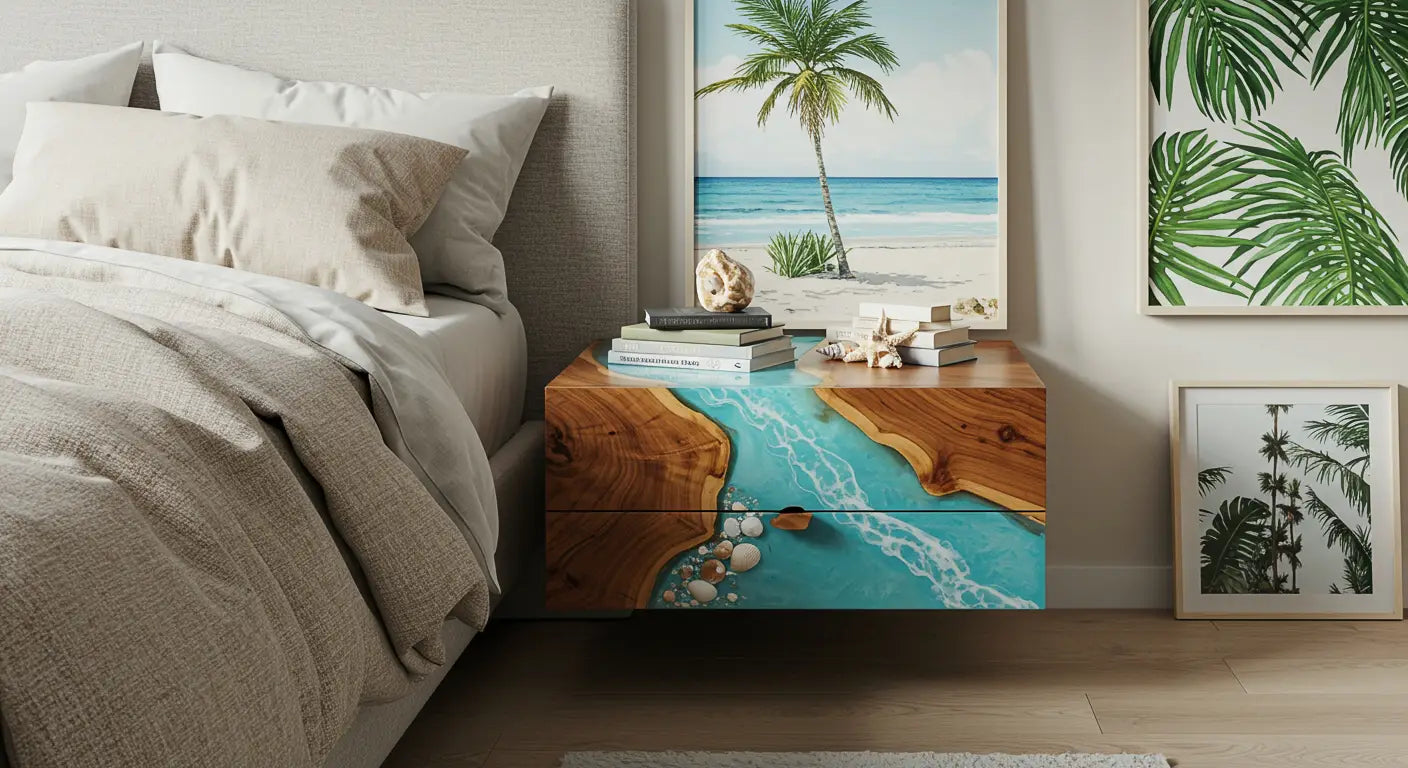
I’d seen them all over Pinterest and Instagram—those deep blue tables with crashing white waves, like someone bottled the coast and poured it into furniture. I didn’t know exactly how to make an epoxy ocean table, but I knew I had to try it. Spoiler: it wasn’t perfect. But that made it even better.
Why I Wanted to Try an Ocean Resin Pour in the First Place
I was obsessed with those deep blues and crashing white waves
Something about that contrast—calm blues meeting chaotic whites—felt magnetic. It looked impossible to pull off, but I couldn’t stop thinking about it.
I didn’t need it to be perfect, I just wanted that vibe
I wasn’t going for realism. I was chasing a feeling. That moment right before a wave breaks—frozen in resin. That’s what I was after.

What I Thought I’d Need vs. What I Actually Used
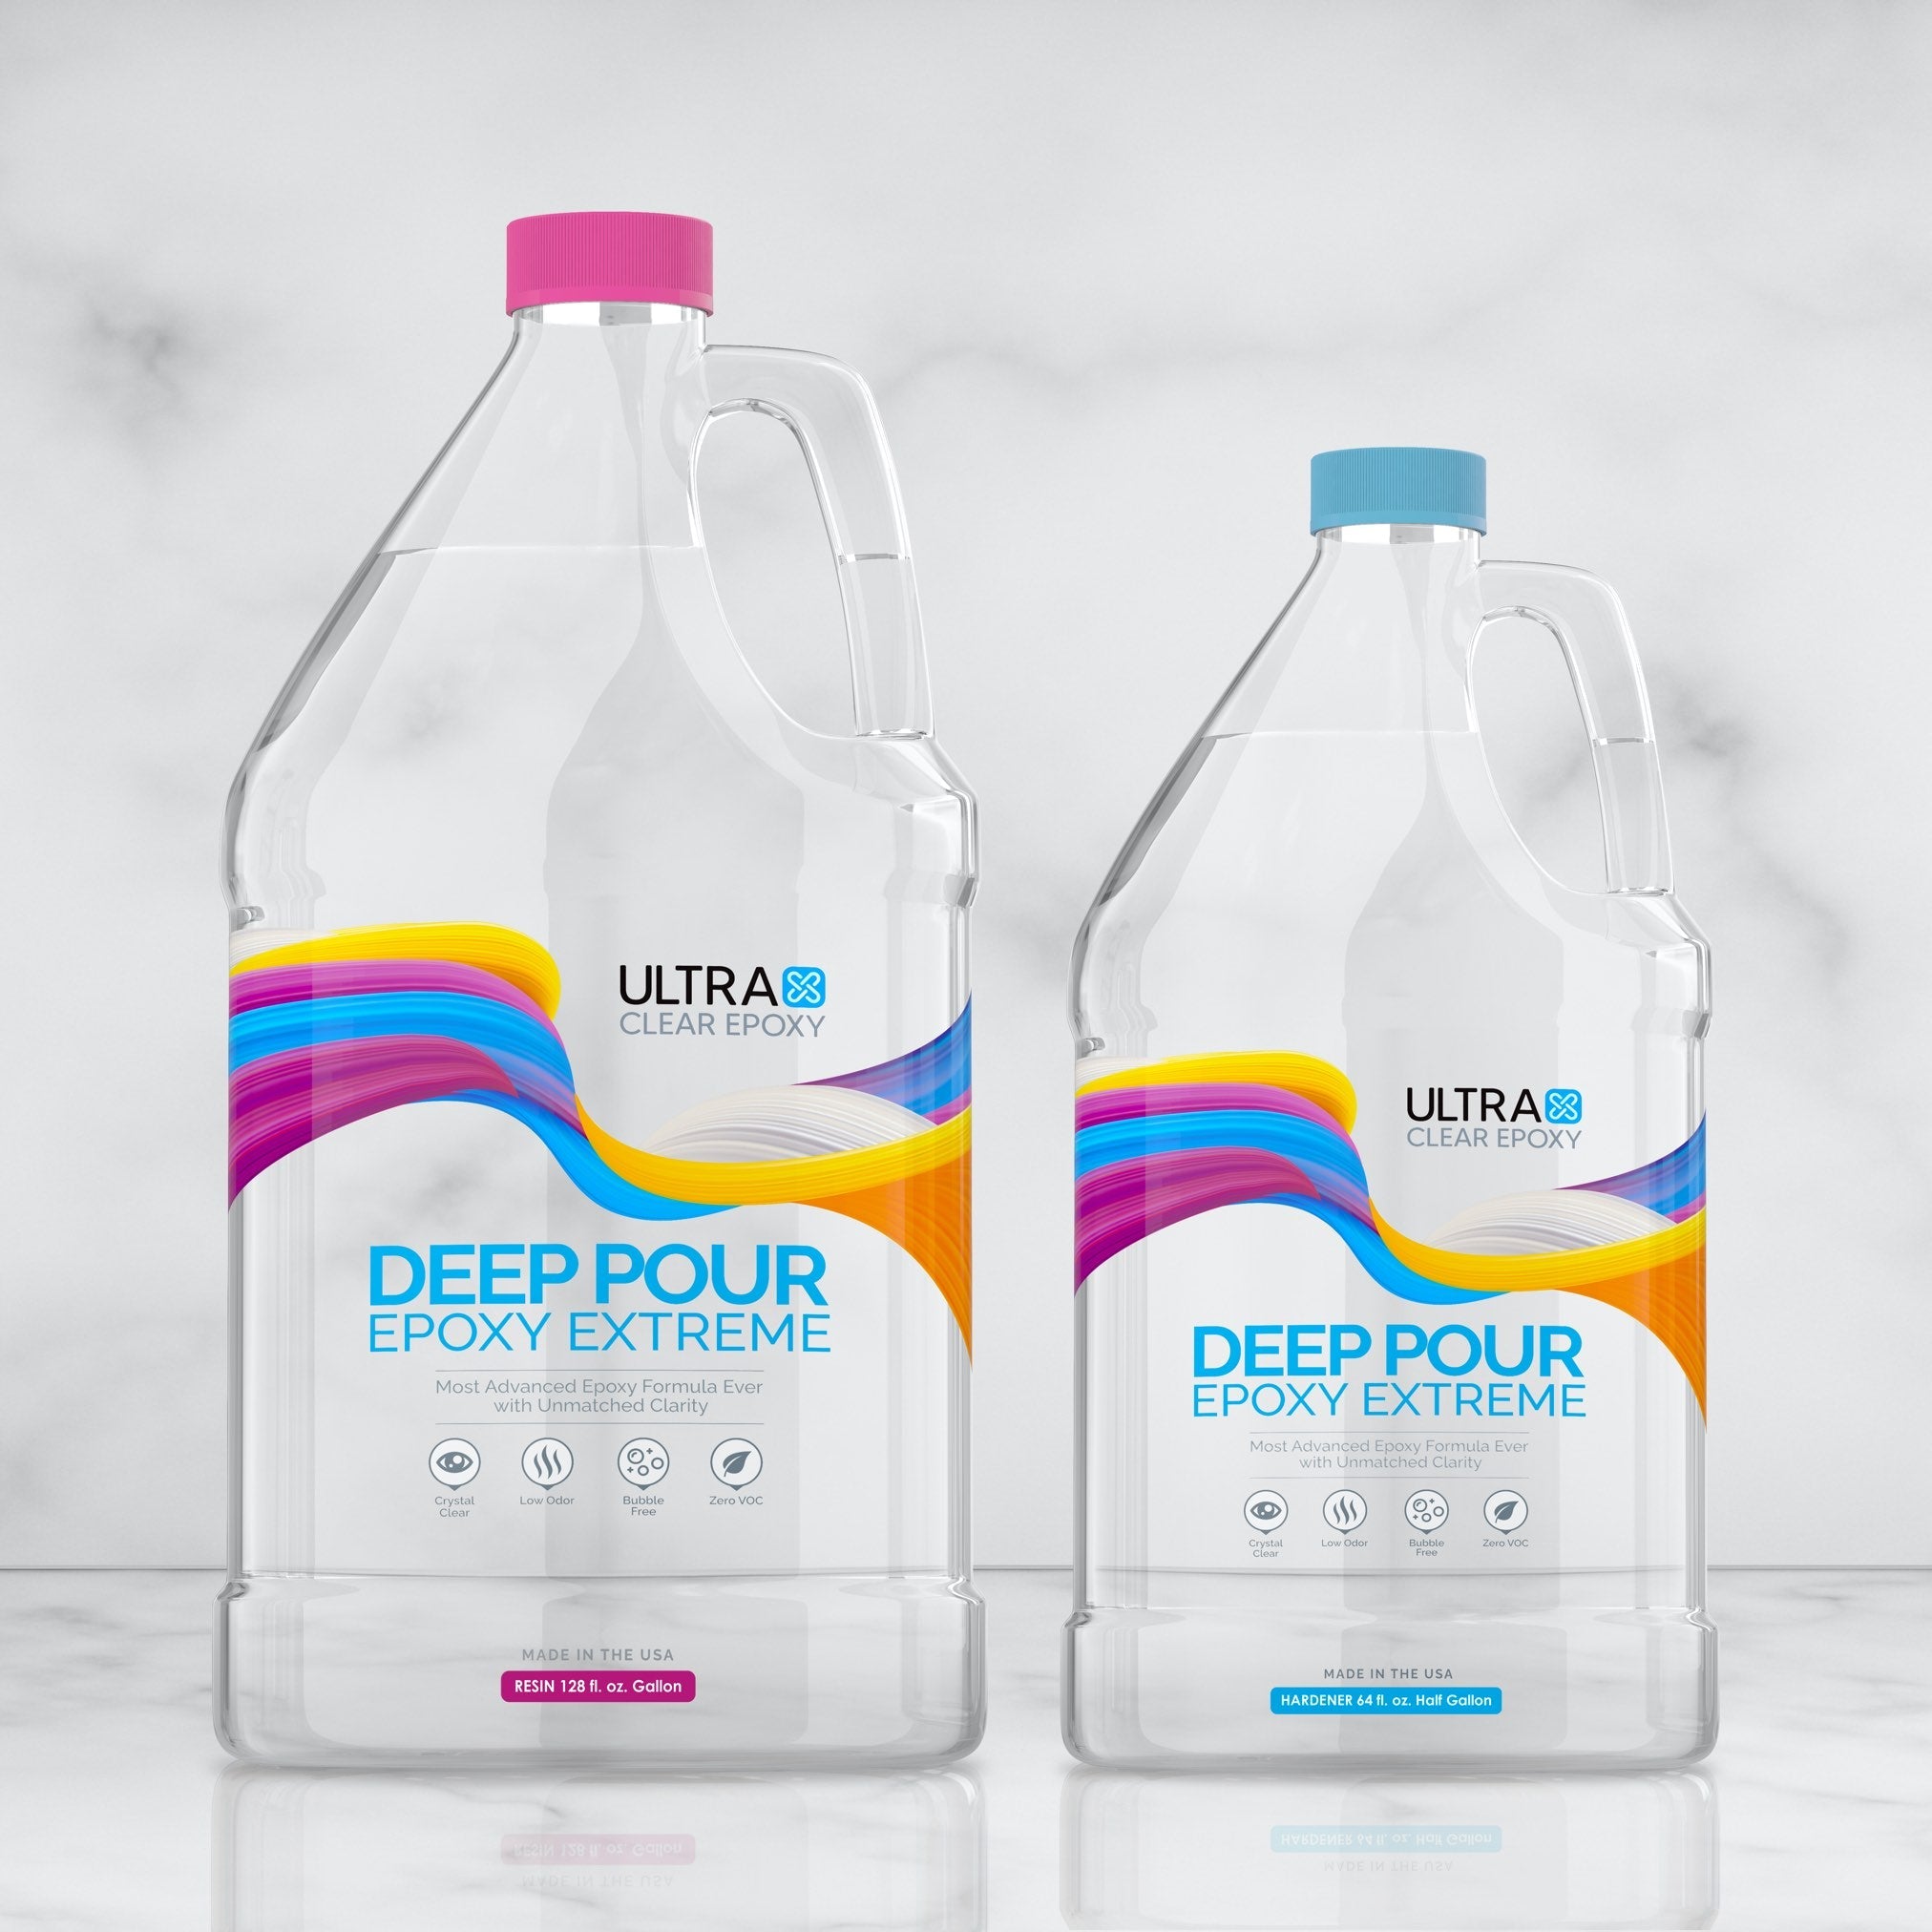
The basics: resin, pigments, a good mold, and a heat gun
I grabbed deep ocean blue, turquoise, and white pigment paste. A small blowtorch. A silicone mold. And a very shaky sense of confidence.
What I didn’t expect: how quickly the resin would move
Once I poured and added the white wave lines? Instant panic. The resin started shifting, blending, and doing its own thing. Every second counted.
The Ocean Pour: Here’s How Mine Went Down
First layer: deep blues + a hint of shimmer
This part was magic. Slow pour, gentle tilts. The epoxy moved like thick honey, and the pigments danced just enough to start resembling water.
Mid-pour: adding turquoise and building the shore
Blending the transition took finesse. I tried using a popsicle stick and then my heat gun to soften the line—got it mostly right, but almost muddied it.
The white waves: my favorite part AND the hardest
I dragged white pigment over the shoreline and hit it with a heat gun. That’s when it started to look real—foam, movement, spray. But it also started sliding fast. One line stretched way too far and crashed into the blue.

The Part I Didn’t See Coming: Resin Chaos
One wave line ran wild and wrecked the perfect blend
At first, I thought the pour was ruined. But when it cured? That wild wave became the most realistic part. It gave the whole table motion and energy.
There were a few bubbles and surface dents
Not gonna lie, the surface looked rough in spots. But after sanding lightly and pouring a flood coat, it smoothed out better than I expected.
What I’d Do Differently Next Time
Mix smaller batches so I don’t feel rushed
The resin starts curing fast. Mixing less at a time = more control and less stress. Lesson learned.
Use a deeper mold to create more dimension
I went shallow for this build—maybe ¾”. It worked, but next time I want depth. I want to feel like I’m looking into the ocean, not just across it.

The Finished Table: Imperfect, But It Feels Like Me
It doesn’t look factory-made — and that’s the point
It’s got swirls. It’s got tiny bubbles. The waves are messy in places. But it feels alive. This isn’t mass-produced—it’s mine.
That one rogue wave? It’s my favorite part now
The moment that made me panic mid-pour is the first thing people comment on. They think I meant to do it. I just smile and let them believe it.

Thinking About Making Your Own Ocean Table?
This wasn’t a formal ocean wave resin table tutorial—just what worked (and didn’t) when I gave it a shot. But if you’re thinking about it: Start small Don’t fight the resin too much Let it move like water—it’s supposed to Whether you’re chasing that dreamy shoreline look or just experimenting with blue pigments and waves, a DIY ocean resin table is one of the most satisfying builds I’ve done. And I’m already planning the next one.


Share: