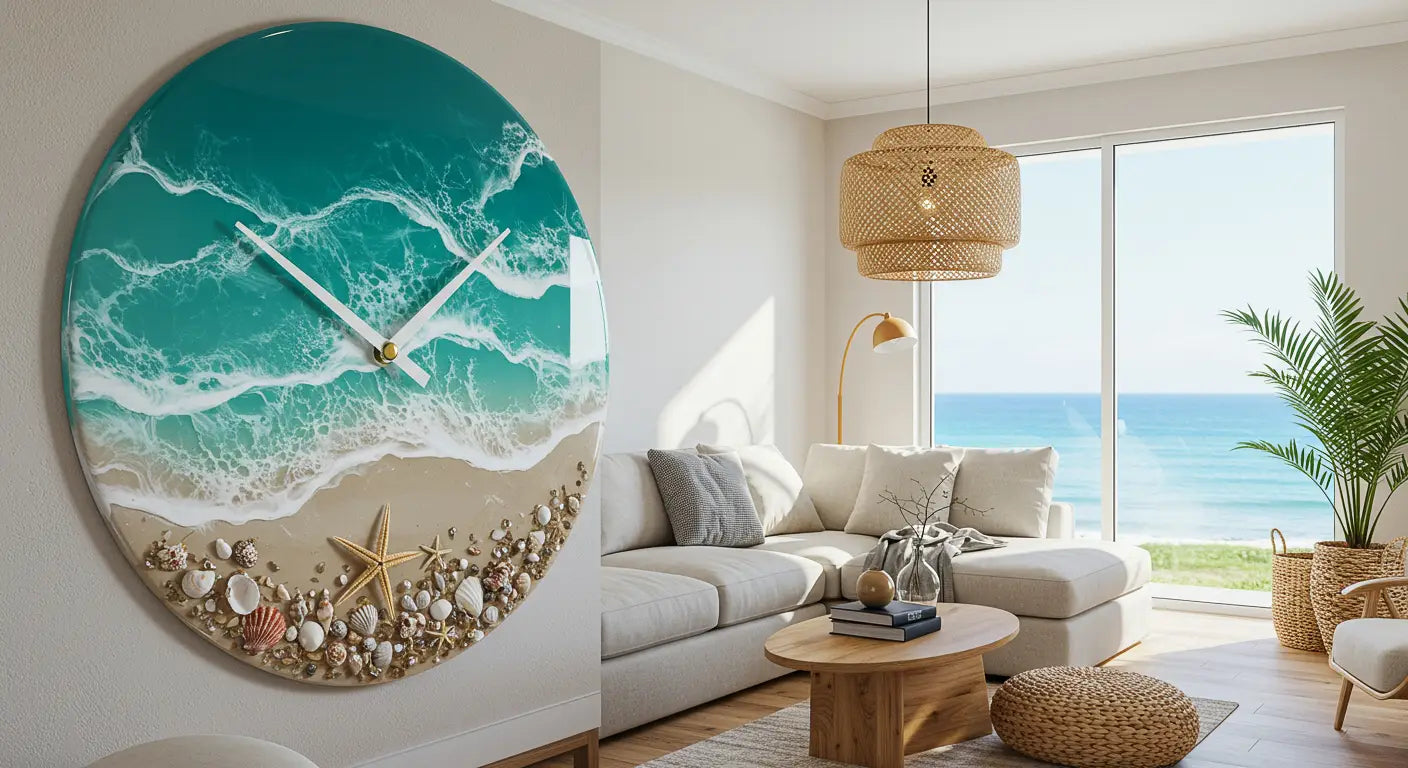
Introduction: The Resin Clock That Made Me Rethink Small Resin Projects
I’ve done plenty of big tables, but there’s something weirdly satisfying about making smaller resin projects like clocks. Less stress. Faster cure times. And in this case — a beach-themed resin clock that basically brings the ocean right onto my wall. If you’re a resin artist looking to break into functional wall art (or even thinking about selling your resin art), let me walk you through exactly how I build my ocean resin clocks.
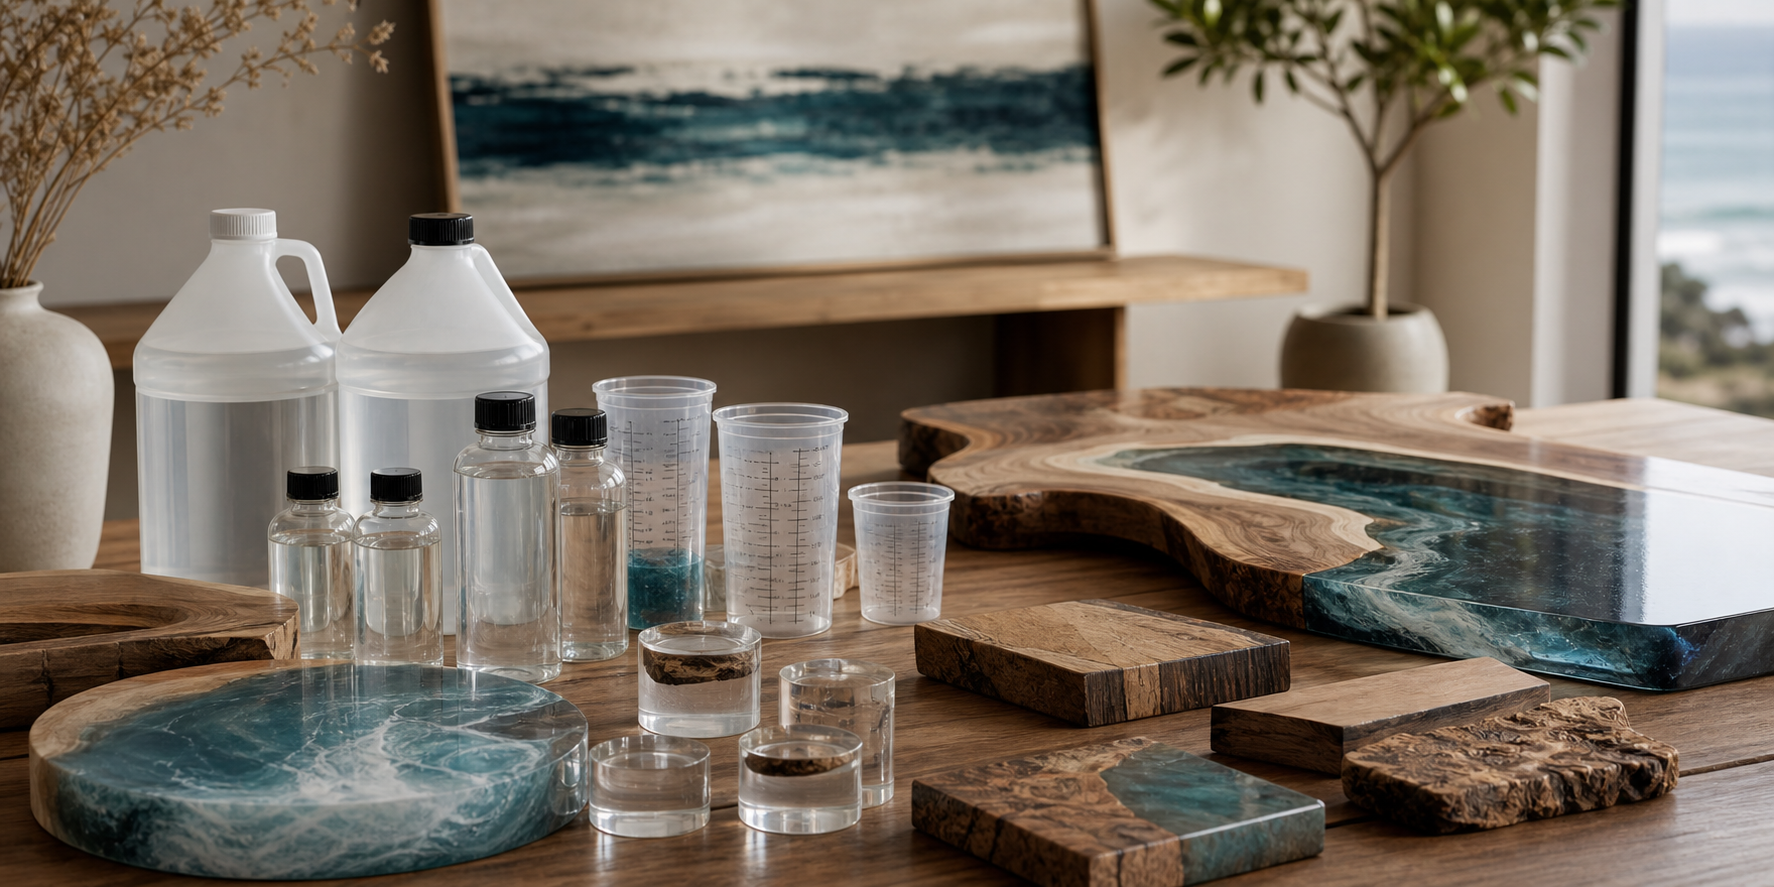
Supplies I Use for My Resin Wall Clocks
Here’s what you’ll need for a resin art clock build:
- Resin Clock Mold (12" round silicone mold)
- Deep Pour Epoxy Resin (UV-stable)
- Ocean Pigments (white pigment paste, ocean blue mica, turquoise pigment)
- Heat Gun or Torch (for bubbles)
- Mixing Cups & Sticks
- Nitrile Gloves & Respirator
- Clock Mechanism Kit (hands, motor, and hardware)
- Drill & Clock Center Hole Bit
- Sanding Pads (400-3000 grit)
- Polishing Compound or Final Topcoat
- Optional: Seashells, Sand, or Mini Starfish
If you're looking for inspiration, this Ocean Resin Wall Clock I built follows this exact process.

Step 1: Making the Mold and Prepping My Workspace
Clean the silicone mold thoroughly (any dust = trapped bubbles later). Level your table — seriously, this matters more than you think. Pre-measure your resin and hardener based on your mold size. Preheat the room (~75°F) to help resin flow better.
Step 2: Mixing Resin and Adding Color Layers
This is where it starts looking like an actual ocean clock:
- Mix your resin and hardener thoroughly for 3-5 minutes.
- Divide into smaller cups to tint:
- White pigment paste for waves
- Ocean blue mica
- Turquoise pigment for the water body
- Pour your base layer first (turquoise). Gradually pour blue in swirling motions.
- Use a small stick or spatula to blend soft wave transitions.
- For the waves: Add the white pigment near the “shoreline.” Use a heat gun to push and create natural lacing and foamy wave effect.
- Optional: drop in mini shells or starfish near the shoreline.
Pro Tip: Always pour in layers to avoid overheating and exotherm. You can also check out my resin type guide if you're still choosing the right pour epoxy for your project.

Step 3: Removing From the Mold
Let cure fully (24-48 hours depending on resin). Gently flex the silicone mold to release your new resin clock face. Don’t rush removal — premature flexing can distort the edges.
Step 4: Sanding & Topcoat
Lightly sand any sharp edges or imperfections (start with 400 grit). Progressively wet sand up to 3000 grit for a mirror-like finish. Apply a thin final flood coat or polishing compound for maximum shine. Allow final coat to cure 24 hours before installing hardware.

Step 5: Drilling and Clock Mechanism Install
Mark the exact center of your clock face. Use a drill bit sized for your clock shaft (usually ⅜"). Insert the clock mechanism, secure the washer and nut. Attach hour, minute, and second hands according to the kit’s instructions. Install a AA battery.
Step 6: Hanging Your Resin Clock
Use a wall anchor or heavy-duty clock hanger since resin clocks can be heavier than standard plastic ones. Make sure it’s balanced — off-center hanging will be obvious. I personally prefer heavy-duty drywall anchors for safety.

FAQ Section (Google PAA & PASF)
What do you need to make a resin clock?
You’ll need epoxy resin, pigments, a clock mold, clock hardware, a drill, sanding pads, mixing cups, safety gear, and optional decorations like shells or sand.
How to make a clock step by step?
Prep your mold → Mix resin → Add color layers → Pour → Cure → Sand → Drill → Install clock hardware → Hang.
How to hang a resin clock on a wall?
Use heavy-duty wall anchors or hooks rated for the weight. Always measure to ensure level placement.
How to make a 24-hour clock?
Use a 24-hour clock mechanism (readily available online). The build process remains the same—just swap in the proper mechanism.
Can beginners make resin clocks?
Absolutely. In fact, resin clocks are one of my favorite beginner resin projects.
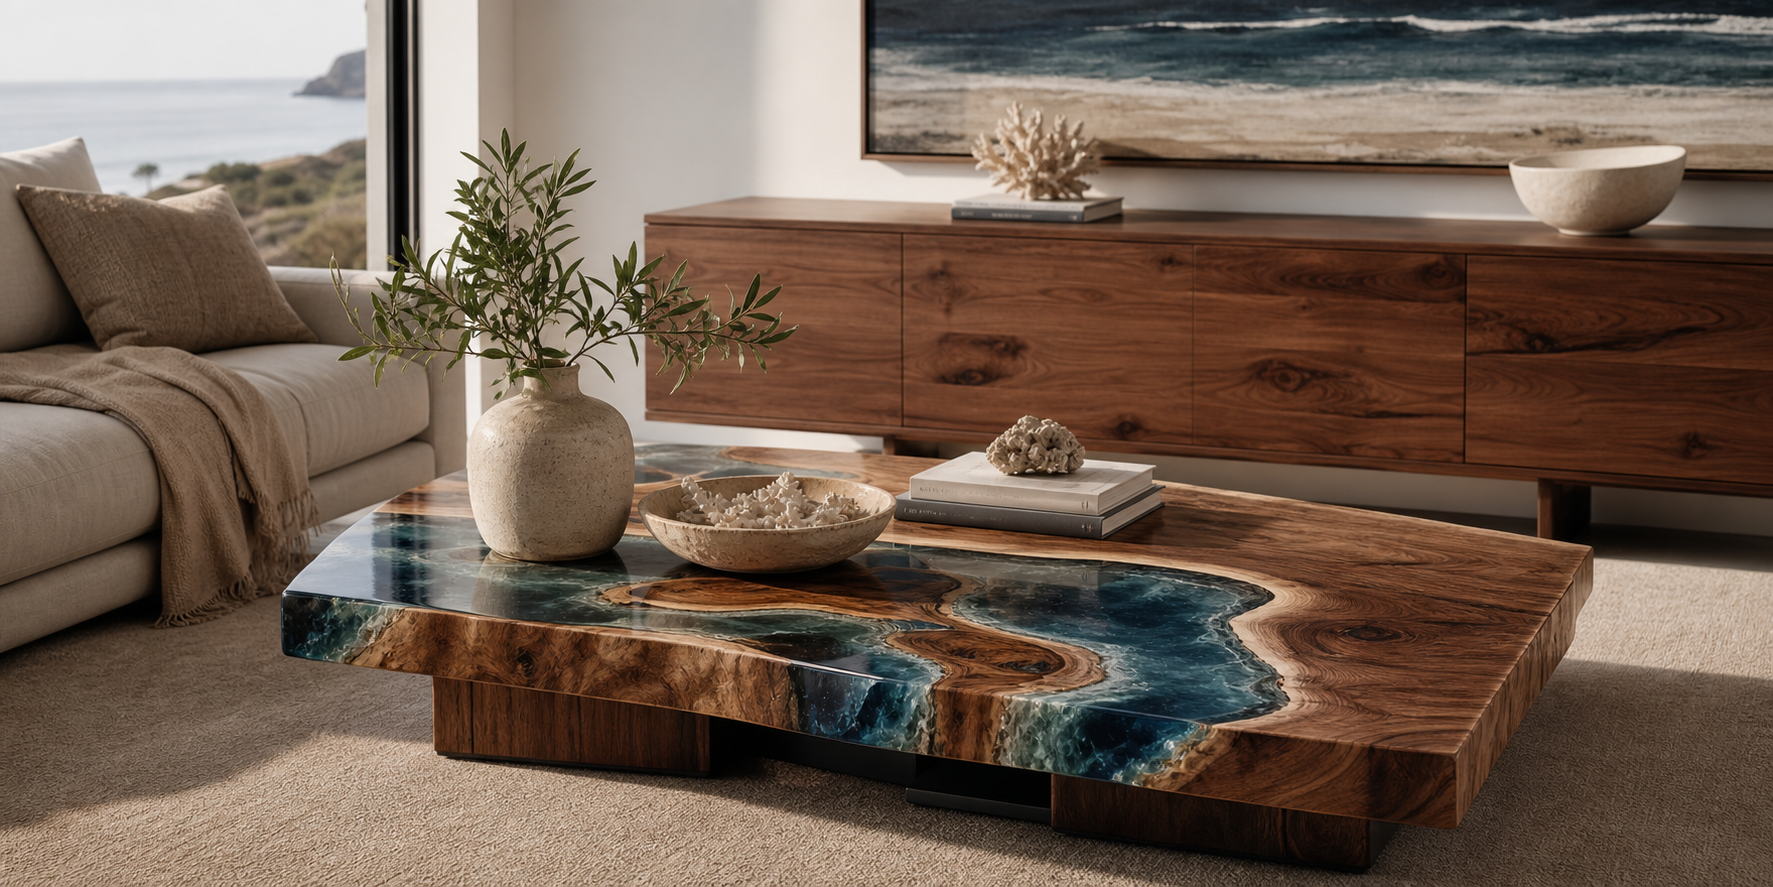
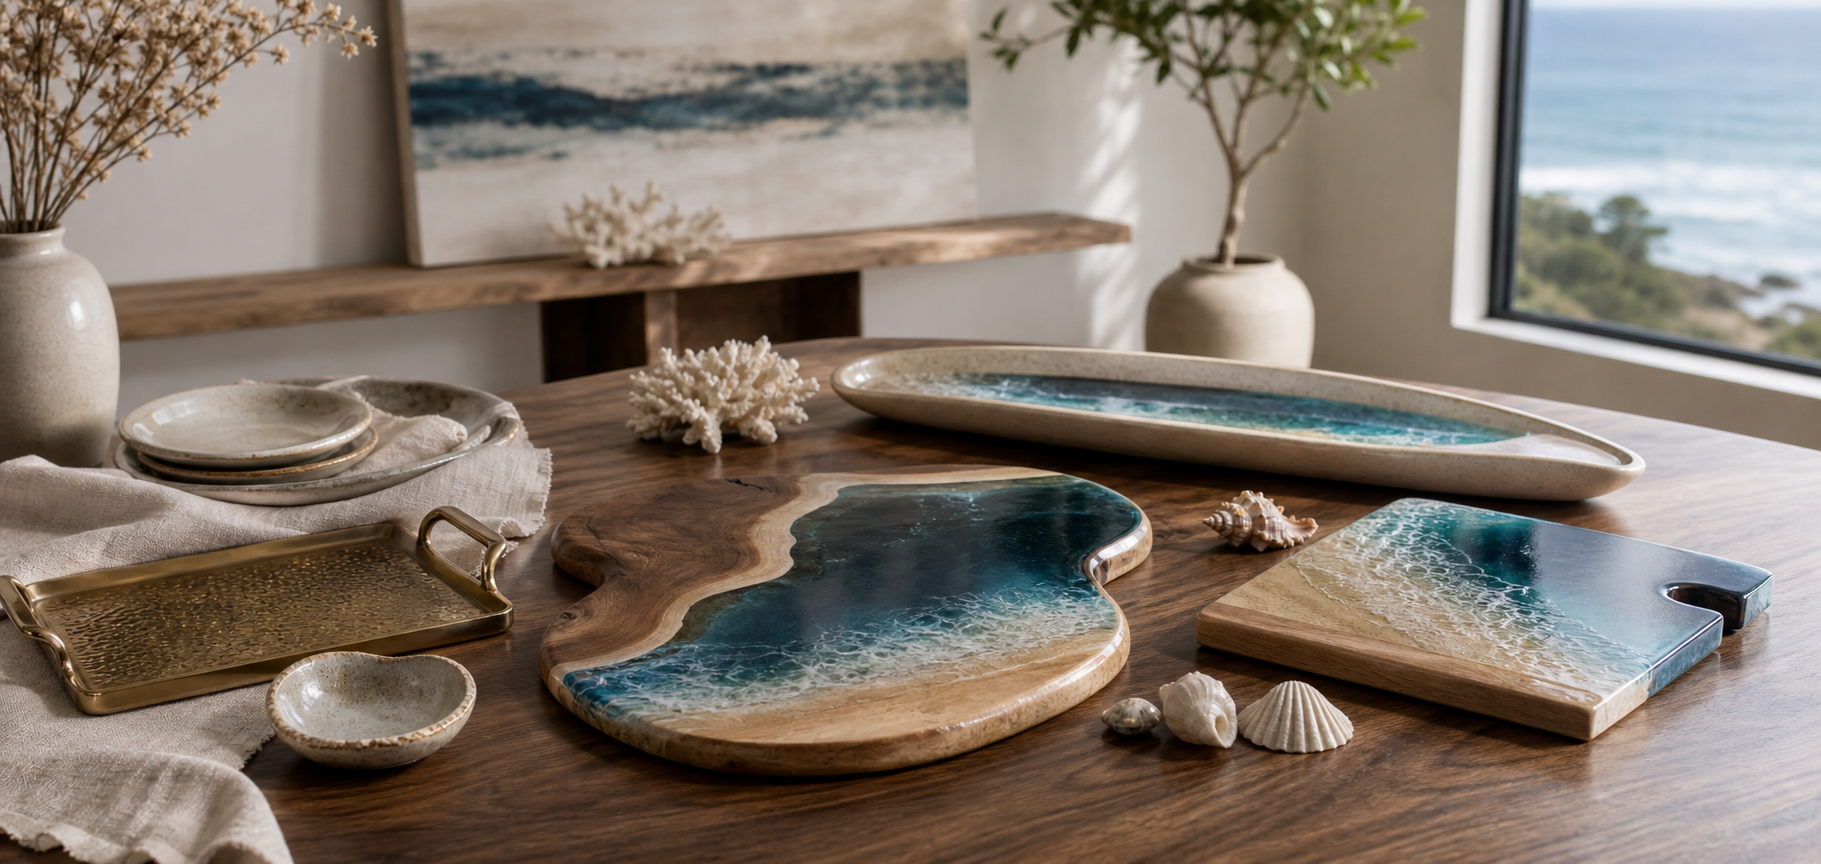
Related Resin Builds You Might Like:
- How I Created a Stunning Resin Table Name Plate
- What Happened When I Tried Making an Ocean Resin Table
- 10 Basic Resin Tips I Learned Along The Way
My Final Thoughts: Why I Keep Coming Back to Resin Clocks
Compared to full tables, clocks let you experiment fast. Every pour feels like a mini canvas where you can test ocean techniques, colors, and composition — and the payoff is instant. You finish a full resin clock project in days, not weeks. And if you ever get really good at it? You can even sell your resin art here and turn your clocks into a business.
Written by Solomon — Founder of The Resin Society. Started with a tiny resin table in my apartment, now building custom pieces worldwide.


Share: