Let me tell you right now: epoxy tables don’t always go according to plan. I’ve had bubbles ruin perfect pours, tables that never cured, and finishes that looked like I poured them in a sandstorm. If you’re dealing with a resin table issue, you’re not alone. These are the most common epoxy table problems I’ve faced—and how I’ve learned to fix (or avoid) them.

If Your Table Didn’t Turn Out Right — You’re Not Alone
Air bubbles, tacky finishes, weird warping — I’ve seen it all
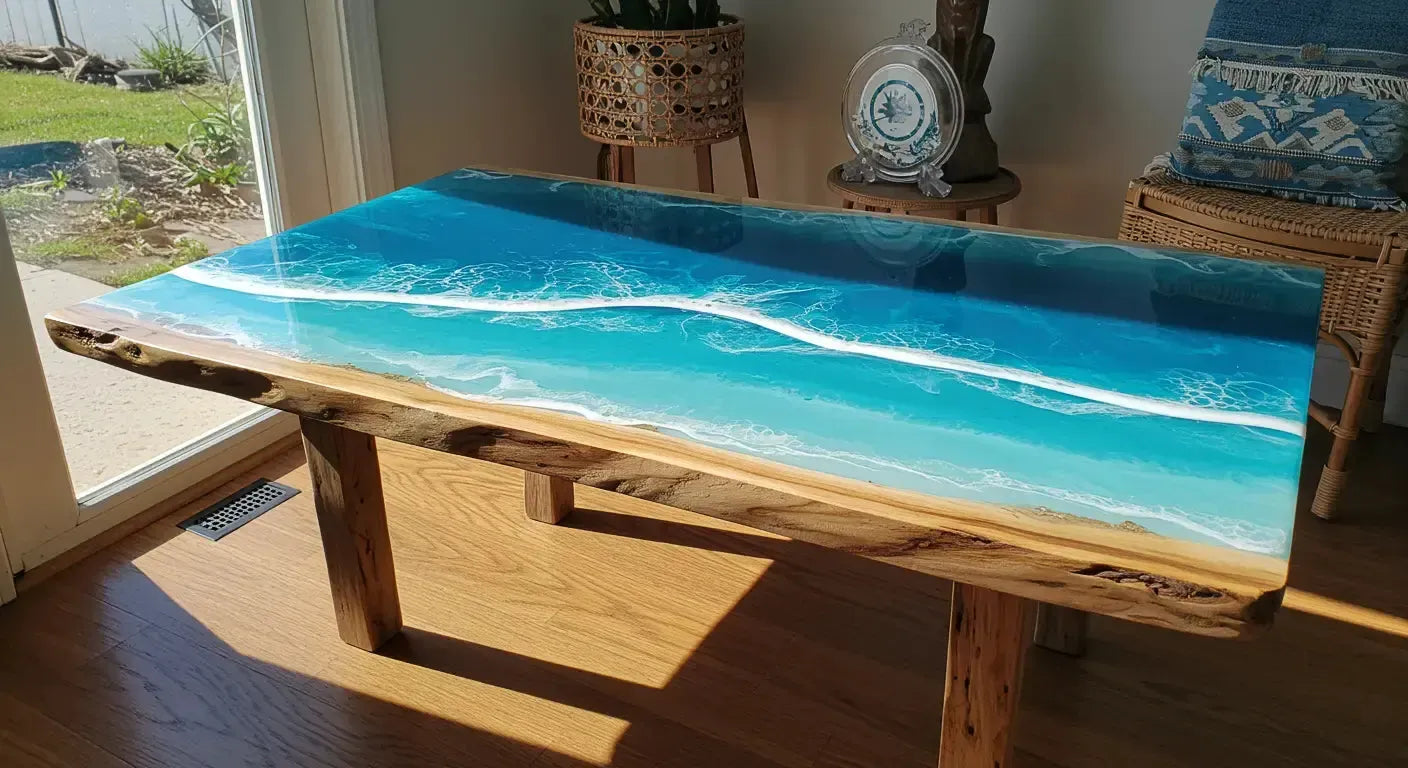
Making a resin wood table sounds simple. Pour. Let it cure. Done. But in reality? It’s part science lab, part art project, and part mental breakdown if you’re not prepared.
Epoxy isn’t “set it and forget it” — it’s chemistry
Temperature, humidity, ratios, airflow… they all matter. One wrong move, and the whole thing shifts from masterpiece to mess. That’s why I laid out what actually caused warping in one of my earliest builds.
This post is everything I wish someone told me upfront
No sugarcoating. Just straight-up troubleshooting for common epoxy resin table problems—based on my own trial and error.
Problem #1: Bubbles Trapped in the Pour
What caused mine: pouring too fast and not torching properly
My first deep pour was full of bubbles. Looked great at night… full snow globe in the morning.
What I do now: slow pours, let it sit, torch in layers
- Mix slowly (no whipping)
- Let it sit 5–10 minutes before pouring
- Torch every layer to pop surface bubbles
Tip: heat the wood and resin room to avoid microbubbles
I keep the workspace around 72–75°F, and I pre-warm the wood if it’s been in a cold shop. Cold wood releases air = bubbles. More on this in my post about my underwater epoxy table.

Problem #2: Cloudy or Milky Epoxy
Usually: moisture in the wood or humidity in the air
I once poured in a super humid garage—resin looked like milk soup the next day.
I learned this the hard way during a summer pour
I assumed “dry” meant “not wet to the touch.” Big mistake.
Now I use a moisture meter, and dehumidify the space
- Wood should be below 10% moisture
- Pour indoors or in climate-controlled conditions when possible
This ties into what I shared in this blog on resin types.

Problem #3: The Resin Never Fully Cured
I once misread the hardener ratio and got soft, sticky mess
It looked fine at first. But 48 hours later, it was still soft. Resin oozed from the sides like warm gum.
That table sat in my shop for 3 weeks before I gave up and sanded it down
Sticky epoxy doesn’t “finish curing”—it stays gummy. You have to remove it.
Now I double-check everything and mix slow, not fast
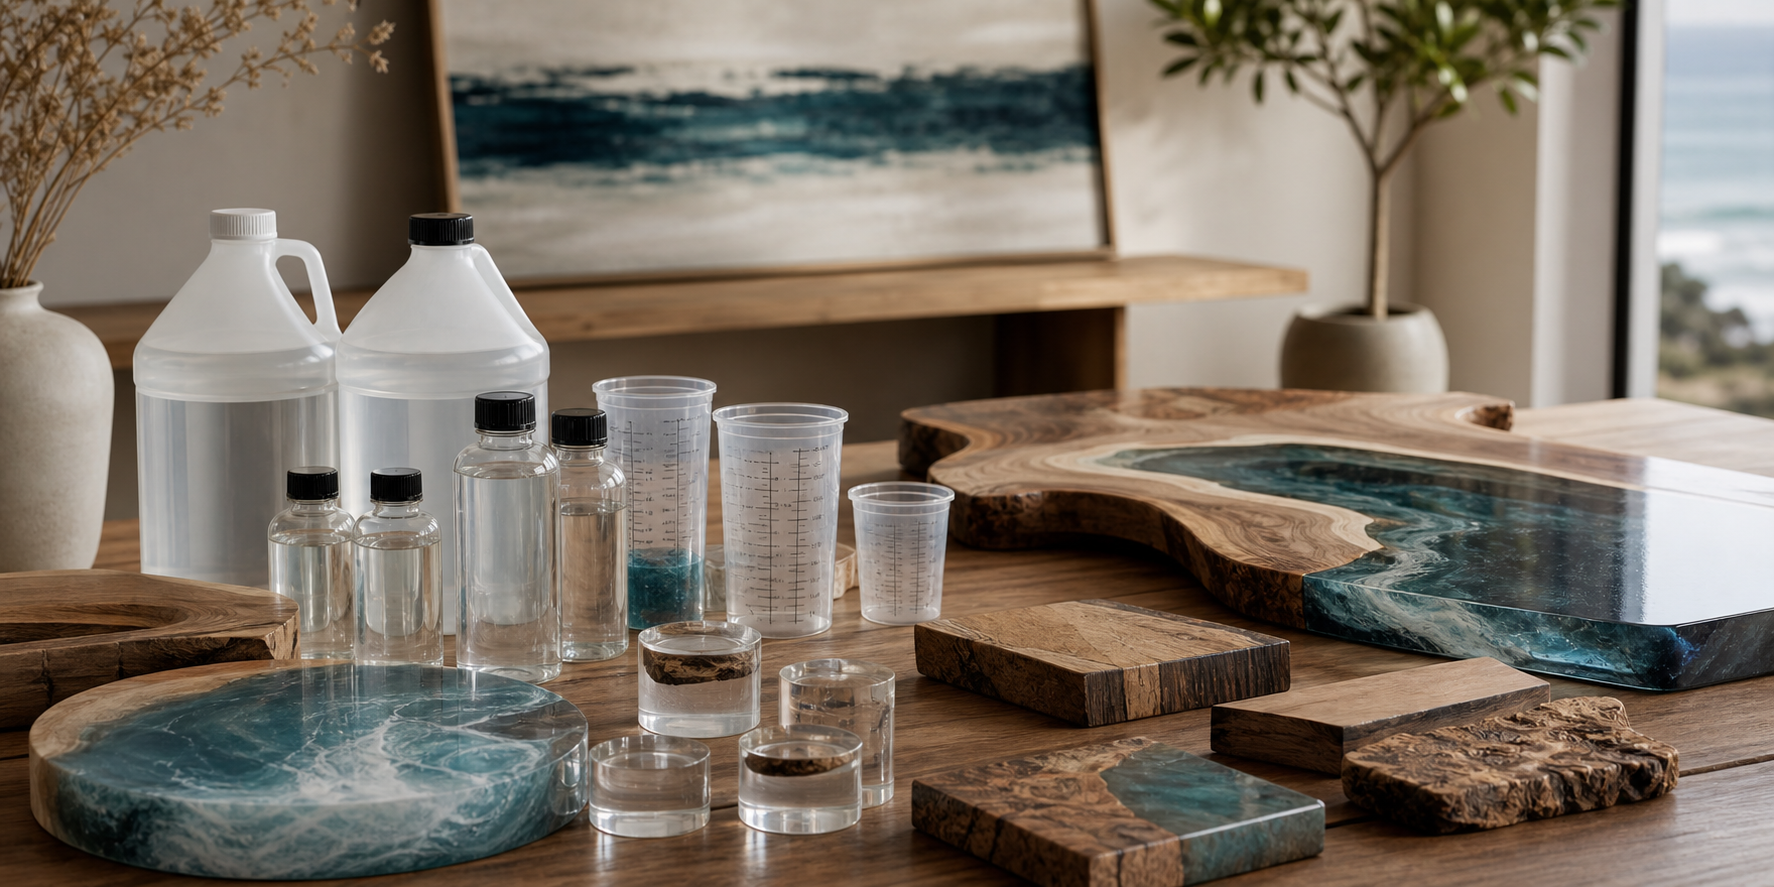
- Always measure by volume (or by weight, if that’s what the brand calls for)
- Mix at least 3–5 minutes, scraping the sides constantly

Problem #4: Waves, Dips, or Uneven Surfaces
Caused by overworking it or moving it before cure
I used to try to fix the surface 20 minutes after pouring. That only made it worse.
I learned to walk away — resin levels itself when left alone
Set your pour, pop the bubbles, then step back. More on that in how I build my molds.
Also: level your table. Seriously. I used to eyeball it — bad idea
Now I use a digital level and check all four corners before every pour.

Problem #5: Yellowing Epoxy Over Time
Most resins yellow, but cheap ones do it fast
My early tables turned from clear to amber in under six months—especially ones near windows. Here’s what yellowing looks like and how I manage it now.
Now I only buy UV-resistant deep pour formulas
- Look for HALS or UV blockers in the formula
- Premium brands are worth it—especially for light or clear pours
And I keep finished pieces out of direct sunlight
Even UV-resistant epoxy benefits from shade or indoor use.
Problem #6: Stuff Floating in the Pour
I once had metal shavings drift up mid-pour
Came from sanding tools I didn’t fully clean off the slab. Looked like glitter. Not in a good way.
What I learned: secure your inlays and do multiple thin pours
- Anchor any objects before pouring
- Use clear flood coats to build layers and trap elements exactly where you want them

Bonus: Mistakes That Didn’t Ruin the Table (But Taught Me A Lot)
Dust in the finish — I built a tented workspace
Even in a clean shop, airborne dust can land mid-cure. Now I cover pours with a dust tent or plastic tote.
Bleeding colors — I test pigments now, every time
Some pigments react or separate during curing. I test them in small batches before they hit a real project.
Foam brush bits — switch to silicone or high-end brushes
Cheap brushes shed or melt into the resin. I only use silicone tools or high-end bristle brushes for detail work. More lessons like these are in my beginner tips blog right here.

Final Thoughts: It’s Not Failure — It’s Feedback
Every mistake made me better
I didn’t figure out epoxy table construction by watching videos. I learned by messing things up, fixing them, and trying again.
Now I sell high-end epoxy tables — but I started with sticky disasters
I’ve had more fails than I can count. But those mistakes are what taught me to build pieces that actually last—and sell.
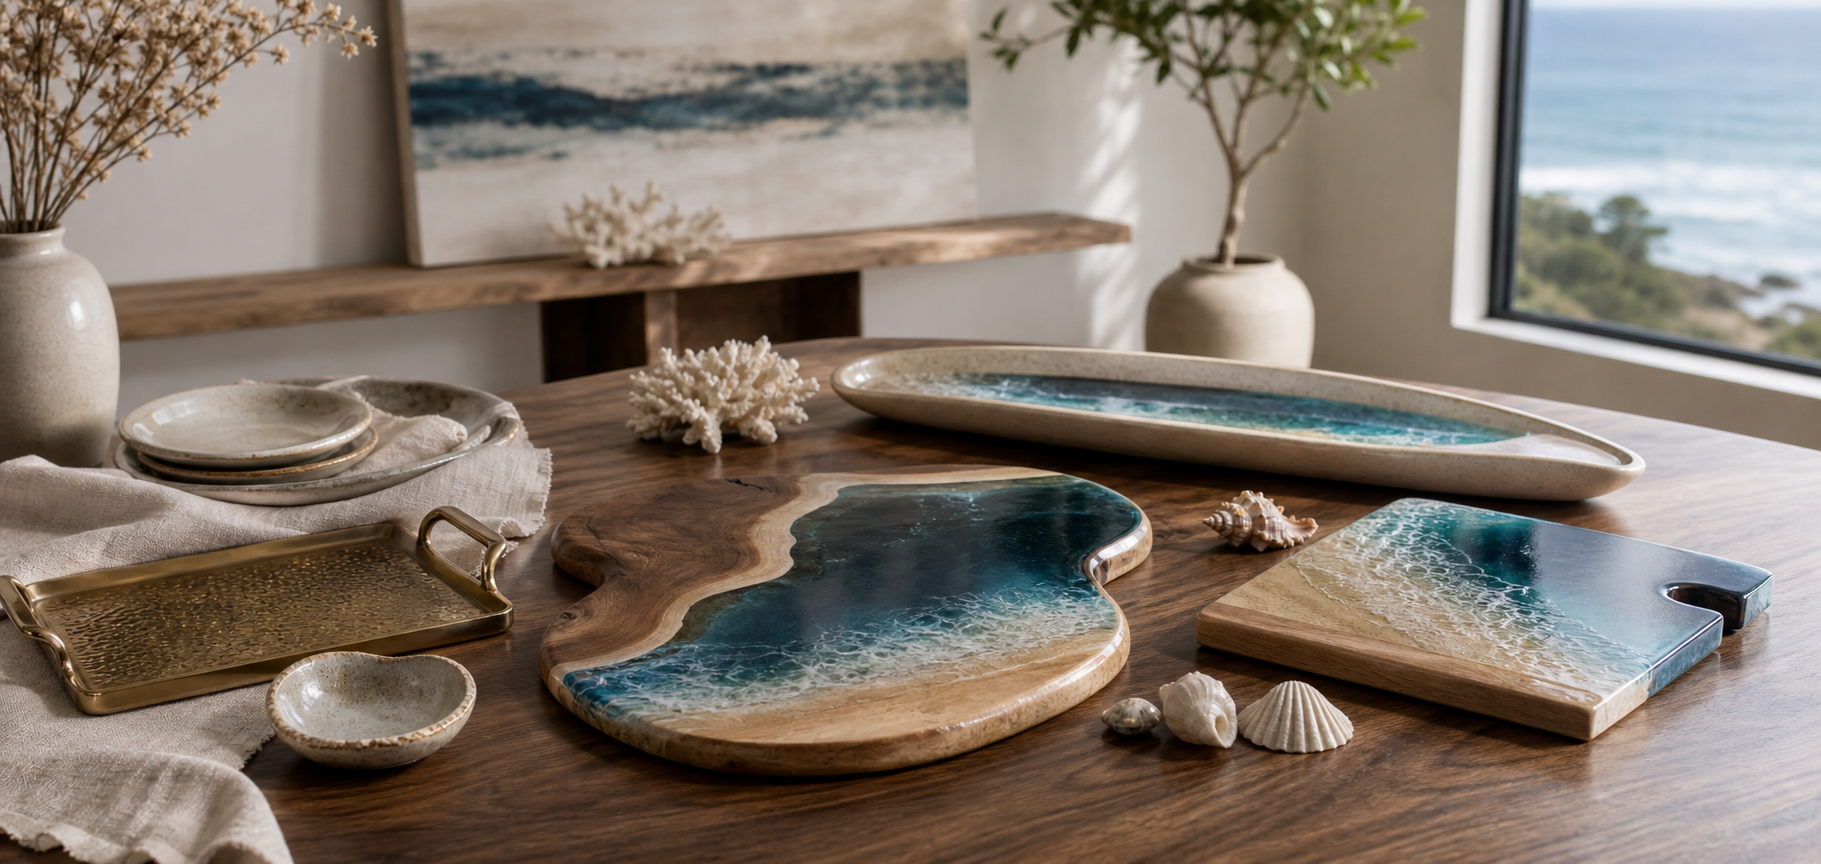
Don’t scrap the table — salvage it, sand it, or repurpose it
Sometimes a “ruined” table becomes a killer bench. Or wall art. Or a smaller coffee table. Get creative. There’s usually a way to save it.
Thanks for taking the time to read—I really appreciate it. I hope something in my process (or my mistakes) helps you along the way. If you want a custom piece or hit a wall building your own, feel free to drop a comment or reach out—happy to help. Have a blessed day!


Share: