I’ve worked with pigments, wood, shells, even moss. But quartz? That one caught me off guard. The idea hit when I saw a luxury quartz slab at a showroom and thought: “Could I get that same luxe look... but with resin?” Turns out, yes. But it took some experimenting (and a few sketchy pours) to get there.
Quartz and Epoxy? I Wasn’t Sure Either
The idea hit me after seeing a high-end quartz countertop
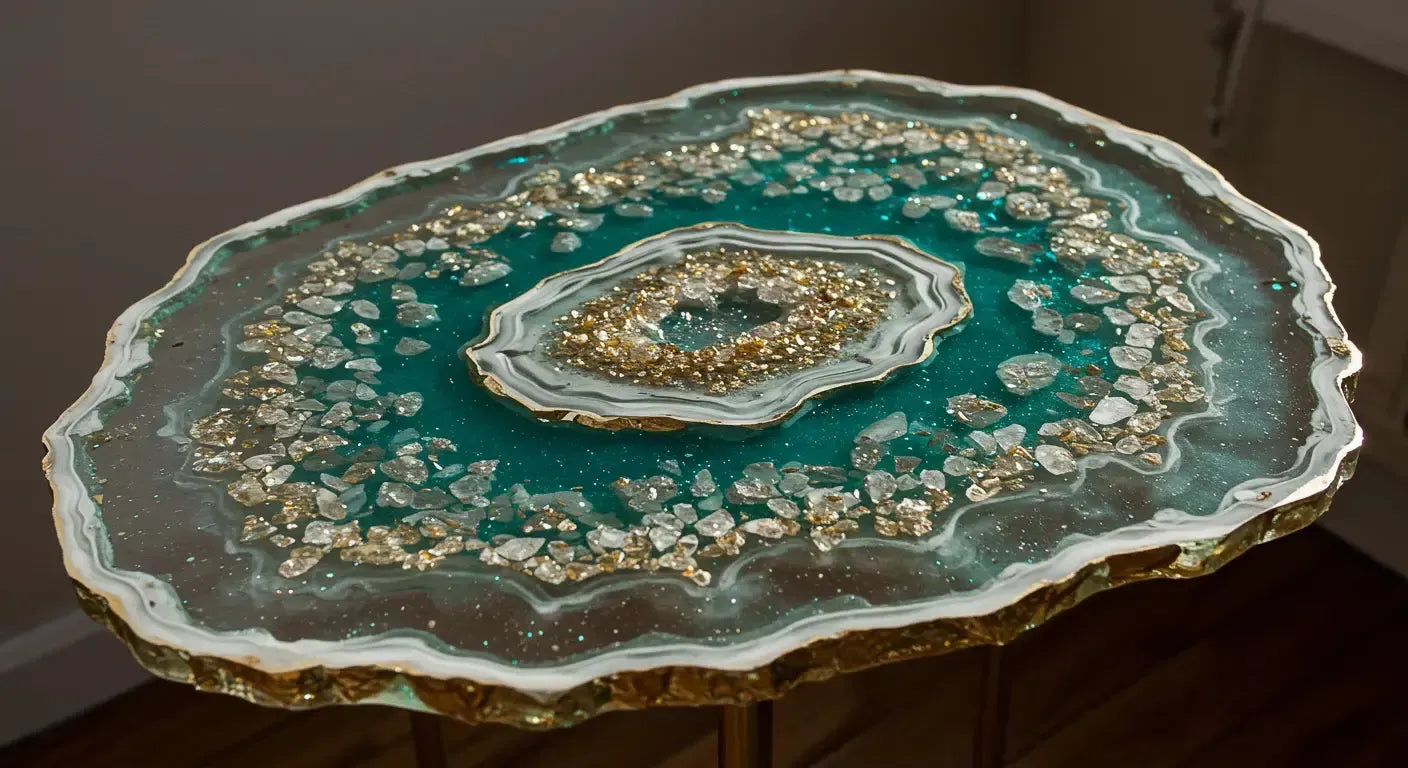
You know that layered, crystalline look? It’s expensive. I figured if I could pull off something similar with crushed quartz and epoxy, I might create a one-of-a-kind gemstone epoxy table that had the same vibe—without the $6K price tag.
I wanted something that looked luxe — without the slab price
I wasn’t trying to fake stone. I wanted to reimagine it. Something that glowed under the right light and felt dimensional, not flat.

Planning the Build Took More Imagination Than I Expected
I knew I didn’t want just glitter or mica
I wanted crushed quartz for real texture—not shimmer from a jar. But the balance was tricky. Too much and it looked like gravel. Too little and it got lost in the pour.
Finding quartz chips that didn’t look fake was harder than I thought
A lot of “decorative” quartz out there is too uniform, too shiny, or dyed weird colors. I ended up sourcing raw crushed quartz from Wegner Crystal Mines, but Amazon has decent options too if you clean them first.
Materials I Ended Up Using (After Way Too Much Research)
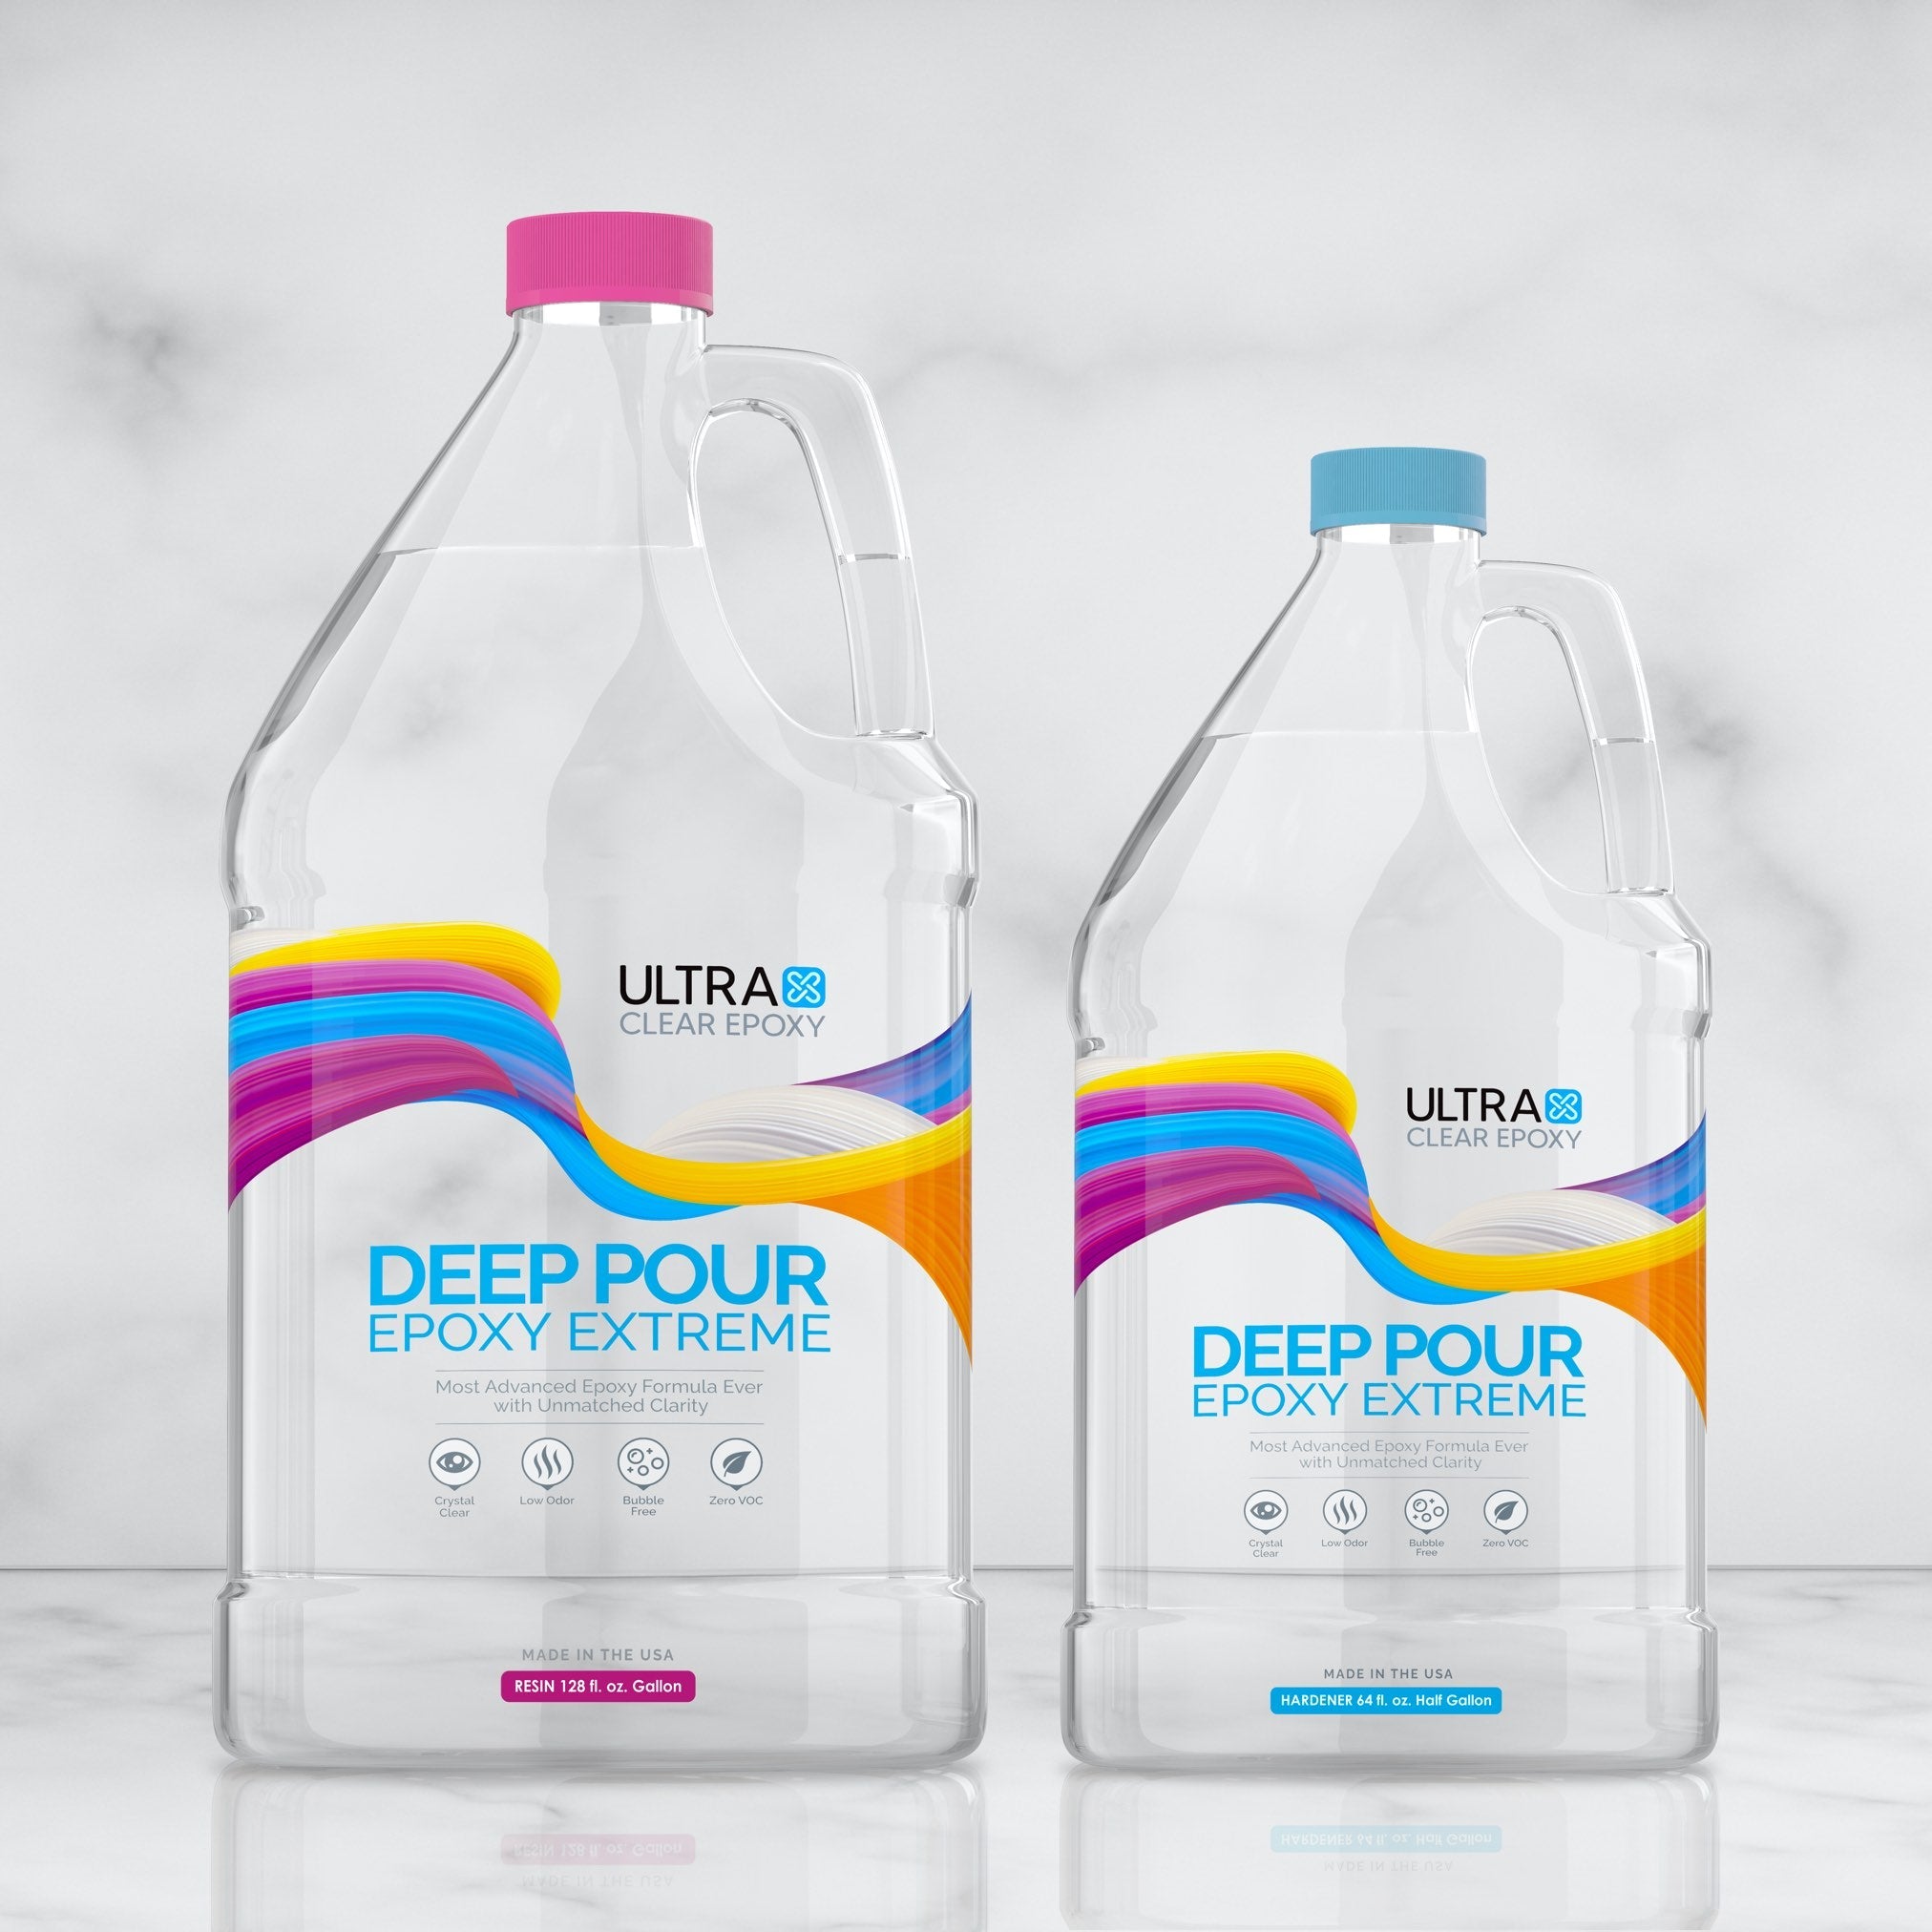
The resin that gave me the clarity I needed
I used a high-grade deep-pour resin that’s made for suspended objects. Clarity was everything. Even the slightest haze would’ve ruined the whole look.
What I learned about using real quartz in resin pours
Quartz is heavy. It sinks. Fast. I had to pour in layers and work quickly to control where everything landed—like I do in this deep-pour resin build.
Why I mixed a few different pigment types to get that shimmer right
I used a blend of translucent white, pearl, and interference mica powders to create layers of shine that wouldn’t overpower the quartz.

The Pour: What Worked, What Didn’t, and What Surprised Me
Quartz didn’t settle the way I thought it would
Some chips dropped too fast. Others clumped. I had to pause mid-pour and move pieces with a skewer just to keep them from looking muddy.
How I layered the pour to keep the sparkle subtle
I did three pours: a pigmented base, a quartz-filled middle, and a crystal-clear top coat. It gave the whole thing structure and depth—similar to how I build in my underwater epoxy table.
Dealing with weight, movement, and shifting during the cure
Quartz added way more weight than expected. I had to reinforce the mold walls and double-check the level twice during curing. Lesson learned.
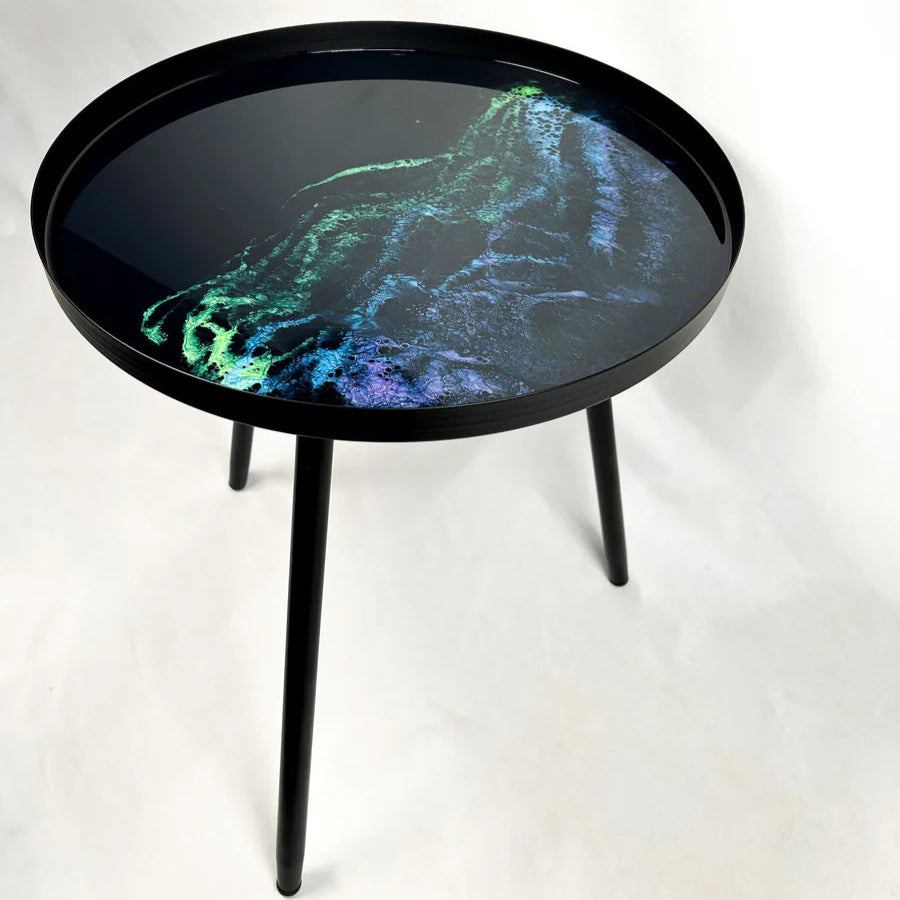
The Finished Table Looked Nothing Like I Pictured — In a Good Way
The quartz caught light in ways I couldn’t plan for
In daylight, it glowed. Under warm indoor lights, it shimmered like polished stone. I didn’t expect the depth it created—but it turned out stunning.
It gave the table this almost geode-like depth I didn’t expect
That combo of clear resin and cloudy quartz felt organic—like cracked ice or layered crystal. Way more natural than I planned, and that was the best part.

If You’re Thinking About Trying This… Some Honest Takeaways
Why surface polish matters even more with quartz inside
If the top layer isn’t glassy, you lose all the depth. I wet sanded up to 3000 grit and polished with compound for clarity.
I’d rethink the mold setup next time — here’s why
The quartz pushed outwards as it settled. Next time, I’d brace the mold tighter and double the thickness of the baseboard.
What I'd do differently with pigment-to-quartz ratio
I went too subtle at first. I’d boost the pigment next round for a more dramatic contrast between quartz and resin.
Quartz Epoxy Table FAQ (Things I Googled First)
Can you mix real quartz into resin?
Yes—but wash and dry it first. Any dust, dye, or moisture will cause bubbles and clouding.
Will quartz sink or float during a deep pour?
Sinks every time. Either pour in thin layers or go thick and know you’ll have to nudge it into place.
What type of resin works best with heavy inclusions?
Use a slow-curing, deep-casting epoxy. Faster cures trap more bubbles and can shift the inclusions out of place. I talk more about that in this blog on common epoxy problems.

Final Thoughts
Trying a quartz epoxy table pushed me to get creative—and technical. But it worked. And the final piece? One of the most unique tables I’ve ever built. If you’re curious about blending gemstones, minerals, or anything else into resin, give it a shot. Just plan your layers, reinforce your mold, and take your time.
Thanks for taking the time to read—I really appreciate it. I hope something in my process (or my mistakes) helps you along the way. If you want a custom piece or hit a wall building your own, feel free to drop a comment or reach out—happy to help. Have a blessed day!
Share: