Introduction
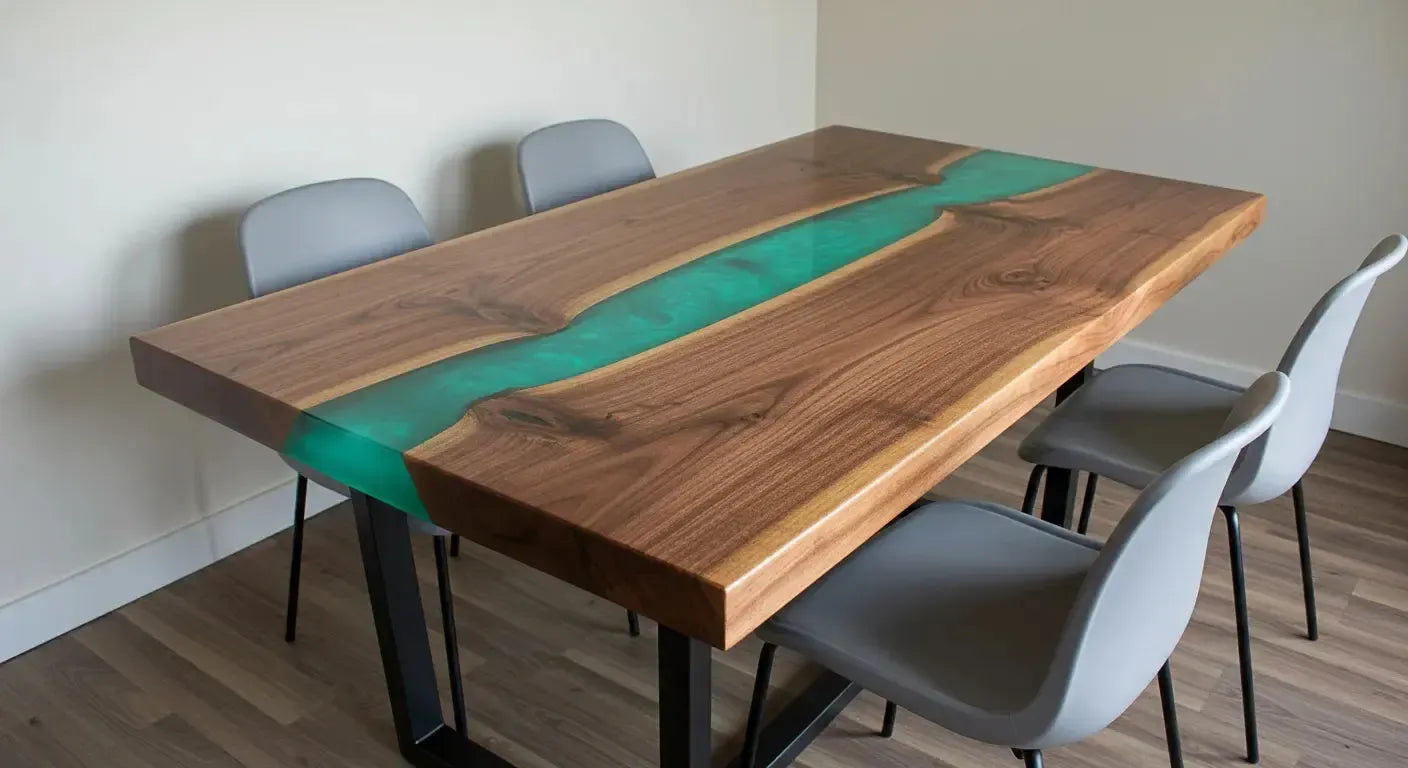
Creating a DIY epoxy resin table is a rewarding project that blends woodworking with creativity. Whether you're tackling a DIY epoxy kitchen table or a bold epoxy resin river table DIY, I’ll walk you through the entire build—from raw slab to finished showpiece.
Common Questions Before We Start
How to epoxy a table top for beginners?
Start with a clean, sanded surface and use a tabletop epoxy resin kit. Mix slowly and pour in thin layers, using a heat gun to pop bubbles. Always seal the wood first to avoid air pockets during your deep pour.
What do you need to build an epoxy table?
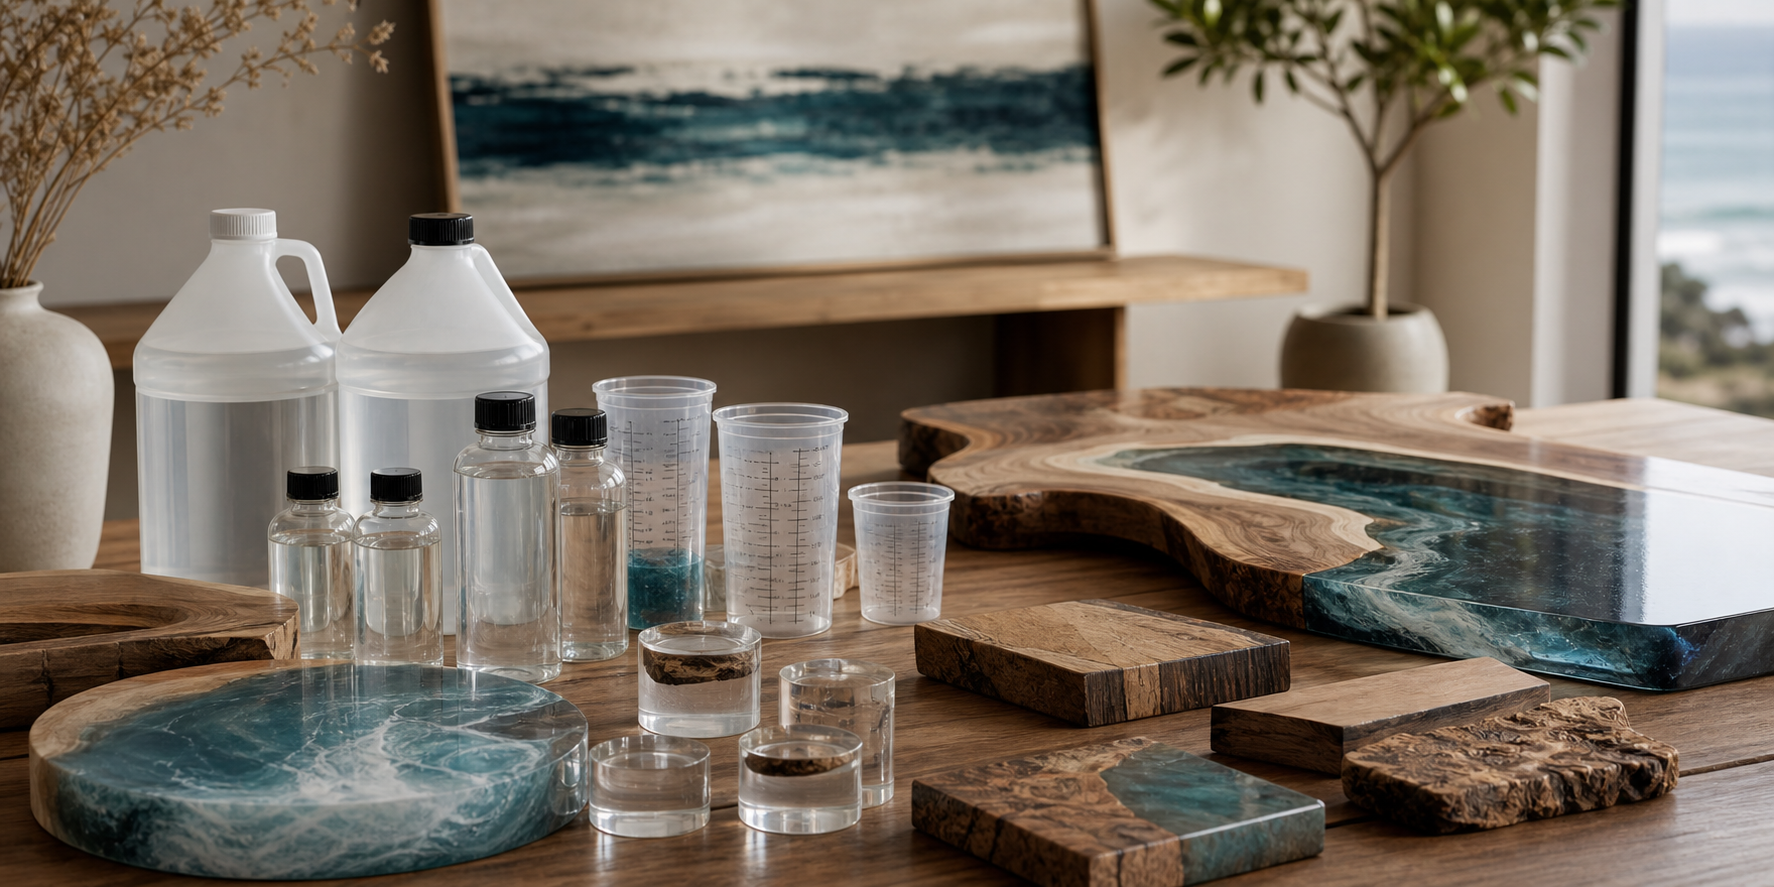
You’ll need live edge slabs, epoxy resin, pigments, a mold made of melamine, sealant, a mixing setup, sanding tools, and a finish like oil or varnish. It’s not just resin—it’s the prep that makes it work.
How much will 1 gallon of table top epoxy cover?
Roughly 12 square feet at 1/8" thickness. For deeper pours or river tables, you’ll likely need multiple gallons or a deep-pour-specific formula. Always use an epoxy calculator before mixing.
How to make an epoxy river table step by step?
Cut and prep your wood slabs, build a mold, seal the wood, mix and pour the resin in layers, demold after curing, sand, finish, and attach legs. Each step builds on the last—rushing ruins the finish.
Materials and Tools I Used
- Live edge wood slabs (I used walnut)
- Epoxy resin kit (tabletop formula)
- Pigments or mica powders
- Melamine boards (for mold)
- Silicone sealant
- Mold release spray
- Mixing containers and stir sticks
- Heat gun or torch
- Orbital sander with various grit sandpaper
- Finish oil or varnish
- Table legs

Step 1: Preparing the Wood
Cut and Layout the Slabs
I started by trimming my slabs and laying them out to create that “river” gap in the center. Just a rough visual helps before any resin comes into play.
Sanding the Surfaces
I used 80-grit through 220-grit to smooth the wood surfaces. It’s critical to get rid of splinters and ensure the epoxy sticks where it needs to.
Cleaning Up
After sanding, I vacuumed and wiped everything with a tack cloth to get rid of dust.
Step 2: Building the Epoxy Table Mold
Assembling the Mold
I used melamine because epoxy won’t bond to it. I cut panels slightly larger than my table dimensions and sealed the corners with silicone.
Adding Mold Release
A quick coat of mold release spray saves a ton of hassle later when you're trying to get your cured table out.

People Also Search For
Epoxy table for beginners
If you’re just starting out, choose a small project like a side table. Use slow-cure resin, keep temps stable, and watch bubble control closely—it’s all about patience and prep.
Step by step how to build an epoxy table on wood
You’re reading it! Each step in this blog outlines exactly how I go from raw slab to final finish. It’s doable—and worth every bit of effort.
How to make a clear resin table top
Use a high-quality clear epoxy and avoid color pigments. Keep your environment dust-free, seal the wood, and go slow with pouring to get that glassy, transparent finish.
Epoxy resin table kit
Kits are great for first-timers. Look for ones that include deep-pour resin, pigment, stir sticks, and gloves. Just check that it’s rated for tabletops, not crafts.
DIY wood and resin table
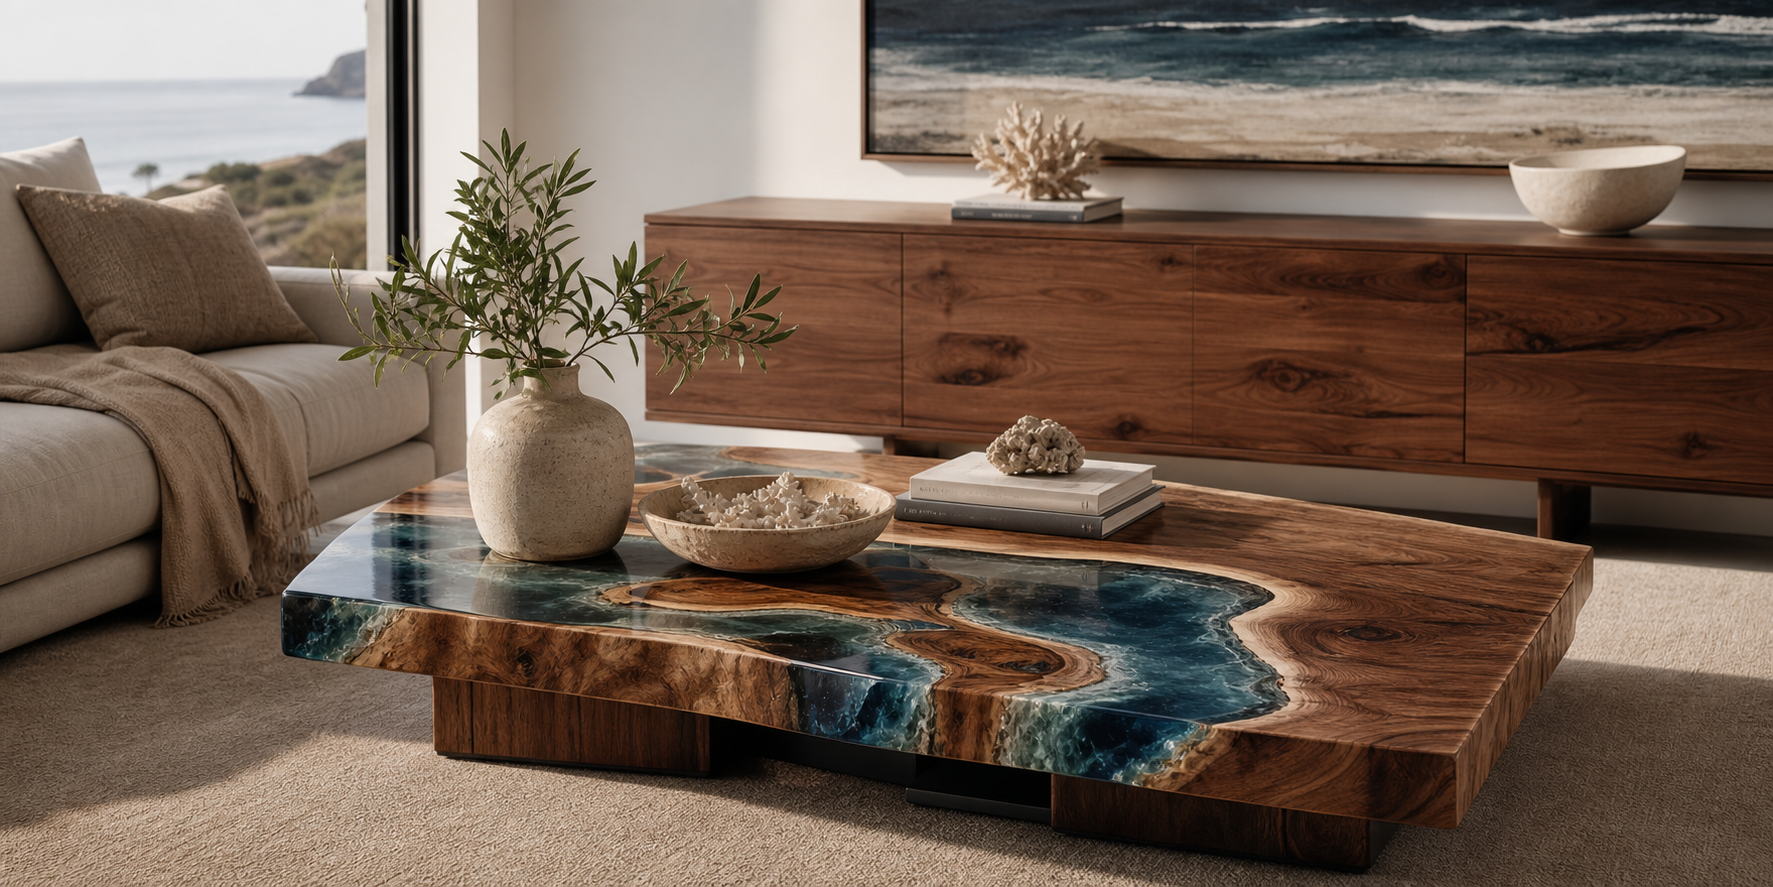
Mixing live edge wood with resin creates stunning contrast. This combo is what gives river tables their wow factor. Choose compatible wood and prep it carefully.
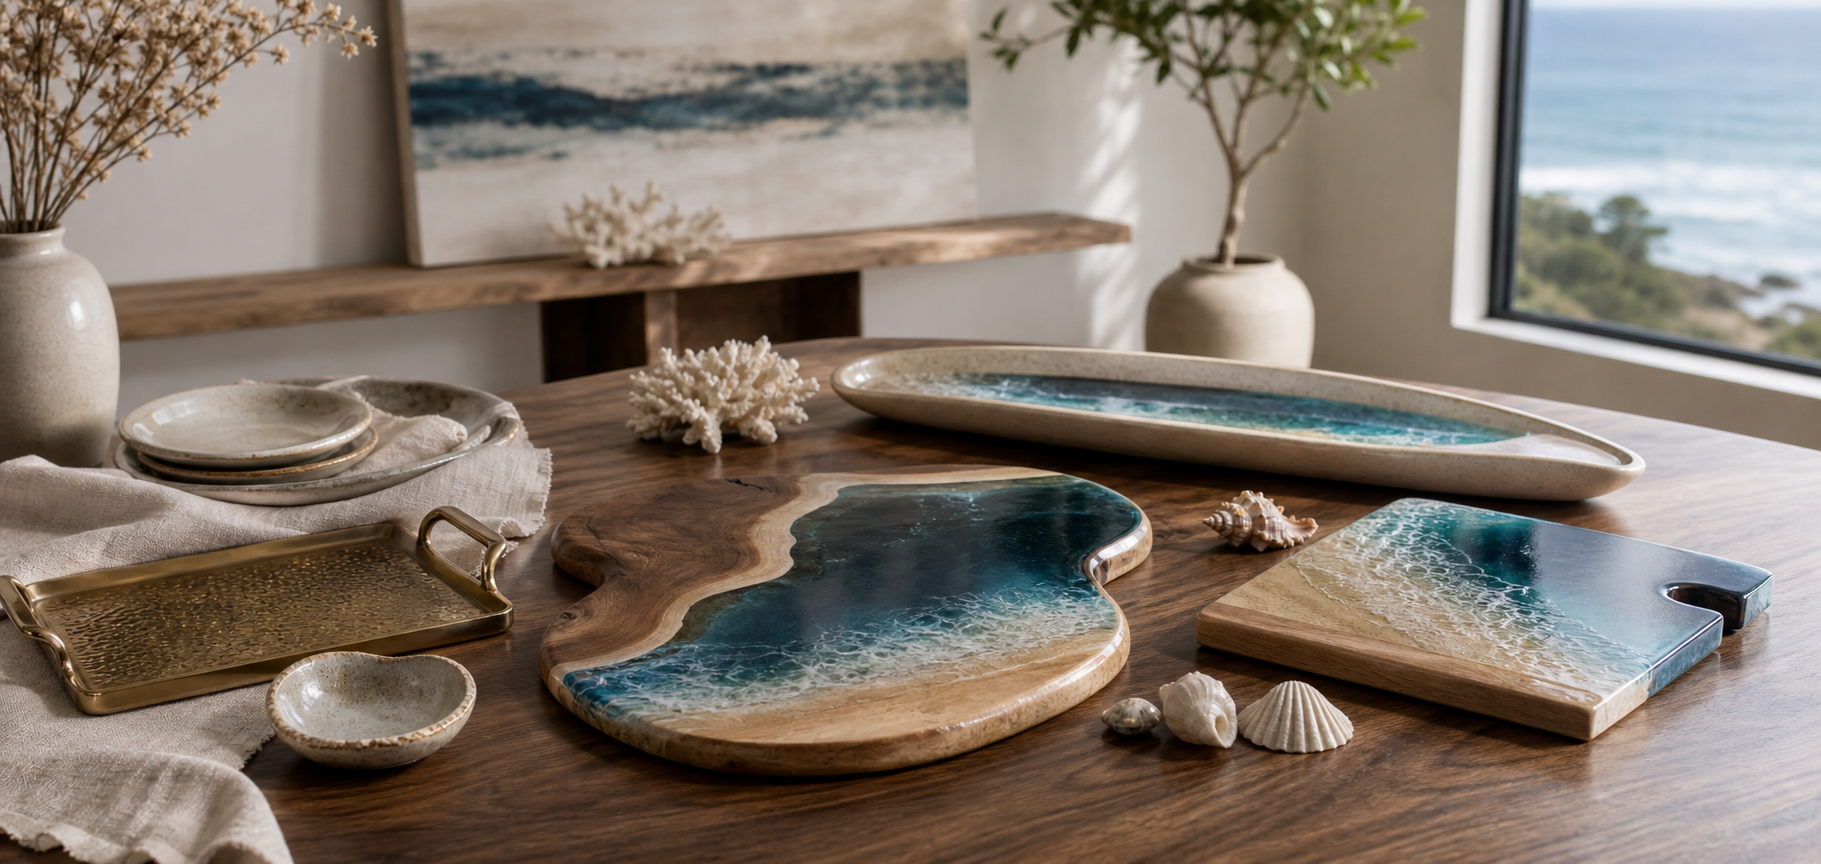
DIY epoxy table top ideas
Try swirling pigments, embedding stones or shells, or using layered pours. Each design decision changes the vibe—so experiment and go bold.
How to make a resin table with flowers
Dry and seal your flowers first. Use thin layers of clear resin to avoid trapping air. Build in stages, letting each layer set before the next.
How to epoxy a table top and edges
Tape the edges and pour slowly so resin runs down evenly. Once cured, remove tape and sand the drips. A second flood coat can smooth everything out.
Step 3: Sealing the Wood
This is a step I skipped on early projects—and regretted it. I brushed on a thin seal coat of epoxy over the wood to stop air bubbles from surfacing during the deep pour.
Step 4: Mixing and Coloring the Epoxy
Measuring How Much Epoxy I Needed
I used an epoxy calculator based on the mold dimensions to avoid wasting any resin.
Mixing and Pigmenting
After mixing Part A and B thoroughly, I added a bit of turquoise pigment and stirred slowly to avoid introducing air bubbles.
Step 5: The Big Pour
Pouring in Layers
I poured the epoxy slowly into the center gap, working in layers to reduce heat buildup. Each layer was about ¼" deep to prevent overheating.
Removing Bubbles
I used a heat gun and lightly passed over the surface every 10–15 minutes during the first hour.

Step 6: Demolding and Surfacing
Removing the Mold
After a 72-hour cure, I popped the slab out of the mold. It came out clean thanks to that release spray.
Sanding the Tabletop
I started with 120-grit and worked my way to 400-grit. On the final pass, I used a wet-sanding technique for that glassy feel.
Step 7: Finishing and Assembly
Finishing the Surface
I applied Osmo Polyx-Oil, which gave it a deep, warm finish. Food-safe, too.
Attaching the Legs
I went with matte black steel legs—minimalist but bold. Just four bolts per leg and the build was complete.

Want to Dive Deeper?
- How I Built a Resin Table Mold (Without Losing My Mind)
- Best Epoxy Table Finish? Here’s What Actually Worked
- The Tools I Actually Used to Build My First Epoxy Table
Final Thoughts
Every build teaches me something new—and this one reminded me that good prep makes all the difference. If you're planning your first DIY epoxy table how to make it work starts with patience, good materials, and taking it one step at a time.
And if you ever want to go beyond DIY and commission something custom, you know where to find me.


Share: