I didn’t think I’d ever need to fix an epoxy table. These things are supposed to last forever, right? That was the plan—until I dragged a toolbox across the surface and left a scratch the size of a zipper. It only got worse from there. But instead of giving up, I decided to figure out how to bring it back. Here’s how I managed to repair my epoxy table, what worked, what didn’t, and why I’ll never panic over surface damage again.
Why I Needed to Repair My Epoxy Table
It started with one scratch — then things got worse
That first mark wasn’t even deep. But the more I looked at it, the more I noticed other imperfections—fine scuffs, dull spots, even a tiny chip along the edge. Scratches like that can show up even with basic use. (If you're wondering how tough these tables really are, here's what mine looked like after a few years.)
I wasn’t ready to toss it, but I had no clue what I was doing
This was one of the first pieces I made that actually meant something. I wasn’t about to start over. So I dug in and figured out how to fix a resin table without making it worse.

The Different Kinds of Epoxy Damage I’ve Seen (And Fixed)
Light surface scratches and scuff marks
These are the most common—and usually the easiest to fix. A quick polish and you're back in business. I use the same method from my mirror-polish guide.
Chips and cracks along the edges
A little trickier. You’ll need new resin and careful blending, but it’s doable with patience and the right pour.
Cloudiness, yellowing, or surface dullness
Some resins age fast. Some just need a polish. Others need a full recoat. I wrote more about yellowing in my post right here.
Bubbles and trapped dust
This is where a flood coat or spot fix comes into play. It’s tedious but not impossible. I’ve had plenty of bubble issues—check out my post on why I don’t always remove them.
Heat damage or chemical stains
Burn marks, rings from hot mugs, or weird surface reactions—all repairable with the right tools (and a lot of grit).
Tools and Supplies I Used for the Repair
Sandpapers (grit range that actually worked)
Started at 320 and worked all the way up to 2000. Wet sanding helped a ton for clarity and blending.
Polishing compounds and buffing tools
Novus polish, Meguiar’s, and a dual-action buffer. Total game-changer for polishing out haze and light scratches.
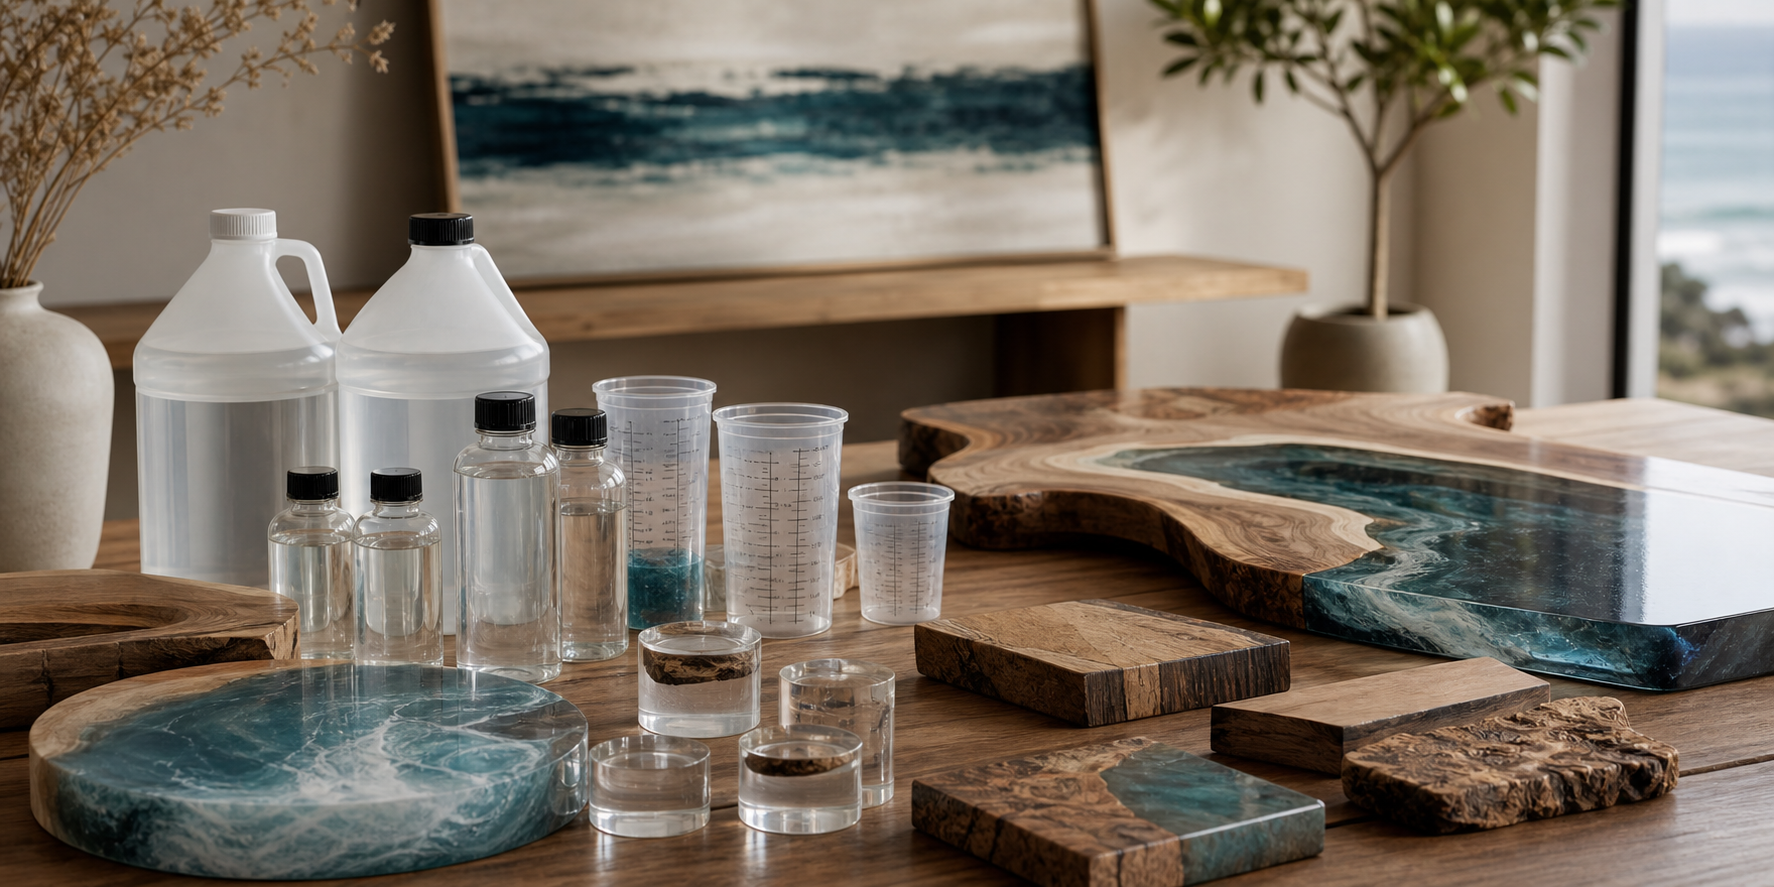
Fillers, resins, and sealers that saved the day
I used a clear tabletop epoxy for small fills and final coats. Fast-setting resin didn’t give me time to fix mistakes—lesson learned.
What didn’t work — mistakes I won’t make again
Rushing the cure time. Skipping the sanding stage. Using acetone to “clean” the surface—don’t do that. More common mistakes listed in my repairs FAQ.

My Step-by-Step Repair Process
Step 1: Cleaning and assessing the damage
I wiped everything down with warm water and mild soap to get a clear look at what needed attention.
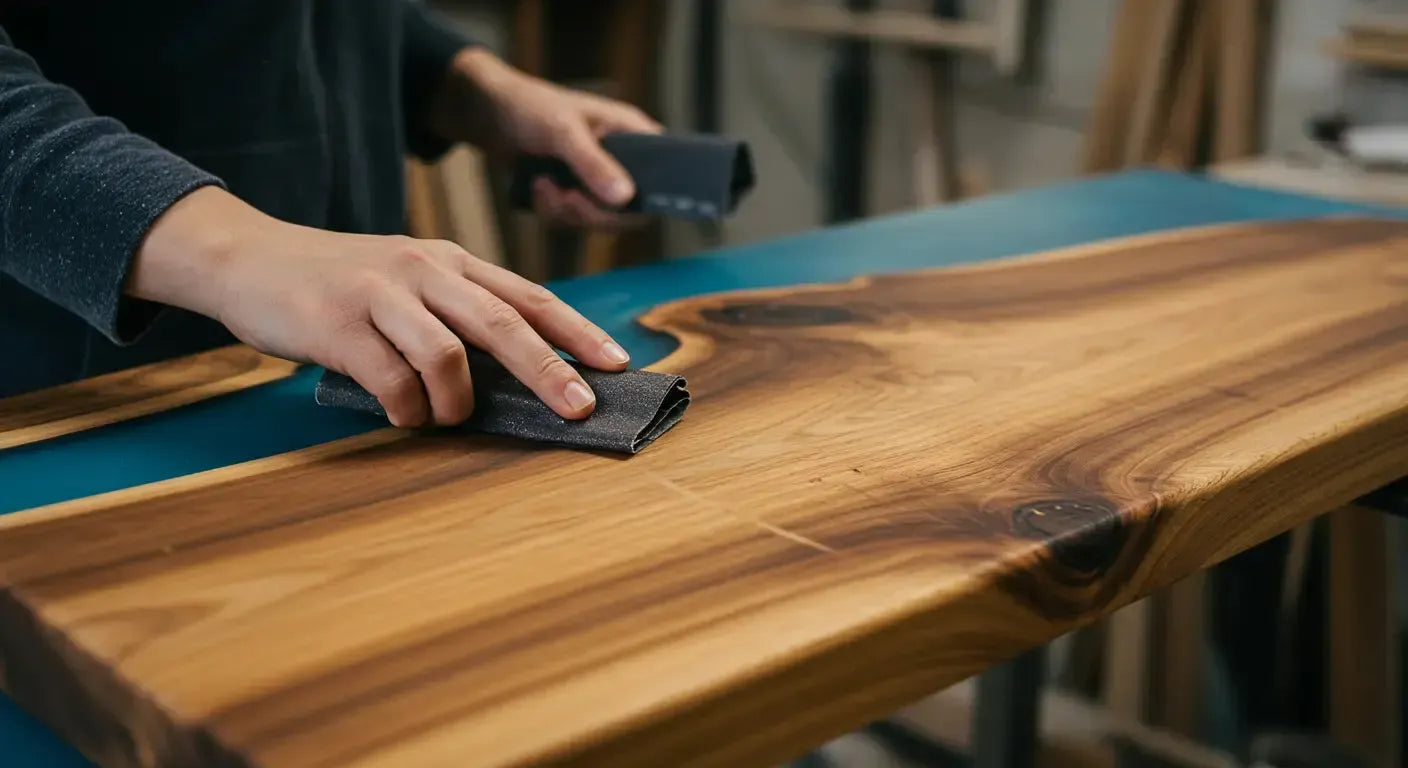
Step 2: Sanding and leveling the affected area
Used fine grit to level out scratches. If it was a deep gouge, I masked off the area and did a partial sandback.
Step 3: Filling cracks or chips with new epoxy
Poured in just enough to cover, used a heat gun to pop bubbles, and let it cure flat. This same step saved my build when I ran into warping issues.
Step 4: Curing and blending the patch into the surface
Let it sit 48–72 hours. Then came the blending—sanding around the edges to feather it in with the original surface.
Step 5: Polishing it all back to a mirror finish
This is where the magic happens. Polished it in stages, wiped it down, and buffed it to a high-gloss finish. I use the same technique as described in my full polishing guide.
Spot-Specific Repairs I Tried
How I fixed a deep chip near the table edge
I dammed off the area with tape and did a small, targeted pour. Once cured, sanded flush and polished it smooth.
What finally worked for yellowed epoxy
I sanded it down to the clear layer and recoated with a UV-stable topcoat. Huge difference. I also broke that down in my post about epoxy discoloration.
The trick I used to get rid of cloudy patches
Buffing compound and a microfiber pad on a drill. Took 5 minutes and made it look new again.

Long-Term Care After a Repair
Sealing and maintaining the surface
I use a food-safe oil or hardwax finish over repaired areas when needed. It helps blend the old with the new and adds moisture protection. For more maintenance advice, check the repairs & finish page.
What to avoid putting on your epoxy table going forward
Hot pans, harsh chemicals, heavy abrasives. Use coasters and mild cleaners—your table will thank you. If you're wondering about long-term durability, here's my full take on how long these tables actually last.
Routine checks and touch-up tips
Every few months, I give it a wipe-down with polish and check for surface changes. Small fixes now = no big repairs later.
Things I Googled Before Starting My Repair
Can I recoat epoxy over damaged epoxy?
Yes—but sand it first. The surface needs tooth for the new resin to bond. More prep info on the technical resin FAQ page.
What grit do I need to sand epoxy smooth again?
Start around 320 if the damage is light. For serious flaws, you might need to go as low as 120 and work up from there.
Will polishing alone fix surface issues?
Not usually. You’ve got to sand first. Polish only brings out the shine once the surface is flat.
Do I need to remove the whole finish or just spot-fix?
Spot-fix is fine for small areas. Full sand-down and recoat only if the damage is widespread or structural.

Common Repair Questions for Epoxy Tabletops
How do you restore an epoxy table top?
It depends on the damage. Light scratches? Sand and polish. Deeper issues like chips or yellowing? You’ll probably need to do a light recoat. I broke down both types of fixes in my step-by-step process above.
Can I put another coat of epoxy over cured epoxy?
Yes, but you’ll need to sand the surface first so the new resin has something to grip. If you skip this, the top coat may peel or separate later. I did this exact thing when repairing my table’s finish, and it worked like a charm.
Can you fix epoxy after it dries?
Definitely. You can sand, spot-pour, or even recoat. I thought my cloudy patches were permanent, but a little polishing and sanding brought everything back.
How do you fix epoxy mistakes after it’s cured?
It’s all about the approach. For surface haze, polishing works. For dimples or dents, spot fixes with a tiny pour of resin can help. Just make sure to blend it in during your sanding step—more on that in my “Step-by-Step Repair Process.”
How do you fix dimples or dents in epoxy?
Fill the low spot with a small amount of resin, pop bubbles with a torch or heat gun, let it cure, and then sand and polish it flush. It’s slow work, but it works.
Can you spot-fix epoxy?
Yes, especially on tabletops. I’ve done tiny repairs where I just masked off the area, poured resin, and blended it in after curing. You’ll want to sand carefully to keep it level.
What is an epoxy resin repair kit?
Most include small batches of resin, fillers, mixing cups, gloves, and sometimes tint. I personally prefer to buy individual supplies so I get higher-quality materials. I listed my go-to tools in the “Supplies I Used” section above.
How do you polish epoxy resin back to a shine?
Sanding → polishing compound → buffer. It’s all about the progression in grit. I linked my full polishing guide right here if you want the full breakdown.
What about fixing damaged wood veneer under epoxy?
If the veneer is lifting, you'll need to glue it down before patching with resin. Epoxy can seal and level it, but structural damage underneath has to be addressed first. I didn’t have this issue with my table, but I’ve seen others fix it with wood glue + clamp before reapplying resin.
Can I use epoxy putty on an epoxy table?
Not for clear finishes. Epoxy putty works for structural fills or painted repairs, but it’s too cloudy for transparent resin work. I prefer using clear pourable epoxy for visible surface repairs like mine.
Final Thoughts: Was the Repair Worth It?
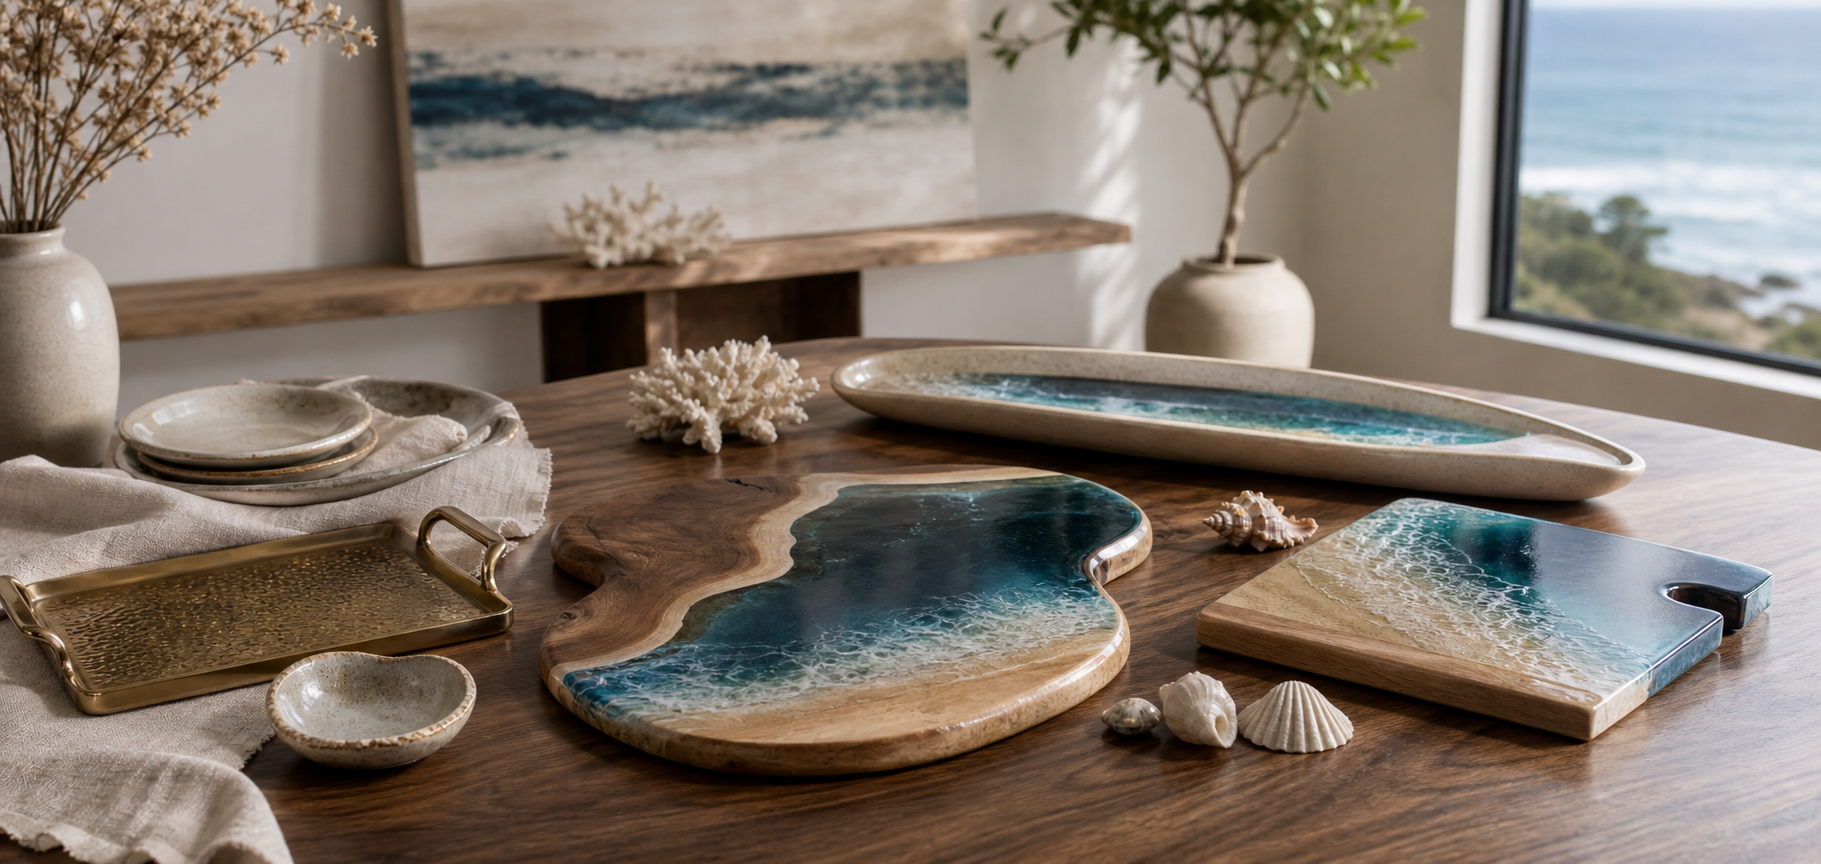
How the table looks now
Honestly? You’d never know it had scratches or a chip. It looks better now than it did before.
What I’d tell someone thinking about tossing theirs
Don’t. Resin is more fixable than you think. Even big damage can be reversed with time and patience.
Why epoxy is more forgiving than I expected
I thought one mistake would ruin everything. Turns out, repairing an epoxy table just takes a little grit—and a lot of sandpaper.
Thanks for taking the time to read—I really appreciate it. I hope something in my process (or my mistakes) helps you along the way. If you want a custom piece or hit a wall building your own, feel free to drop a comment or reach out—happy to help. Have a blessed day!


Share: