What Is Ocean Resin Art?
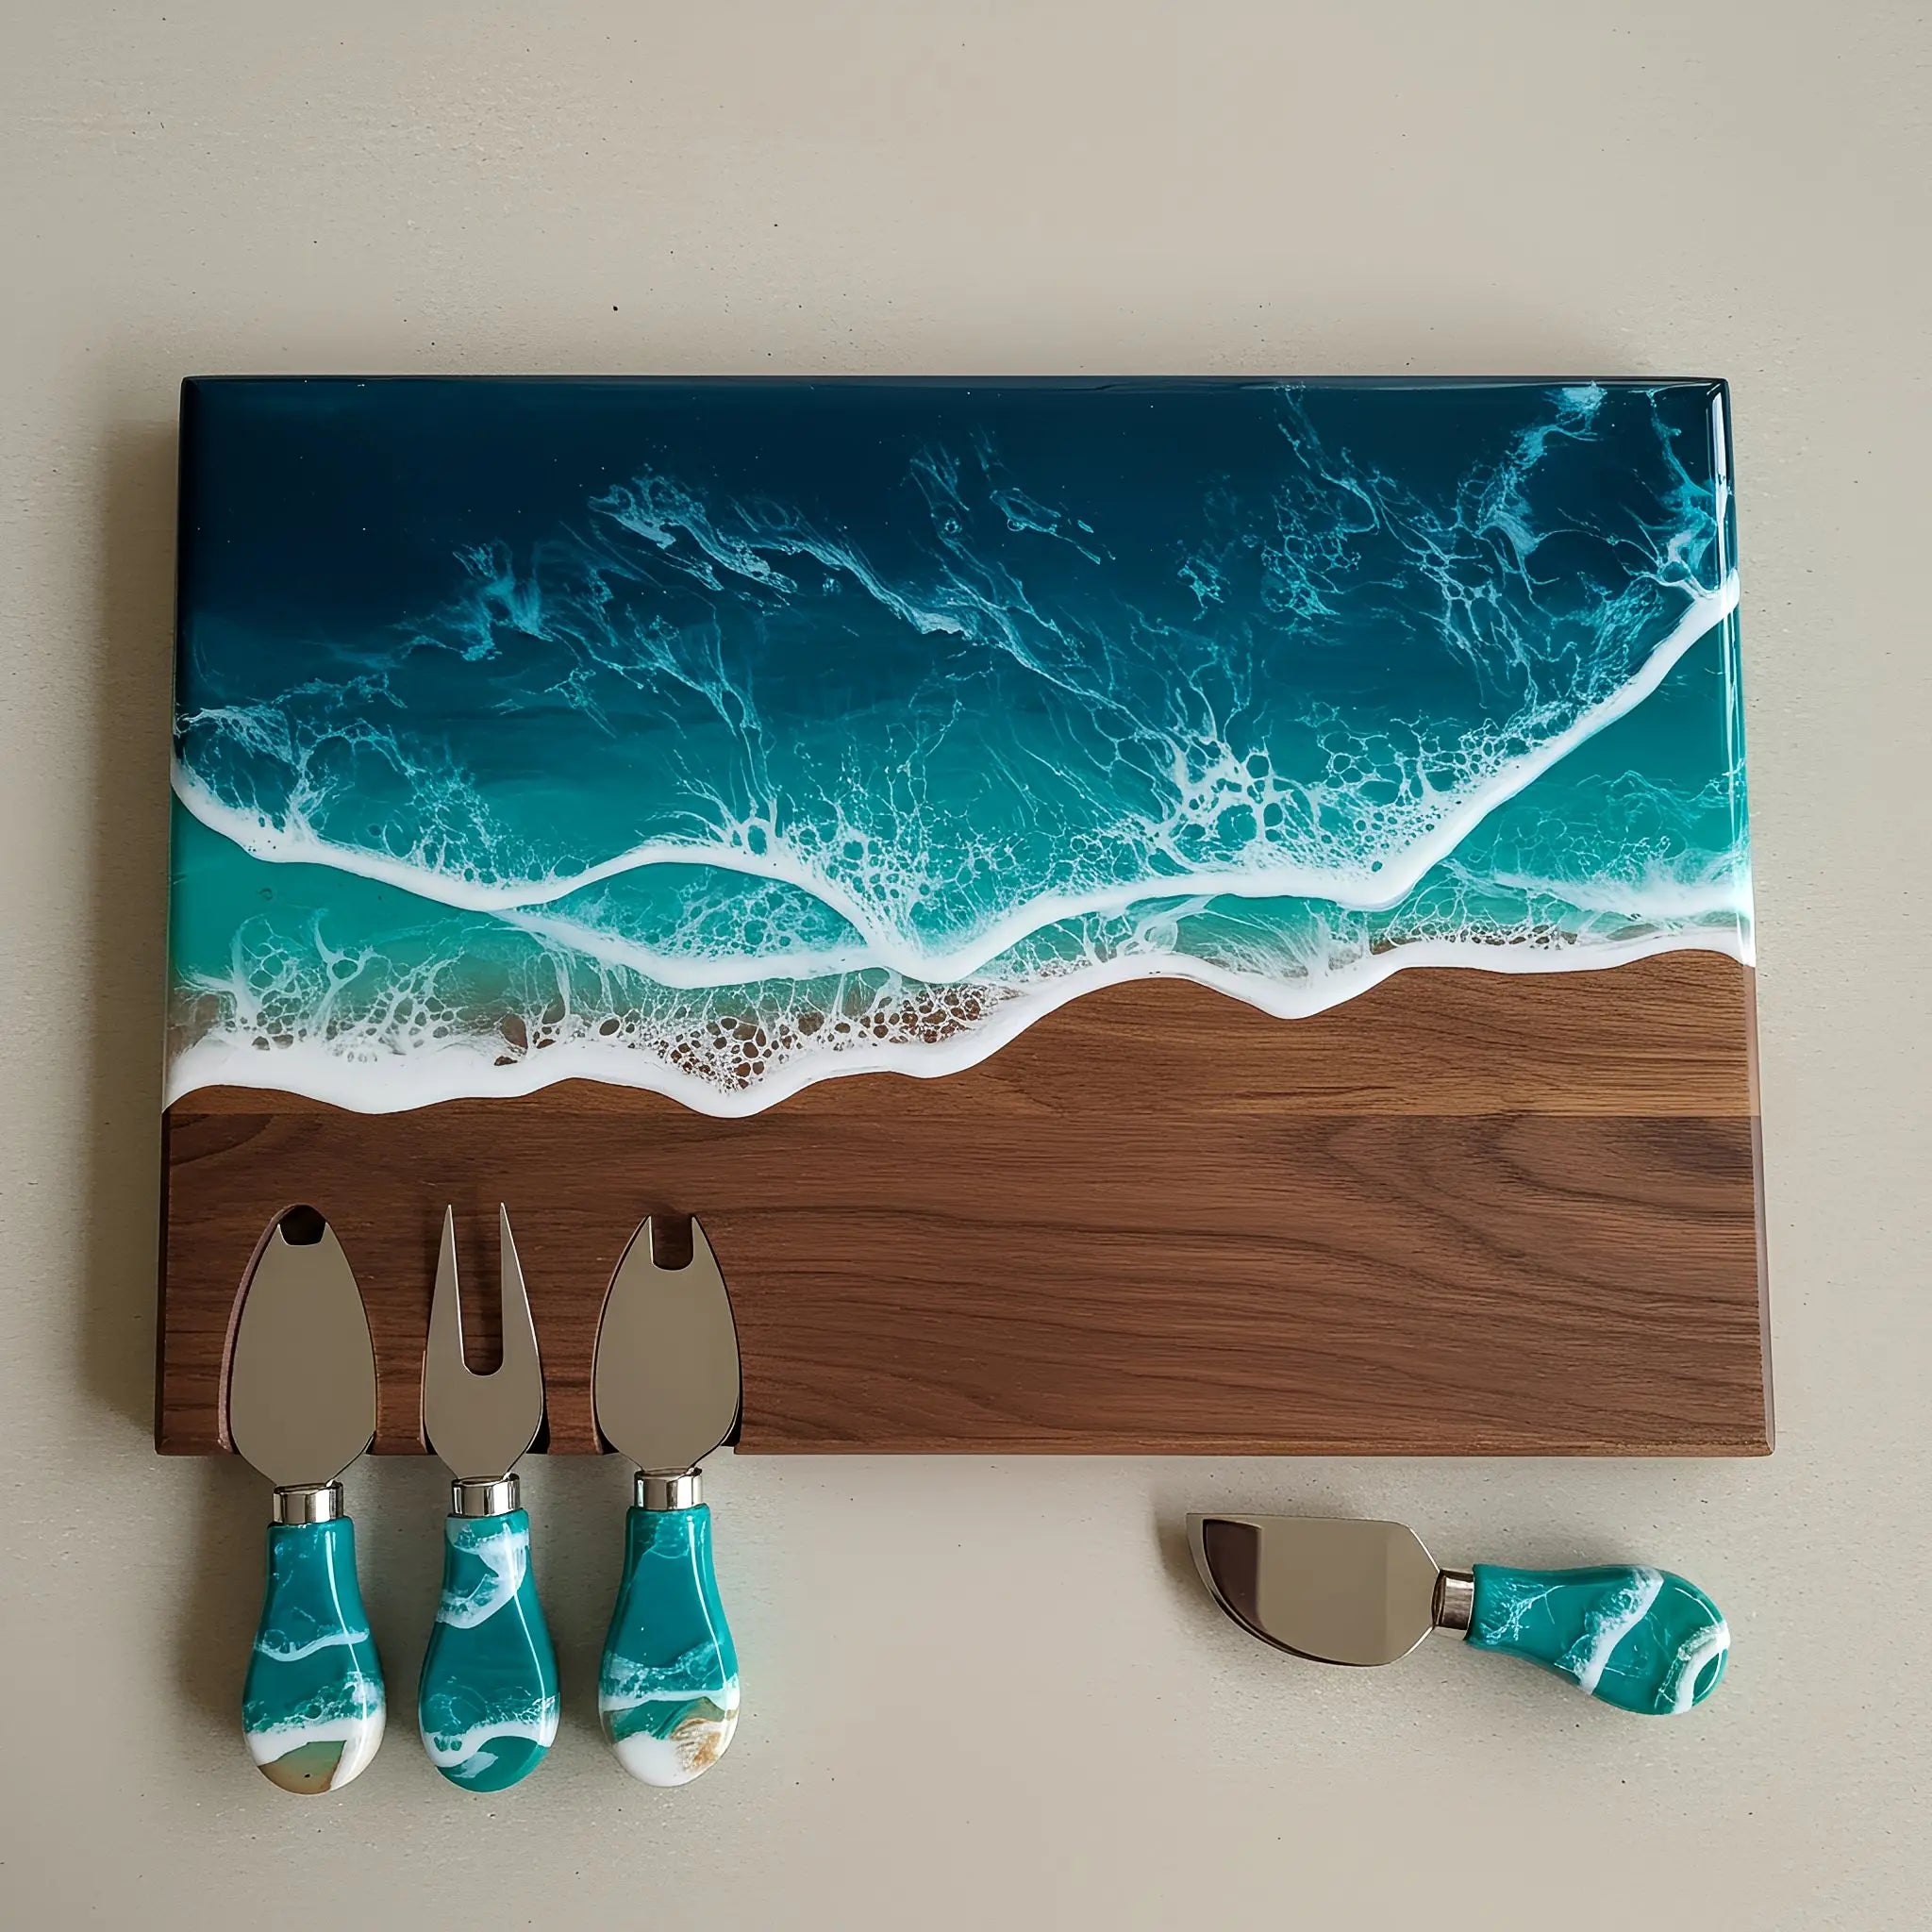
Ocean resin art is one of those projects that looks complex—but once you try it, you’re hooked. It mimics the shoreline with layered blue tints, lacing effects, and white resin waves that crash across your board just like the real thing. It’s part art, part science, and entirely addictive.

What You’ll Need for a DIY Ocean Resin Pour
Core Materials
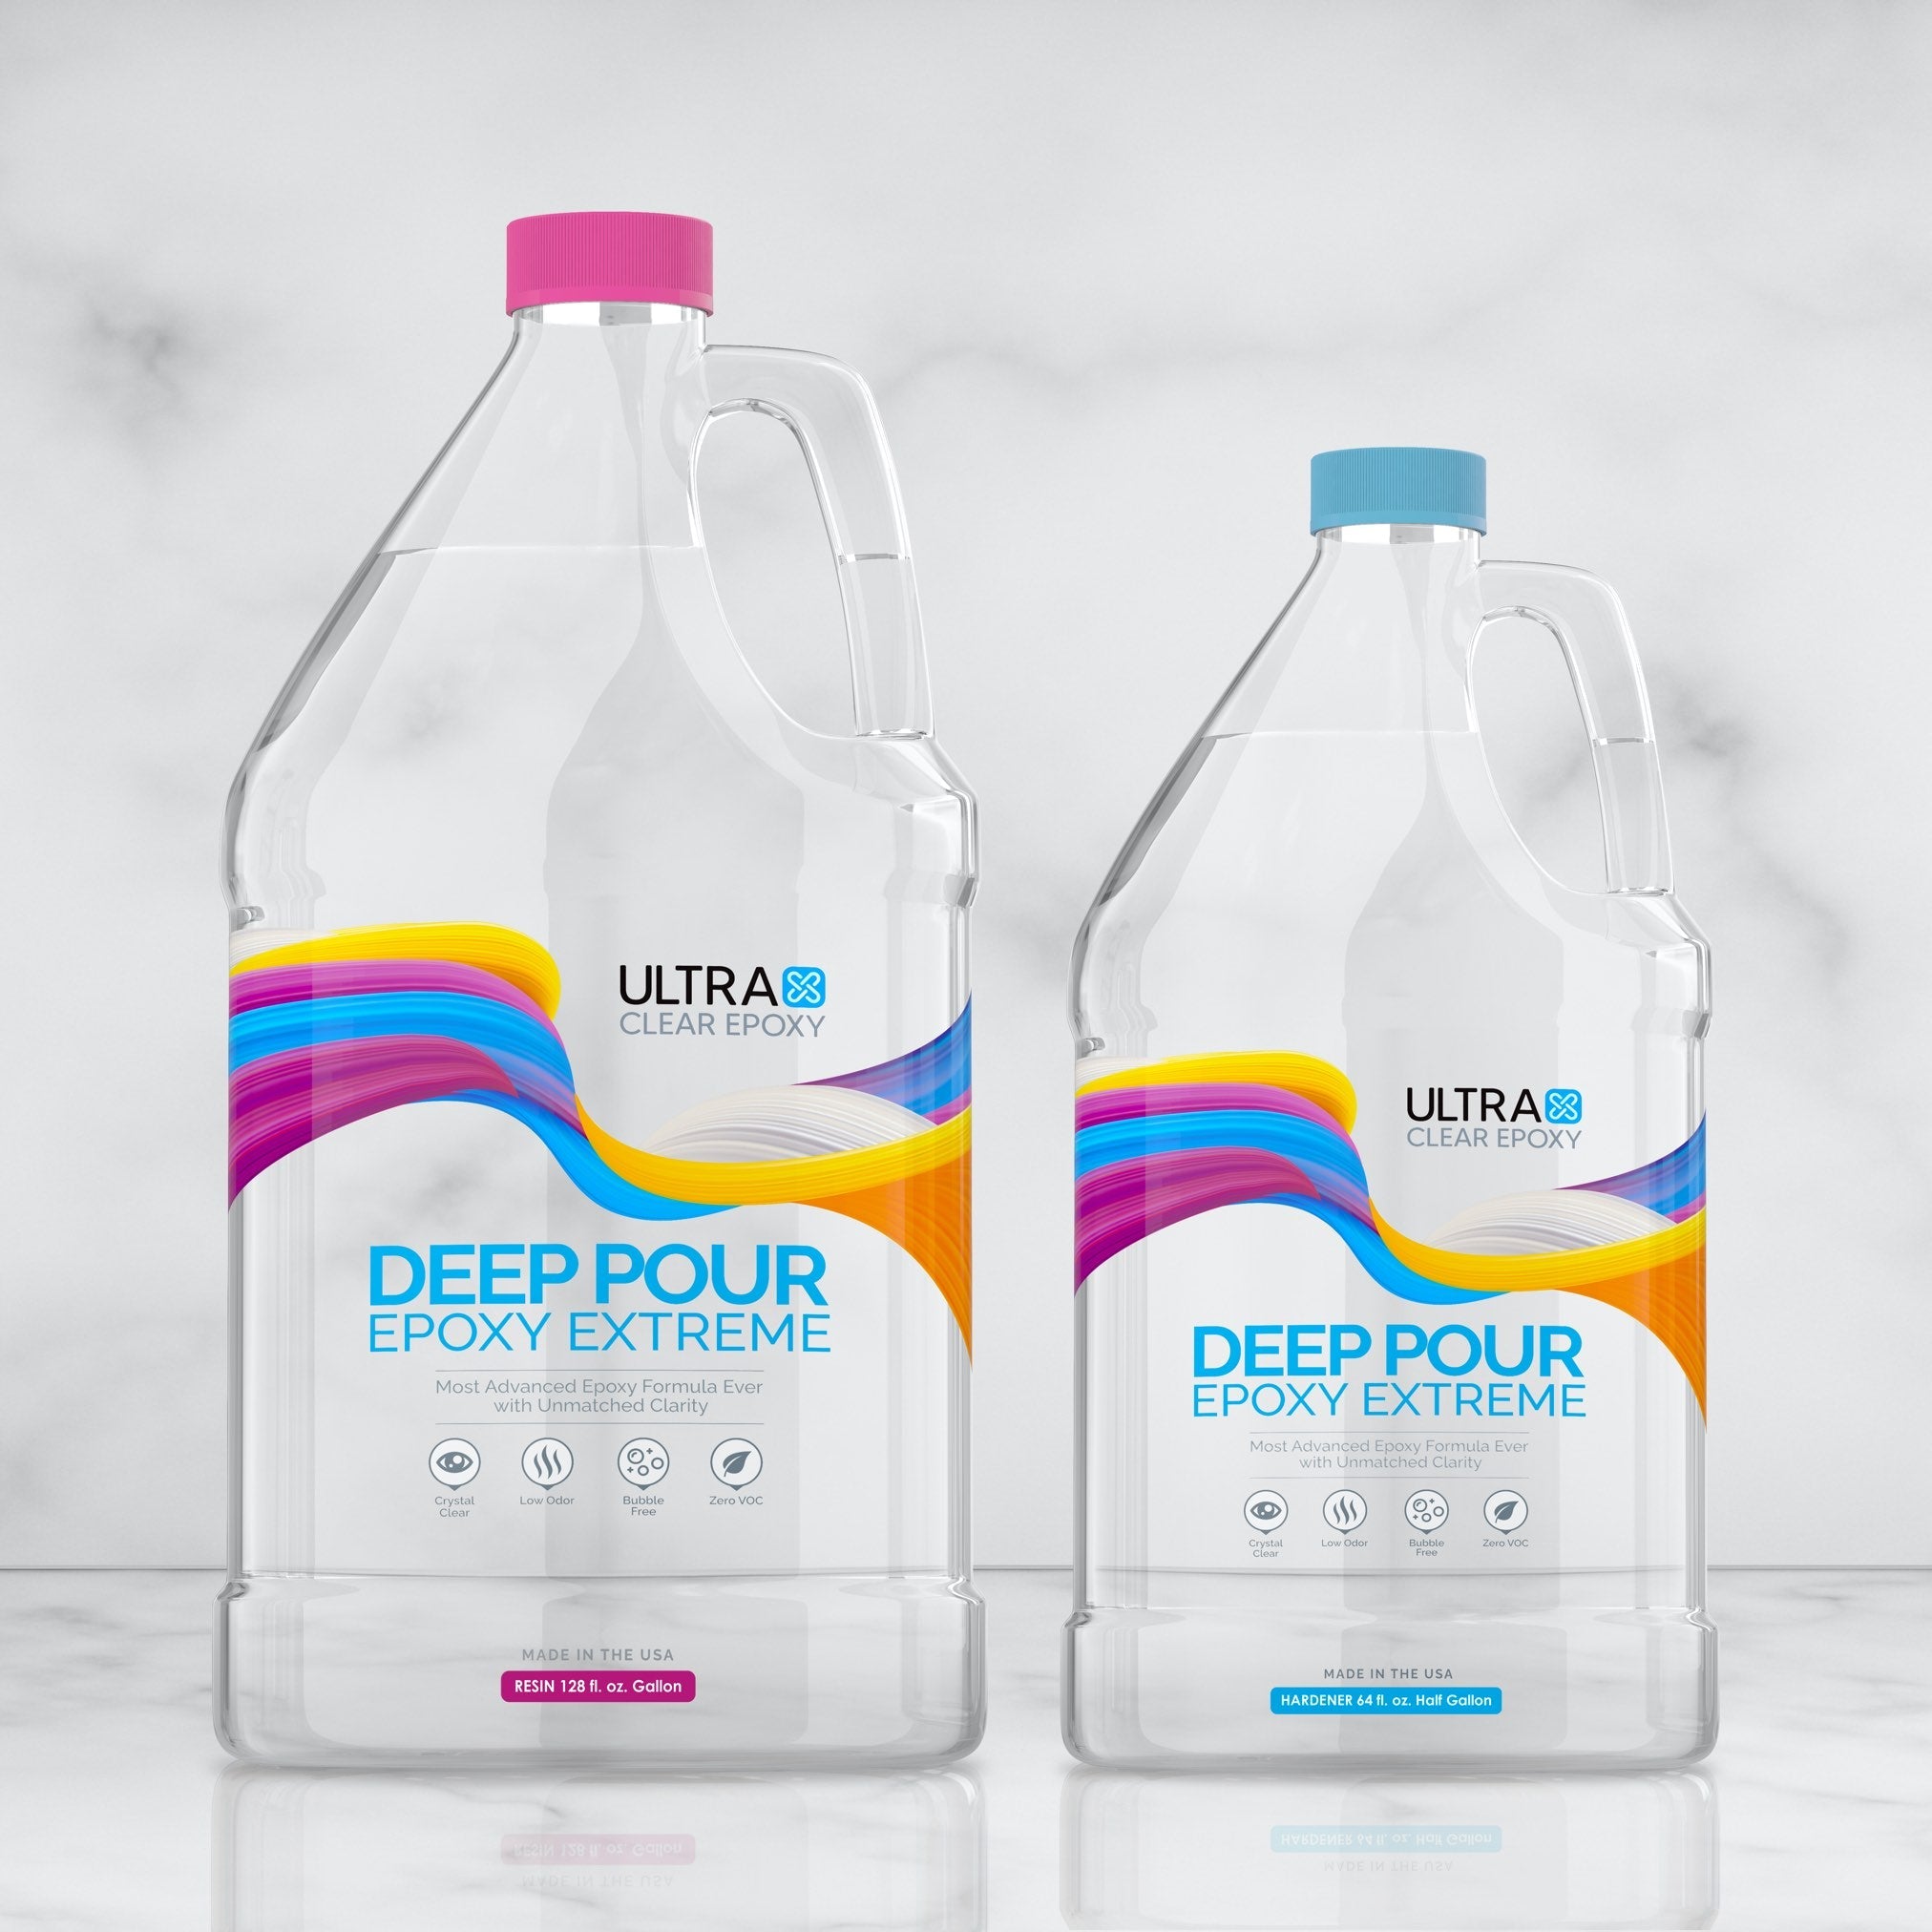
- Epoxy resin and hardener (art-grade, UV-stable)
- Blue, teal, and white resin pigments
- Mixing sticks and plastic measuring cups
- Heat gun or torch (for lacing and bubble removal)
- Gloves, mask, apron, and a flat workspace
- Base surface (wood panel, charcuterie board, etc.)
- Optional: sand, shells, mica powder, or glass pieces
Safety Gear
Please don’t skip this. Resin work means fumes, heat, and mess. Gloves, mask, and proper ventilation are non-negotiable. I use Walrus Oil to finish most of my boards—it’s food-safe and low VOC, but safety during the pour still matters.

My Step-by-Step Ocean Resin Pour Process
Step 1: Mix Your Epoxy Resin
I started with a small batch—about 8 oz of total resin. You want a 1:1 ratio (or whatever your resin recommends), and stir slowly to avoid bubbles. Let it sit a minute before you pour.
Step 2: Tint Your Resin
I made three cups:
- Deep navy with just a pinch of black
- Ocean blue with a hint of green
- White for the waves (mixed with opaque pigment + a dash of alcohol ink)
Step 3: Pour in Layers
Start at the back of the piece with your darkest color. Pour the lighter shades toward the front—this gives it a shoreline feel. I used a silicone spatula to gently blend where the colors met.
Step 4: Wave Creation (The Fun Part)
Pour your white resin where you want waves. Then hit it with a heat gun. The white spreads like foam—it’s weirdly satisfying to watch. I tried a few passes and tilted the board slightly to create movement.
Step 5: Add Embellishments
While the resin is still fluid, I dropped in crushed shells and a few beach stones. You can also use real sand or even gold flakes—just make sure they’re sealed into the layer.
Step 6: Let It Cure (And Don’t Touch It!)
Cure time depends on your resin brand. Mine needed 24 hours. I covered it with a cardboard box to keep dust out—don’t skip this, or you’ll end up sanding later.

What Surprised Me Most About This Pour
Honestly? The wave effect was easier than I expected. It’s all about resin density—your white resin should be thicker than the tinted ones. That’s what makes the lacing effect happen naturally with heat.
Also, the pigment ratios matter way more than I thought. Too much white and it overwhelms everything. I had to try this pour a couple times before getting the balance right.
Want to Try This on a Functional Piece?
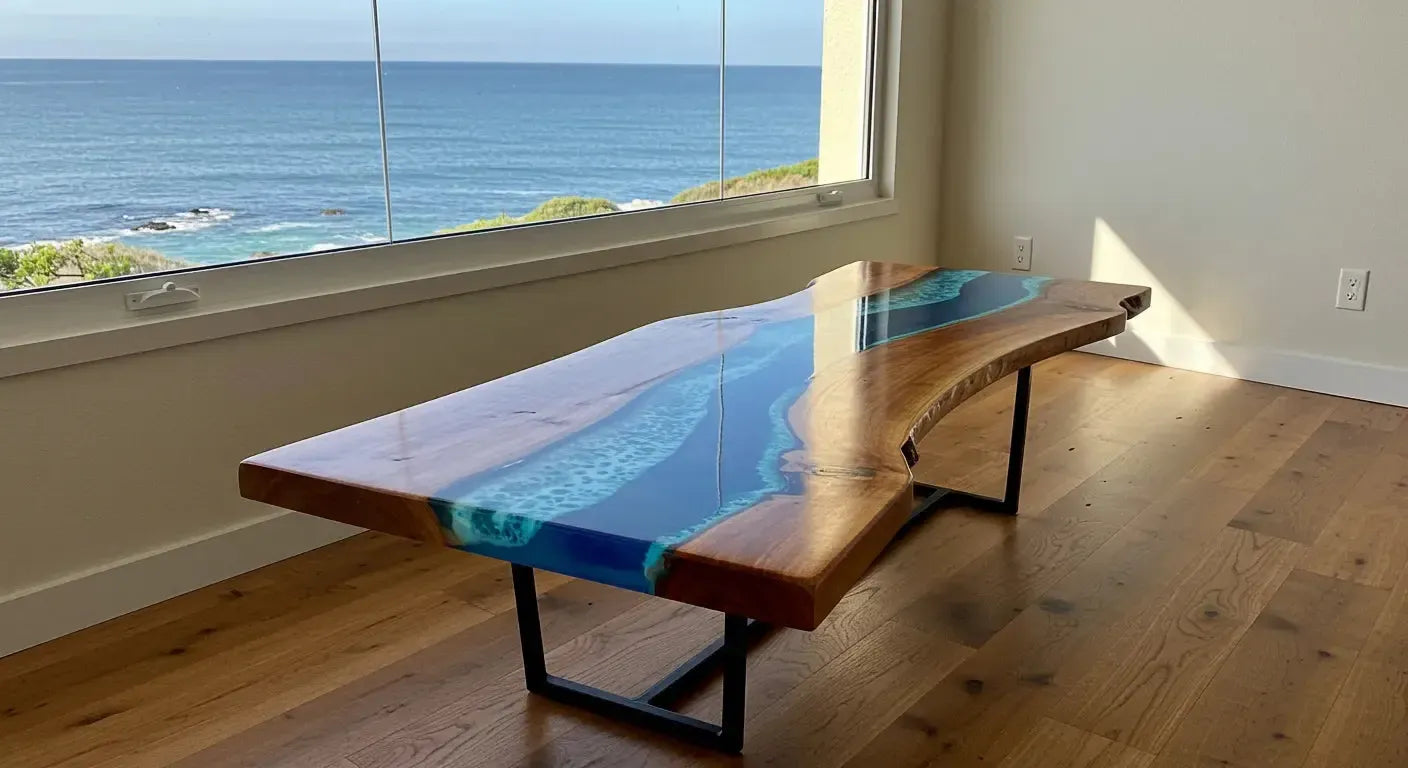
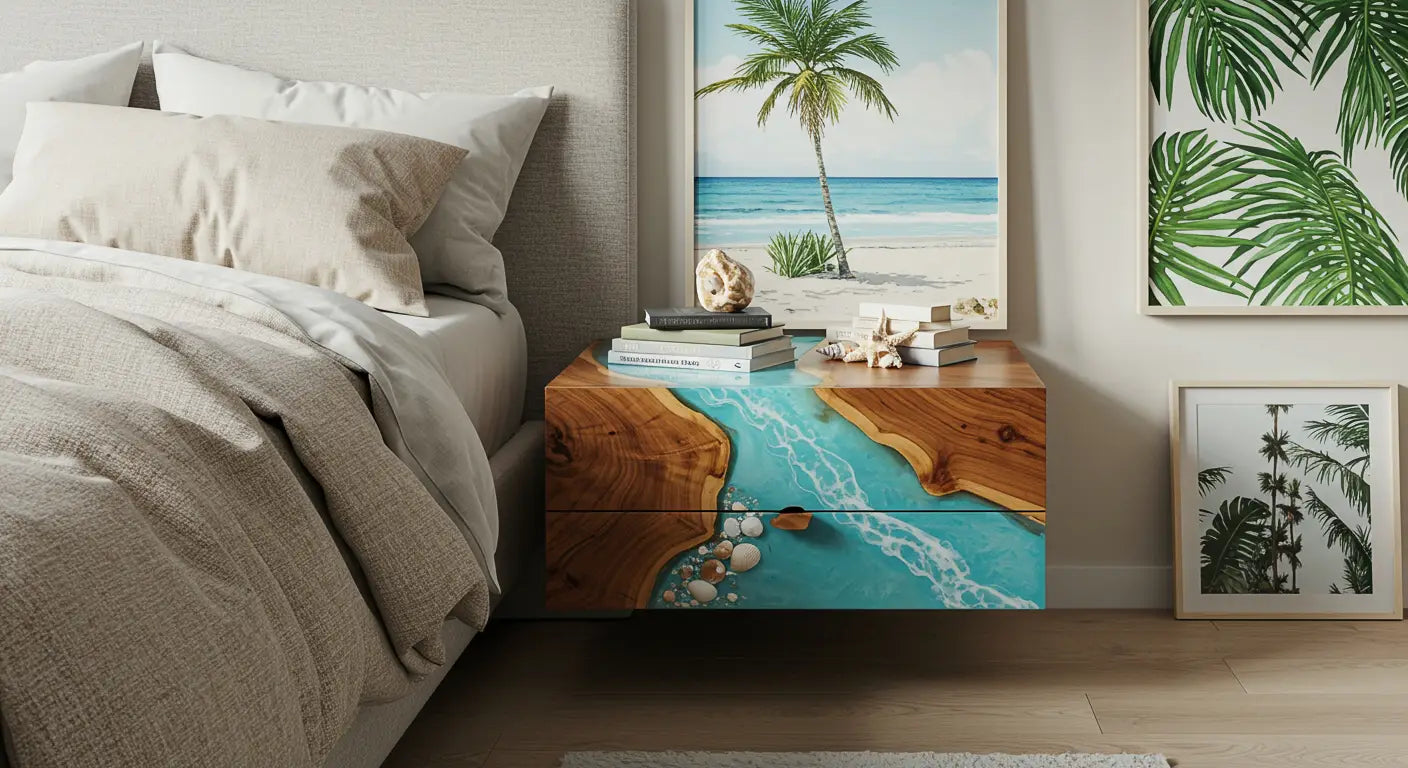
This pour style looks incredible on boards or tables. I used a smaller version of this ocean design in my Blue Odyssey Collection, including this epoxy coffee table. I also talk about adding LEDs and ocean tones in this blog about building an ocean table.
A Few Bonus Tips I Learned
Don’t skip your seal coat
Bare wood can release bubbles into your resin. Seal it first.
Use your heat gun in bursts
Too much heat and your resin scorches or thins out too fast.
Try a flood coat for extra gloss
Once the main pour is cured, a clear topcoat adds that glassy depth that ocean tables are known for.
Common Questions About Ocean Resin Art
How to get the ocean effect in resin?
It comes down to layering. Use blues and teals for depth, then add thickened white resin for foam. Tilt the surface and hit it with a heat gun to create natural-looking movement and lacing.
How to make ocean resin art on wood?
Seal your wood, then pour tinted resin in waves. The layering of colors creates depth, while a heat gun helps the white resin mimic foam. It works best on flat panels or charcuterie boards.
How to make a beach scene with resin step by step?
Start with a sealed wood panel. Pour dark blue at the top, then layer lighter tones downward. Add white for waves, use a heat gun for effect, and embed shells or sand near the shore edge. Let it cure covered.
What is the best epoxy resin for ocean art?
Look for art-grade or UV-resistant epoxy made for medium-depth pours. Brands like TotalBoat or Stone Coat Countertops are popular. Just make sure it cures crystal clear and is tintable.
How to make resin look like waves?
Use opaque white resin and pour it along the waterline. Then apply a heat gun in short bursts—this pushes and spreads the white over the colors beneath, creating realistic foam and lacing patterns.
How to embed sand in resin?
Sprinkle it on your base layer, then pour clear or tinted resin over it. You can press the sand in slightly so it bonds well. Just be sure it's dry and clean—wet sand causes clouding.
Can you use an ocean resin art kit?
Yes—and they’re a great place to start. Most kits include resin, pigments, and basic tools. Just double check the resin quality before using it on furniture or food-contact surfaces.
Is ocean resin art beginner friendly?
Totally. It might look intimidating, but the techniques are approachable. Start with a small test pour to understand how the resin behaves, then go big when you're ready.


Share: