
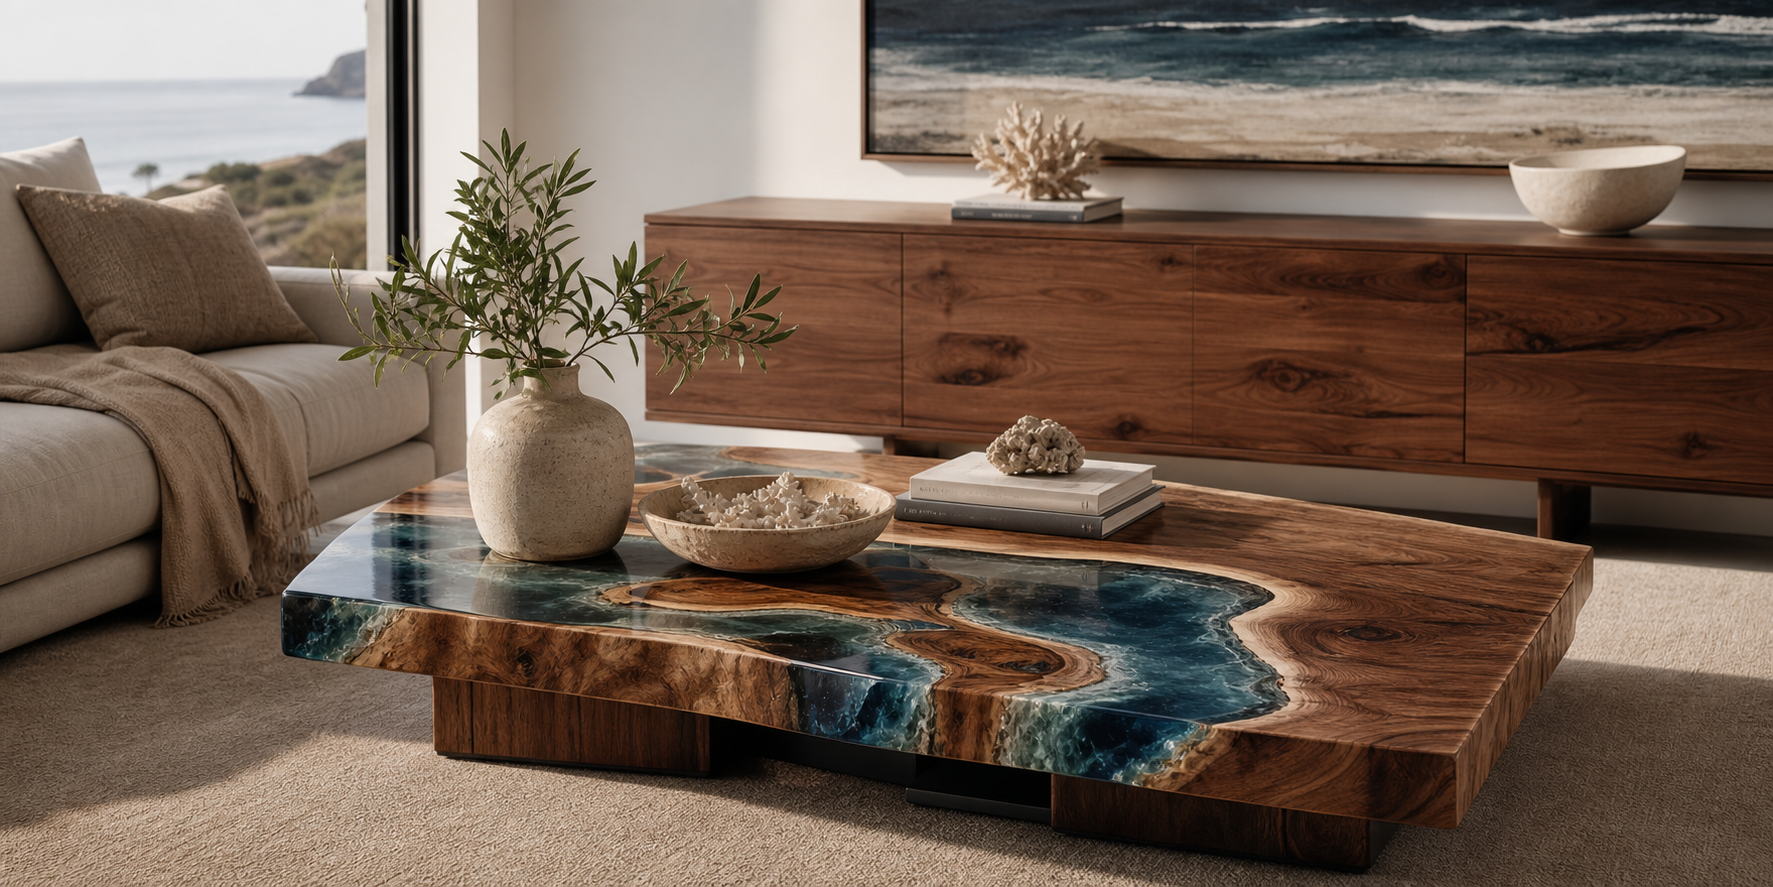
This wasn’t my first epoxy table—but it’s the one that taught me the most. From the pour that nearly ruined the base to the finish I still use today, this DIY epoxy coffee table build was a wild ride. Here's the step-by-step of what I did, what I’d absolutely do differently, and the final result I’d build again.
Step 1: Picking the Wood Slab
I started with a black walnut slab I had on hand—nothing fancy, just something with decent grain and a solid live edge. What I didn’t check? Moisture content. That mistake showed up later in curing (and warping).
👉 What’s the Best Wood for an Epoxy Table? Here’s What I’ve Tried (and Loved)
Step 2: Building the Mold
This part always takes longer than I expect. I used melamine boards, sheathed the inside with tuck tape, and sealed corners with silicone. One tip: double-check for leaks with a water test—resin doesn’t forgive.

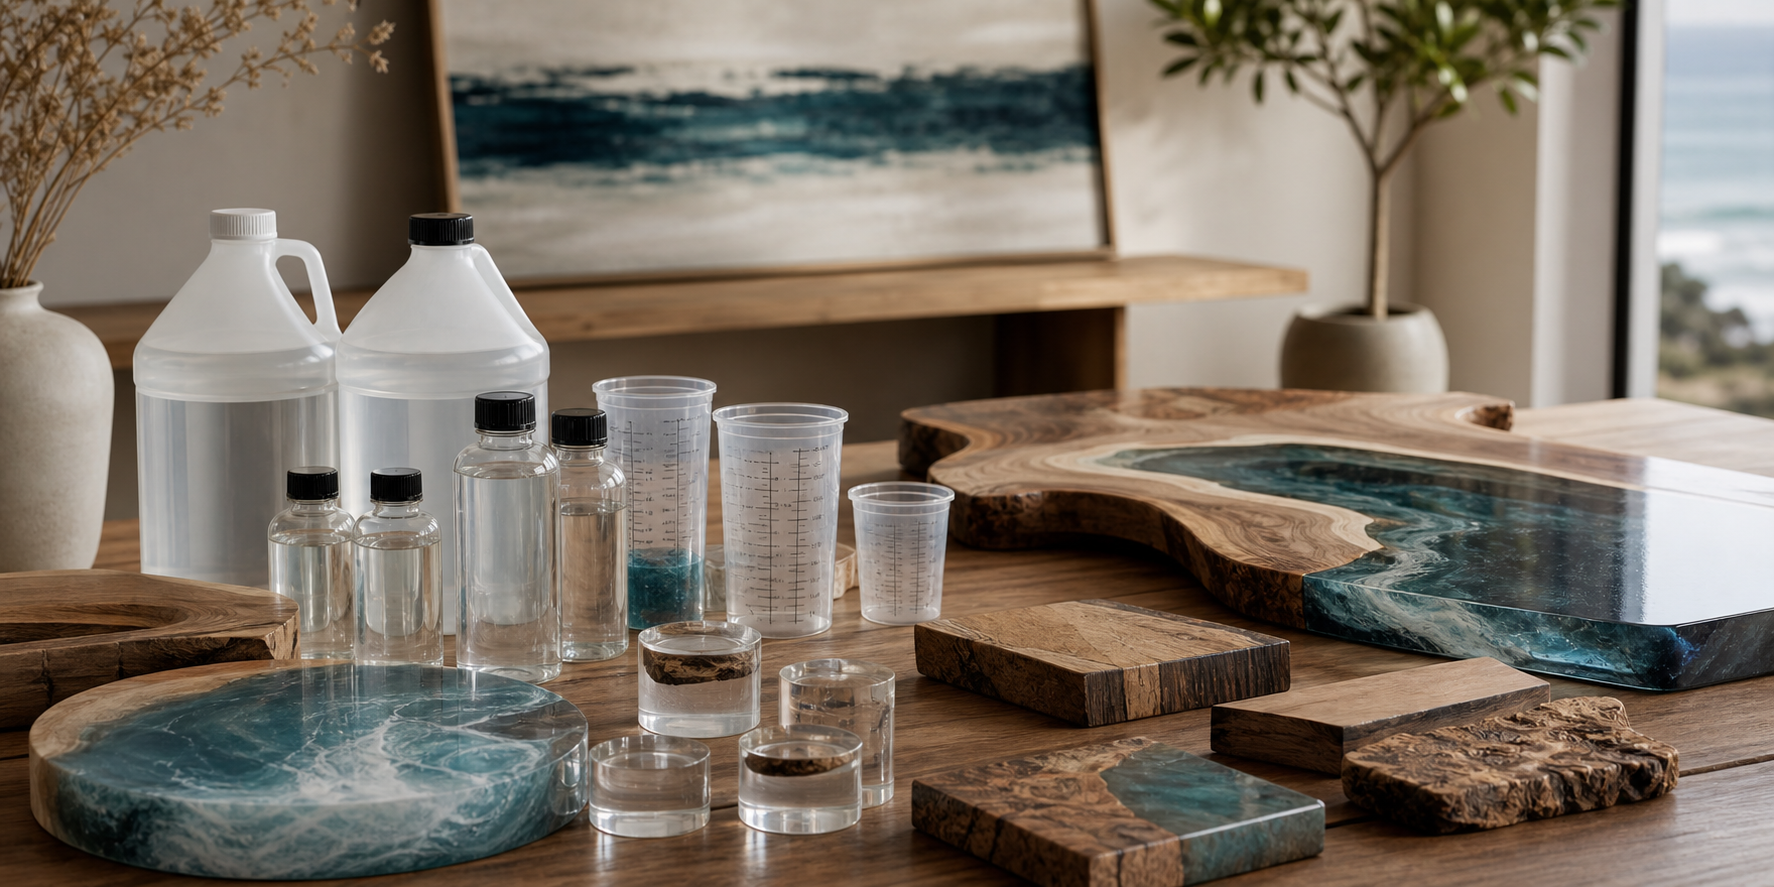
Step 3: Mixing and Pouring the Epoxy
I used a deep pour resin, but I underestimated just how much I needed. (Spoiler: I had to mix a second batch mid-pour. Big no-no.)
👉 What Kind of Resin Is Used for Tables? Here’s What I Learned
For color, I went with a deep ocean blue, trying to capture a subtle water effect. It looked fantastic—until I saw a giant air bubble underneath one knot in the wood.
Step 4: Tackling the Bubbles
I torched too early and disturbed the surface. Then I waited too long and bubbles hardened into the pour. What finally worked? A slower pour with staggered heat passes and a pre-sealed wood surface.

Step 5: Sanding and Flattening
Flattening the cured slab took forever. I used a router sled, then orbital sanded from 80 grit up to 320. My biggest regret? Not sealing the wood edges first—some areas soaked up epoxy unevenly.
Step 6: Applying the Finish
Here’s the part I’m most proud of. I used a flood coat of table top epoxy, then followed up with a thin layer of Walrus Oil to bring the wood back to life. The contrast between matte wood and glossy resin? Unreal.
👉 Best Epoxy Table Finish? Here’s What Actually Worked on My Resin Tables

Step 7: Attaching the Legs
I picked raw steel hairpin legs for a modern-industrial vibe. Super easy to install with threaded inserts—though I did split a corner by rushing it. Pre-drill every time.
Step 8: Final Reveal (And What I’d Do Differently)
- Always measure twice (especially resin volume)
- Pre-seal live edges before pouring
- Don’t rush sanding or torching
- Use inserts for legs to avoid cracks
Would I do it again? Absolutely. Just slower, smarter, and with way less panic.

Want a Table Like This Without the Trial and Error?
If you’re not ready to DIY it, check out our handcrafted epoxy coffee tables—designed with premium walnut, ocean tones, and finishes built to last.


Share: