I Wanted Something Weirdly Pretty for My Space
Something earthy but not too rustic. So I messed around with preserved succulents, gravel, and resin—and ended up making one of my favorite tables so far.
This isn’t a pro guide. It’s just what worked for me, after trial, error, and a lot of sanding.
🧰 What I Used:
- Silicone molds: Crafted Elements 12" or 18"
- Epoxy resin:
- Alumilite Amazing Clear Cast Epoxy
- Alumilite Deep Pour Epoxy
- Succulents: Use preserved or faux only—real ones will decay.
- Rocks/stone base for first layer
- Pigments: Black Diamond pigments
- Mold release: MG Chemicals 8329 or Ease Release 200
- Resin Glue: T-88 Resin Glue
- Metal hairpin legs
- Sanding tools (orbital sander, wet sanding pads)

Router sled, draw knife, and bits (optional but helpful)
Step-by-Step: What Worked for Me
Step 1: I Cleaned the Mold Like My Life Depended on It
I washed it with dish soap, dried it completely, then wiped it with isopropyl alcohol. After that, I hit it with mold release spray.
That combo made the final release way smoother. When I skipped mold release once, the table stuck. Never again.
Step 2: Laid Down the Gravel + First Pour
I scattered a thin layer of gravel—not stacked, just spread out. Then I mixed about 10 oz of Amazing Clear Cast epoxy for that first layer. I mixed slowly and watched for swirls. When it looked fully clear, I poured it gently over the gravel and let it level on its own.
Quick torch pass to knock out the bubbles. Then I placed the succulents. Once they were in, I didn’t touch them again.
Tip I learned the hard way: If you move a succulent after placing it, it leaves a little trail in the resin that doesn’t go away. Just commit.

Step 3: Poured the Deep Layer
After the first layer cured, I mixed up about 100 oz of Alumilite Deep Pour. That stuff needs patience—it’s thick and takes forever to clear.
I poured it slowly and watched it settle. A few bubbles popped up, so I hit it again with the torch. Then I walked away for two days and tried not to obsess over it.
Step 4: The Sanding Sucked but Paid Off
Getting it out of the mold was tense. I had to twist and push around the edges, but it finally popped. Then came sanding.
I started low grit and worked up to high. Took forever. But when it got that glassy finish? Worth every minute.
Wear a respirator. Epoxy dust is no joke. I cover this more in my post on Safety & Durability.

Step 5: Flood Coat Finish
I poured a thin coat on top and smoothed it out with a gloved hand. Just enough to give it that liquid-glass look. Didn’t bother with the bottom because I was adding legs—but you could.
If you want to learn more about finish options, check out this blog on what actually worked for my resin finishes.
Step 6: Adding Legs Without Cracking It
I marked where I wanted the legs, used a tile drill bit to make little guide holes, then added a dot of T-88 to each base. Screwed them in and let it sit overnight.
Pro move: Hide the screws under a succulent if you can. Cleaner finish.
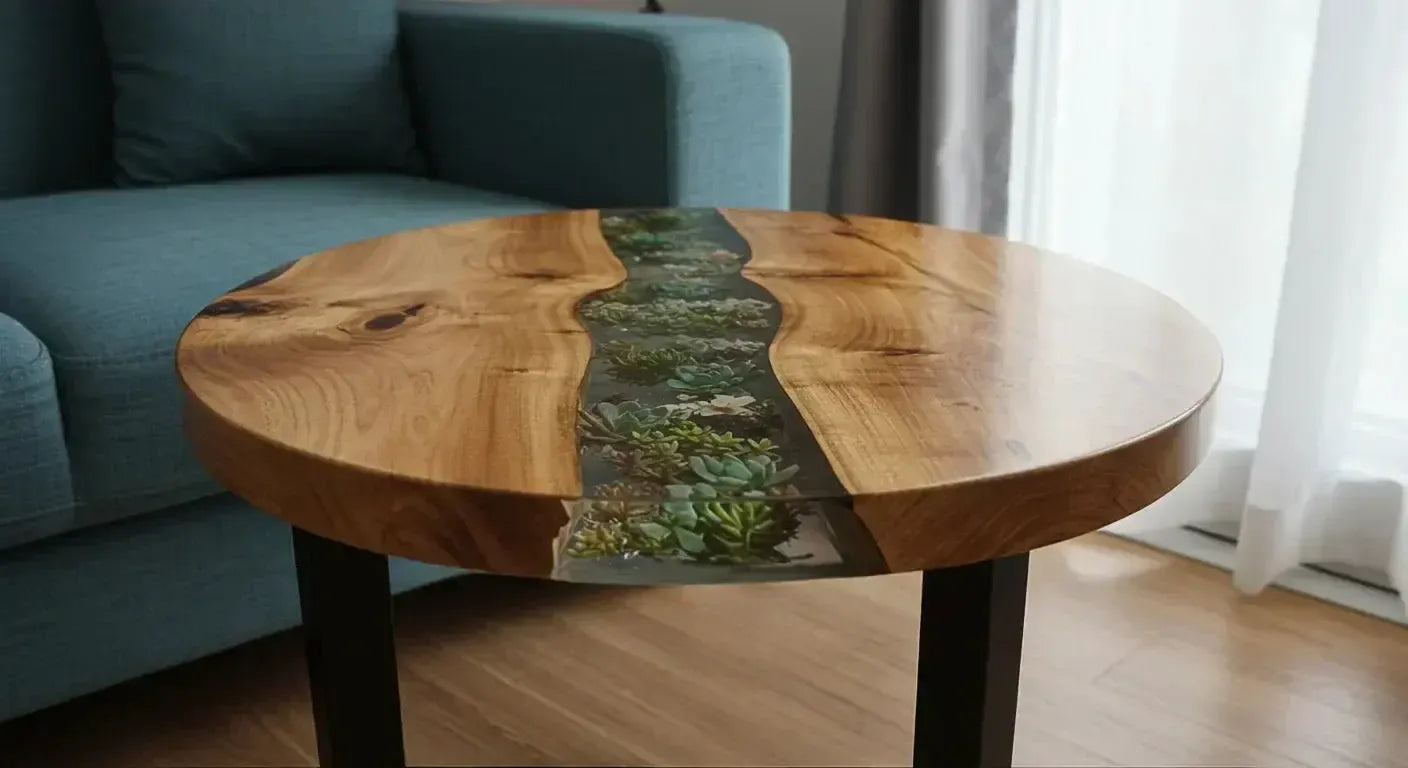
The Result? Better Than I Expected
It’s a weird little desert scene sealed in resin—and it turned out way better than I thought it would. It’s not perfect, but it’s mine. Every bubble, every weird sparkle, every wonky succulent is a reminder that resin isn’t supposed to be flawless. It’s just supposed to feel alive.

Thinking About Making Your Own?
Totally worth trying. You’ll mess something up (I always do), but you’ll learn fast.
If you're new to all this, start with my guide for beginners. It breaks down the biggest mistakes I made and what I’d do differently.
And if you’d rather just skip the DIY and get something built for you? Browse our latest designs in the Lineup V1.0 Collection or request a custom build.


Share: