There’s something about olive wood that just feels different. Maybe it’s the grain—tight, chaotic, full of energy. Or maybe it’s the color—those wild golds and deep browns. Either way, the first time I worked with it, I knew I wasn’t building just another epoxy table. This one had soul. If you’re thinking about building an olive wood epoxy table, here’s what worked for me, what surprised me, and why I’d absolutely do it again.
Why I Chose Olive Wood for My Epoxy Table
The unique beauty and characteristics of olive wood
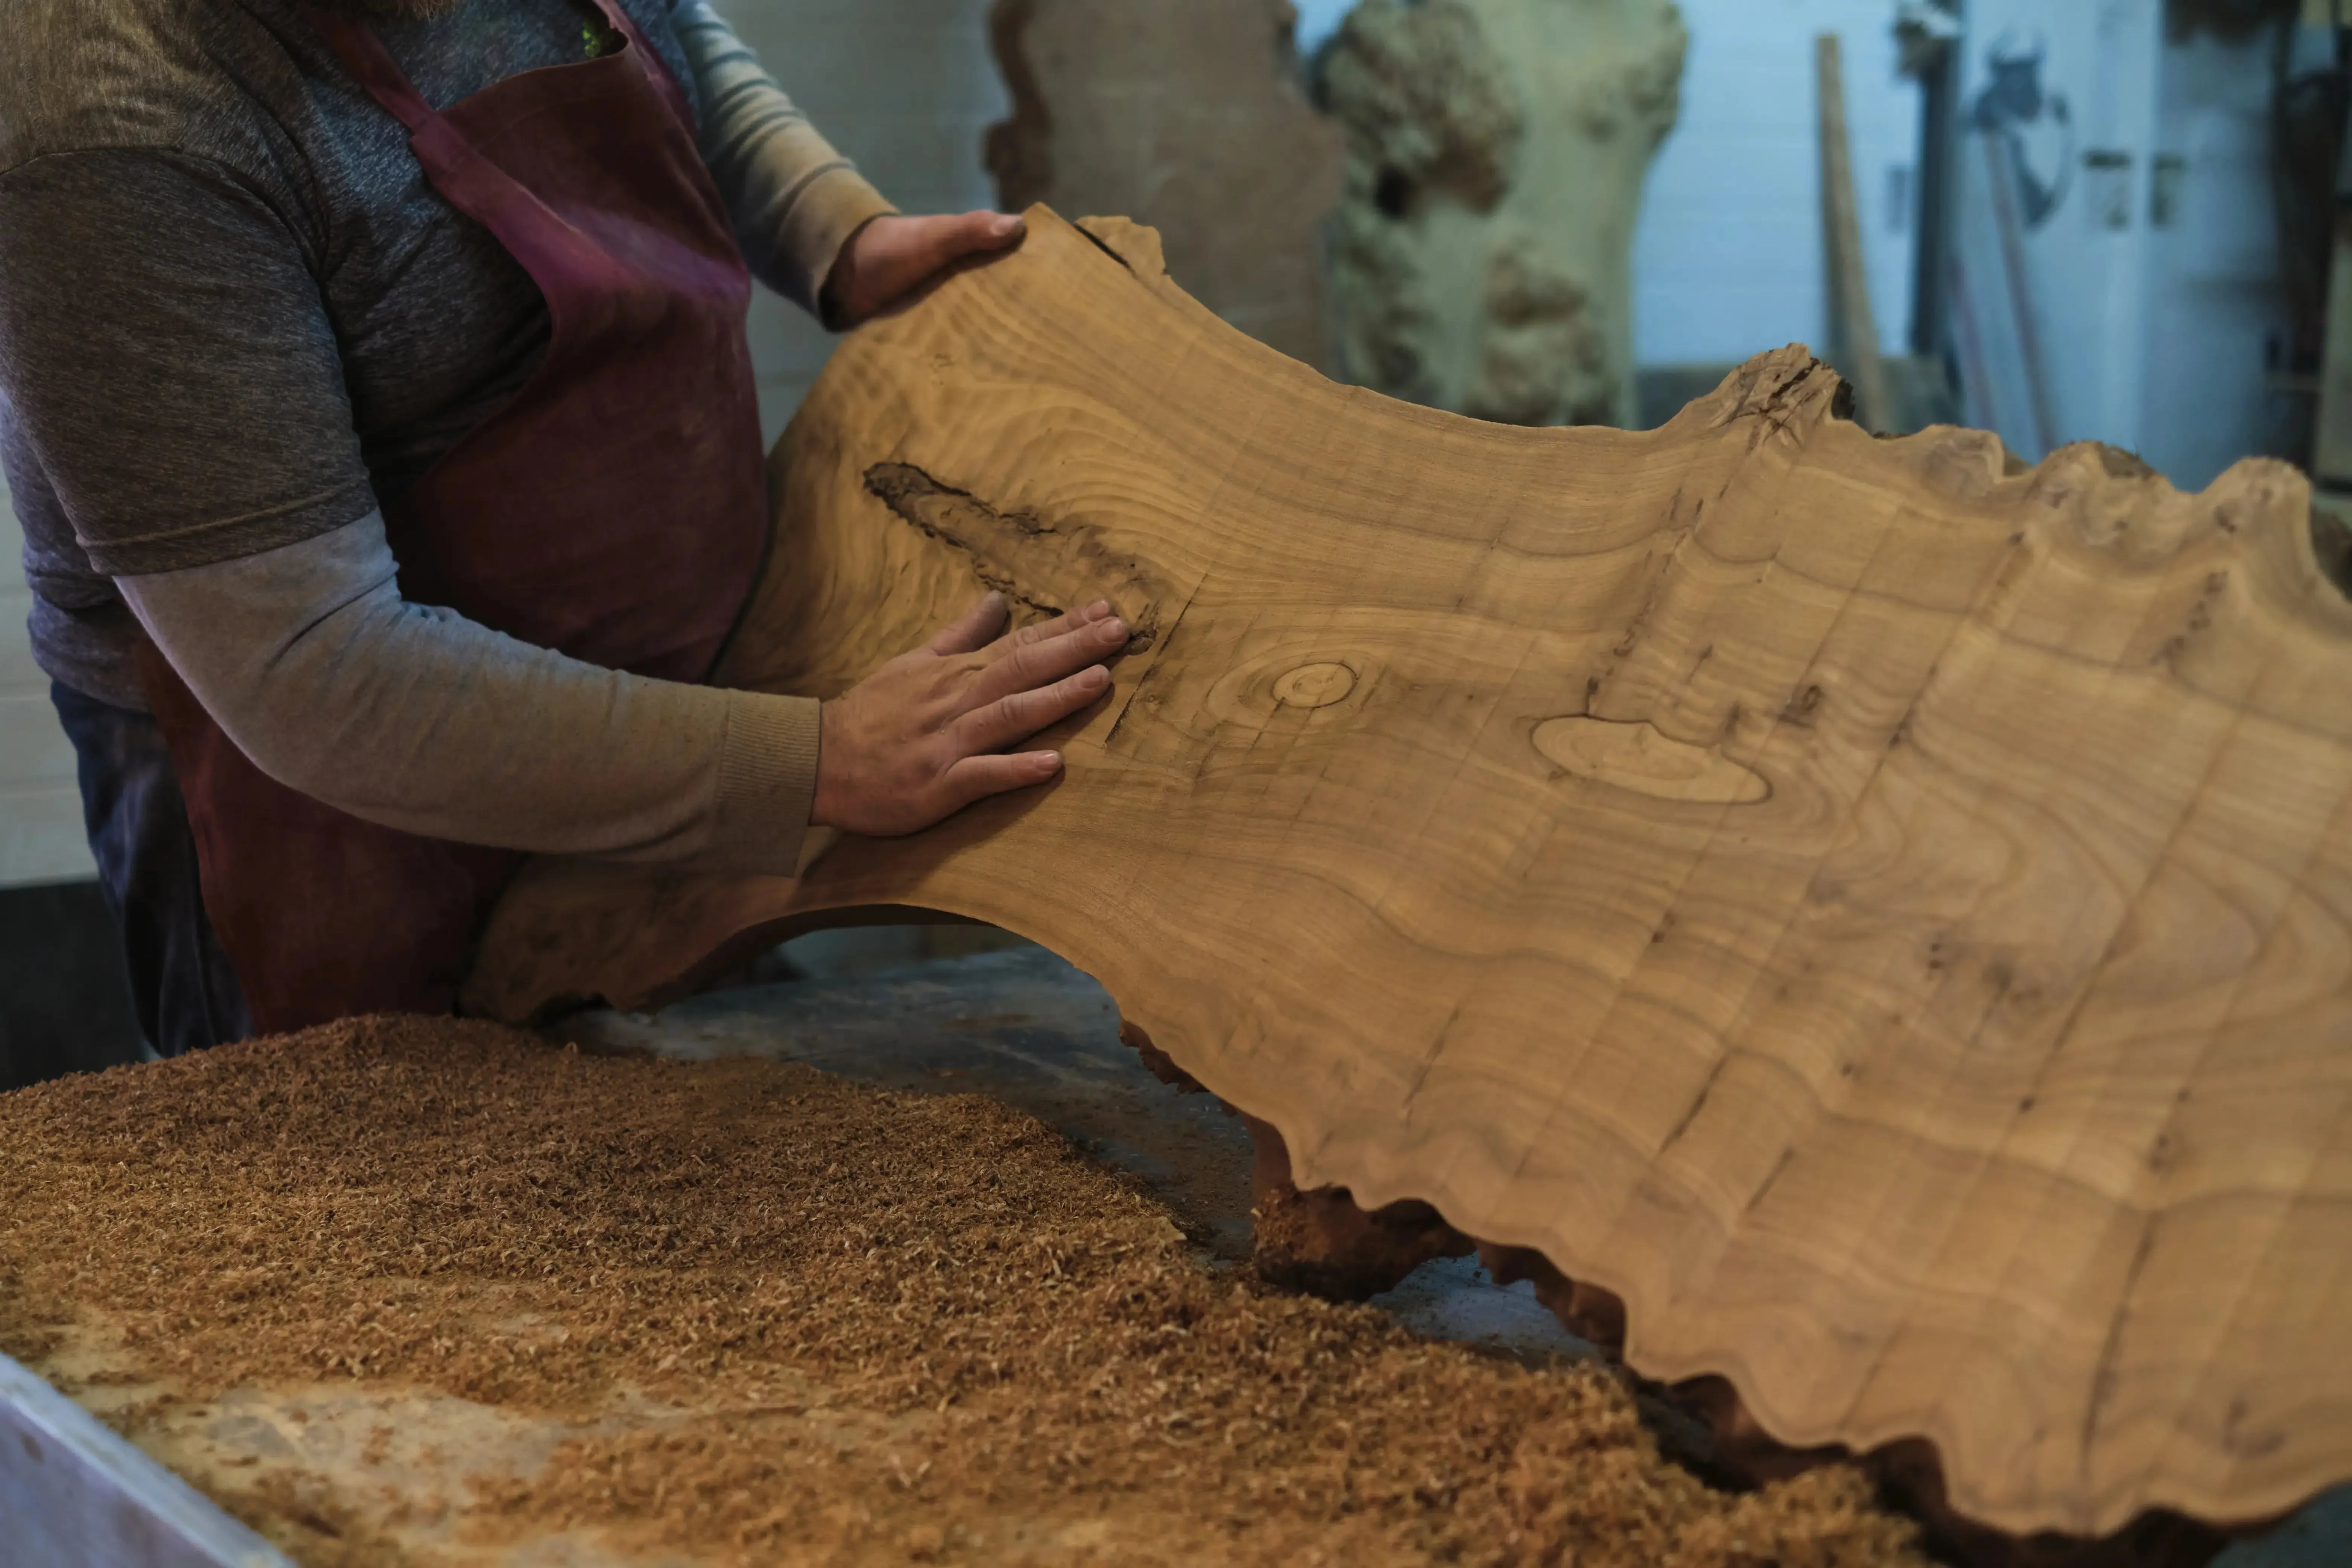
Olive wood has this unpredictable, marbled grain that looks almost like liquid in solid form. It’s dense, aromatic, and just packed with character—no two slabs look anything alike.
How olive wood complements epoxy resin
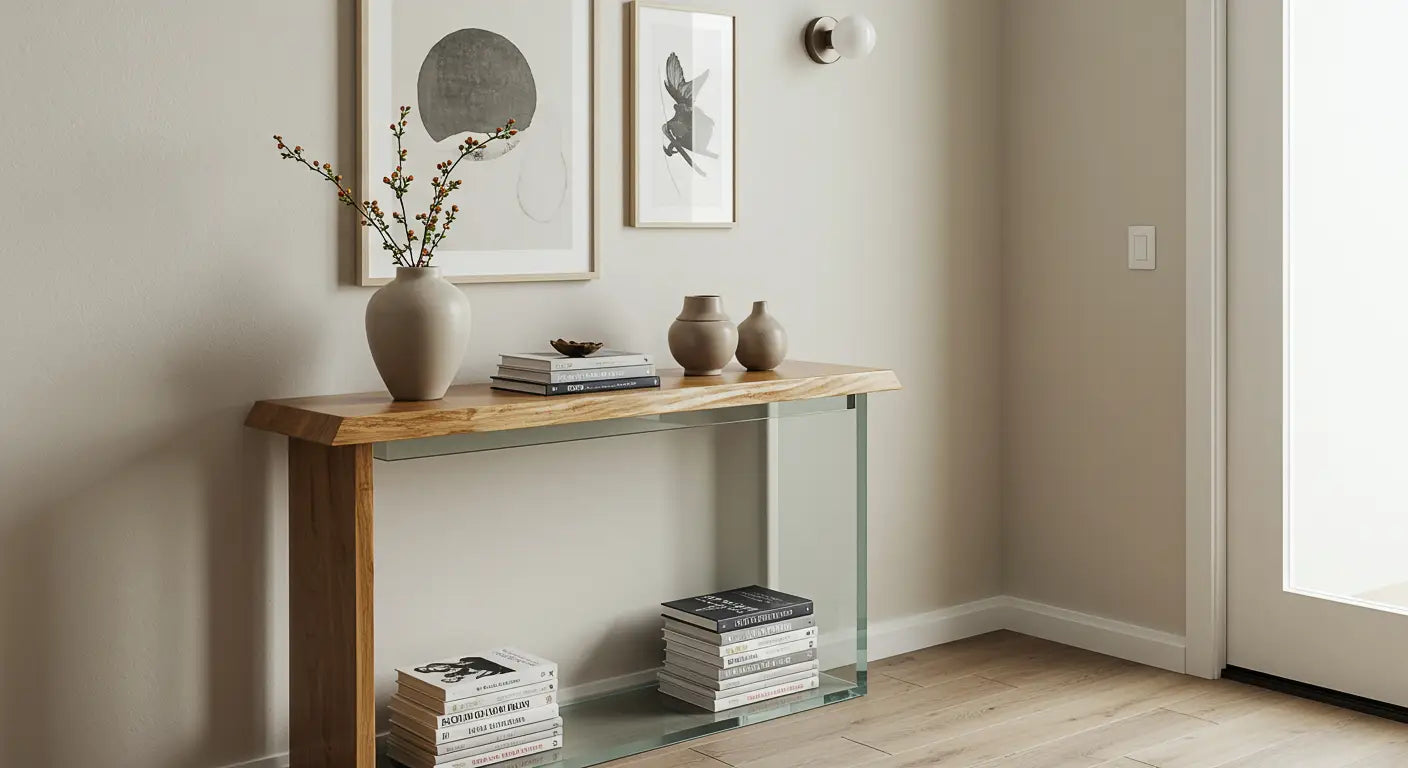
The contrast is incredible. Whether you go with a translucent pour or something bold and pigmented, the resin doesn’t compete with the wood—it elevates it. It’s what makes olive wood resin furniture feel high-end without trying too hard.

Selecting the Right Materials
Choosing the perfect olive wood slab
I got mine from a small supplier that specializes in European hardwoods. Make sure your slab is kiln-dried—olive can be oily, and moisture causes major issues with resin.
Picking the ideal epoxy resin and pigments
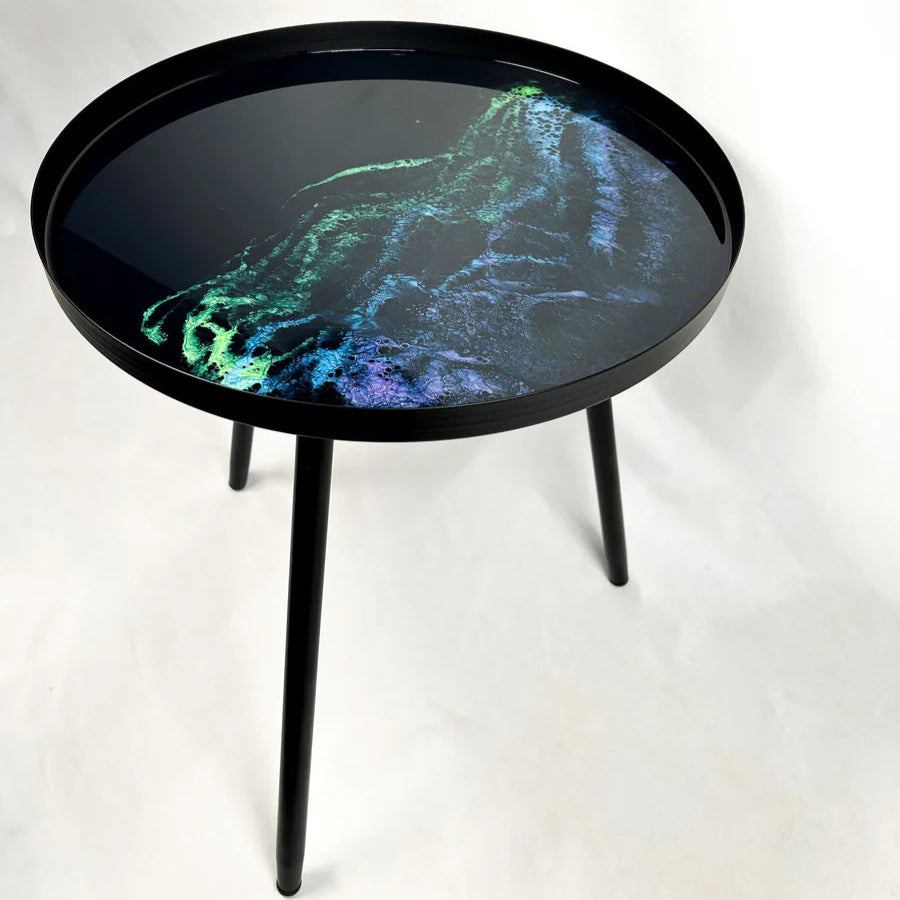
I went with a premium deep-pour epoxy to get that river effect and prevent bubbles. Color-wise, I used smoky black with gold shimmer—just enough to add drama without hiding the wood.
Tools and safety equipment I used
- Nitrile gloves
- Respirator (trust me—olive wood dust is potent) -
- Heat gun and torch
- Router sled, sanders, polishers
Designing the Table
Sketching the layout and dimensions
This was a coffee table, around 42" x 24", with a subtle curve down the river line. I wanted to keep the design organic—nothing too symmetrical.
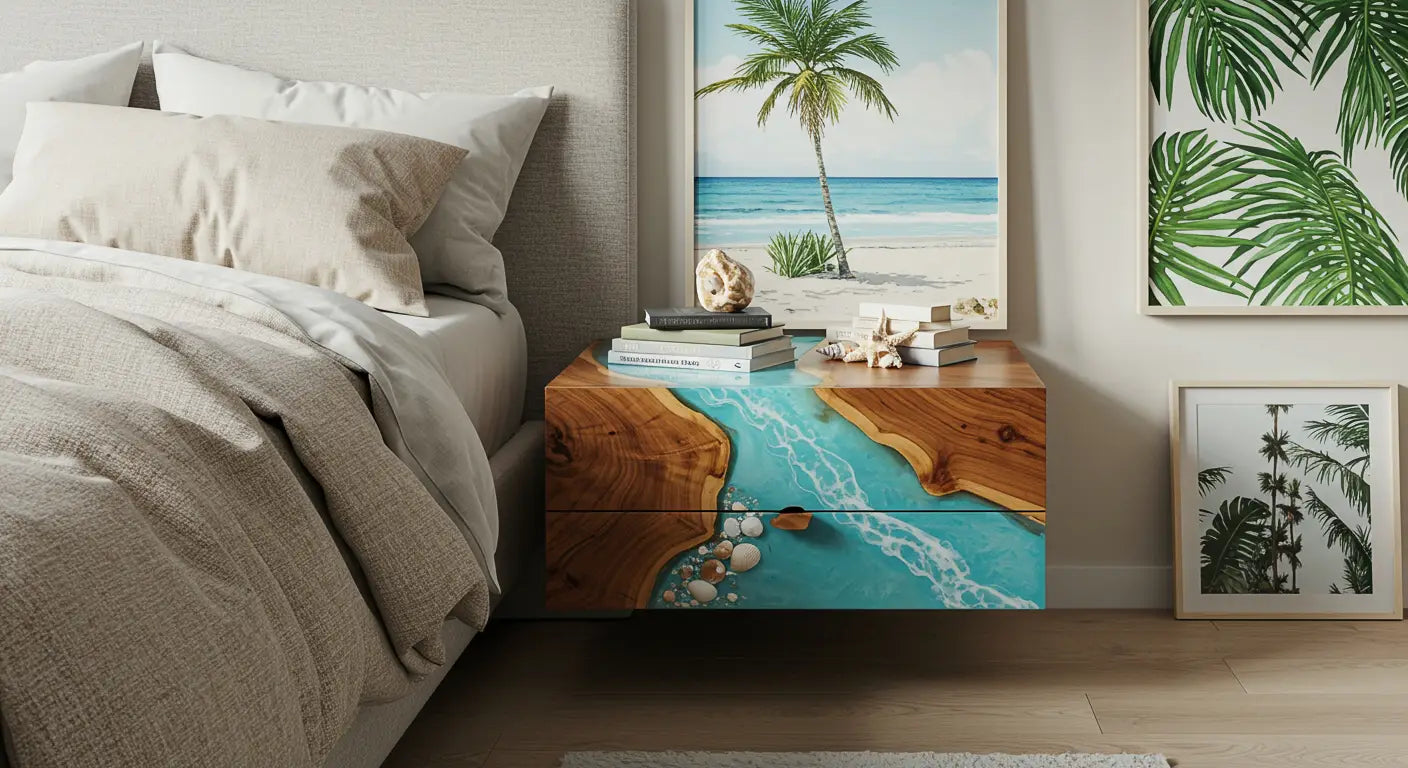
Deciding on river table vs. full pour designs
I went with a classic river style to highlight the live edges. But olive also looks incredible in full top pours, especially if you leave natural cracks and fill them in with resin.
Incorporating unique elements like stones or slices
I kept this one clean—no extras. But I’ve seen olive wood paired with copper shavings, crystal inlays, or even dried citrus slices. The grain is strong enough to hold its own or play with others.

Preparing the Wood
Cleaning and sanding techniques
I sanded the slab to 120 grit and wiped it down with denatured alcohol. Olive wood dust is oily—make sure it’s clean before you pour.
Sealing the wood to prevent bubbles
I sealed both slabs with a thin clear resin coat. Olive is dense, but still porous enough to bubble if left raw. The seal coat saved the pour.
Setting up the mold for pouring
Melamine mold, sheathing tape on all sides, heavy caulking in the seams. I clamped everything tight—olive slabs tend to want to curl slightly.
Mixing and Pouring the Epoxy
Achieving the right color intensity
A little goes a long way with pigment. I added the shimmer first, then darkened it gradually with black dye until it matched the depth of the wood’s darkest grain.
Layering techniques for depth
I poured in two layers—first clear with shimmer, then tinted darker. It added a nice subtle gradient.
Avoiding common pouring mistakes
Keep your workspace dust-free, your resin warmed, and your mix slow. Olive wood deserves a clean, crisp finish.

Curing and Finishing Touches
Monitoring the curing process
I gave it a full 72 hours in a temperature-controlled space. Resin can act up if your shop swings between hot and cold.
Sanding and polishing for a glossy finish
Started with 80 grit, moved up to 600 wet, then polished with a fine compound. Olive shines beautifully when it’s done right.
Attaching legs and final assembly
I used matte black steel U-legs—simple and sturdy. It balanced out the wild grain and bold resin without competing visually.
Lessons Learned and Tips
What I'd do differently next time
I’d experiment with lighter pigment tones—maybe champagne or olive green. I also might try embedding olive leaves in a small accent piece just to tie it all together.
Budget-friendly alternatives I discovered
Olive wood isn’t cheap. If you're practicing, start with ash or elm—similar grain energy, but easier on the wallet.
Maintenance tips for longevity
- Use coasters, even if the resin is heat-resistant - Keep it out of full sun - Clean with microfiber and gentle soap - Oil the wood edges every few months

Showcasing the Final Product
Styling the table in different settings
I staged this one in both a modern loft and a rustic entryway. It worked in both. Olive is surprisingly versatile.
Capturing the table in photographs
Shoot in natural light, angled low to catch the resin reflections. Olive wood has so much movement—it practically poses for you.
Frequently Asked Questions
Can I use any type of wood for an epoxy table?
Technically yes—but hardwoods like olive, walnut, maple, and cherry give you the best results. Softwoods tend to warp or absorb too much resin.
How do I achieve a vibrant color hue?
Start light and build up. Mix pigments gradually and always test on a small sample pour before committing to the final batch.
Is it safe to use epoxy indoors?
Yes—once it’s fully cured. During the pour, make sure you’re working in a ventilated space with the right safety gear.
Final Thoughts
If you’ve never worked with olive wood before, give it a shot. It’s unlike anything else—bold, elegant, unpredictable in all the best ways. A well-made olive epoxy table doesn’t just fill a space—it becomes the focal point. Whether you're making olive wood resin furniture for yourself or a client, just take your time with prep. This wood deserves it.
If you want a custom piece or hit a wall building your own, feel free to drop a comment or reach out—happy to help. Have a blessed day!


Share: